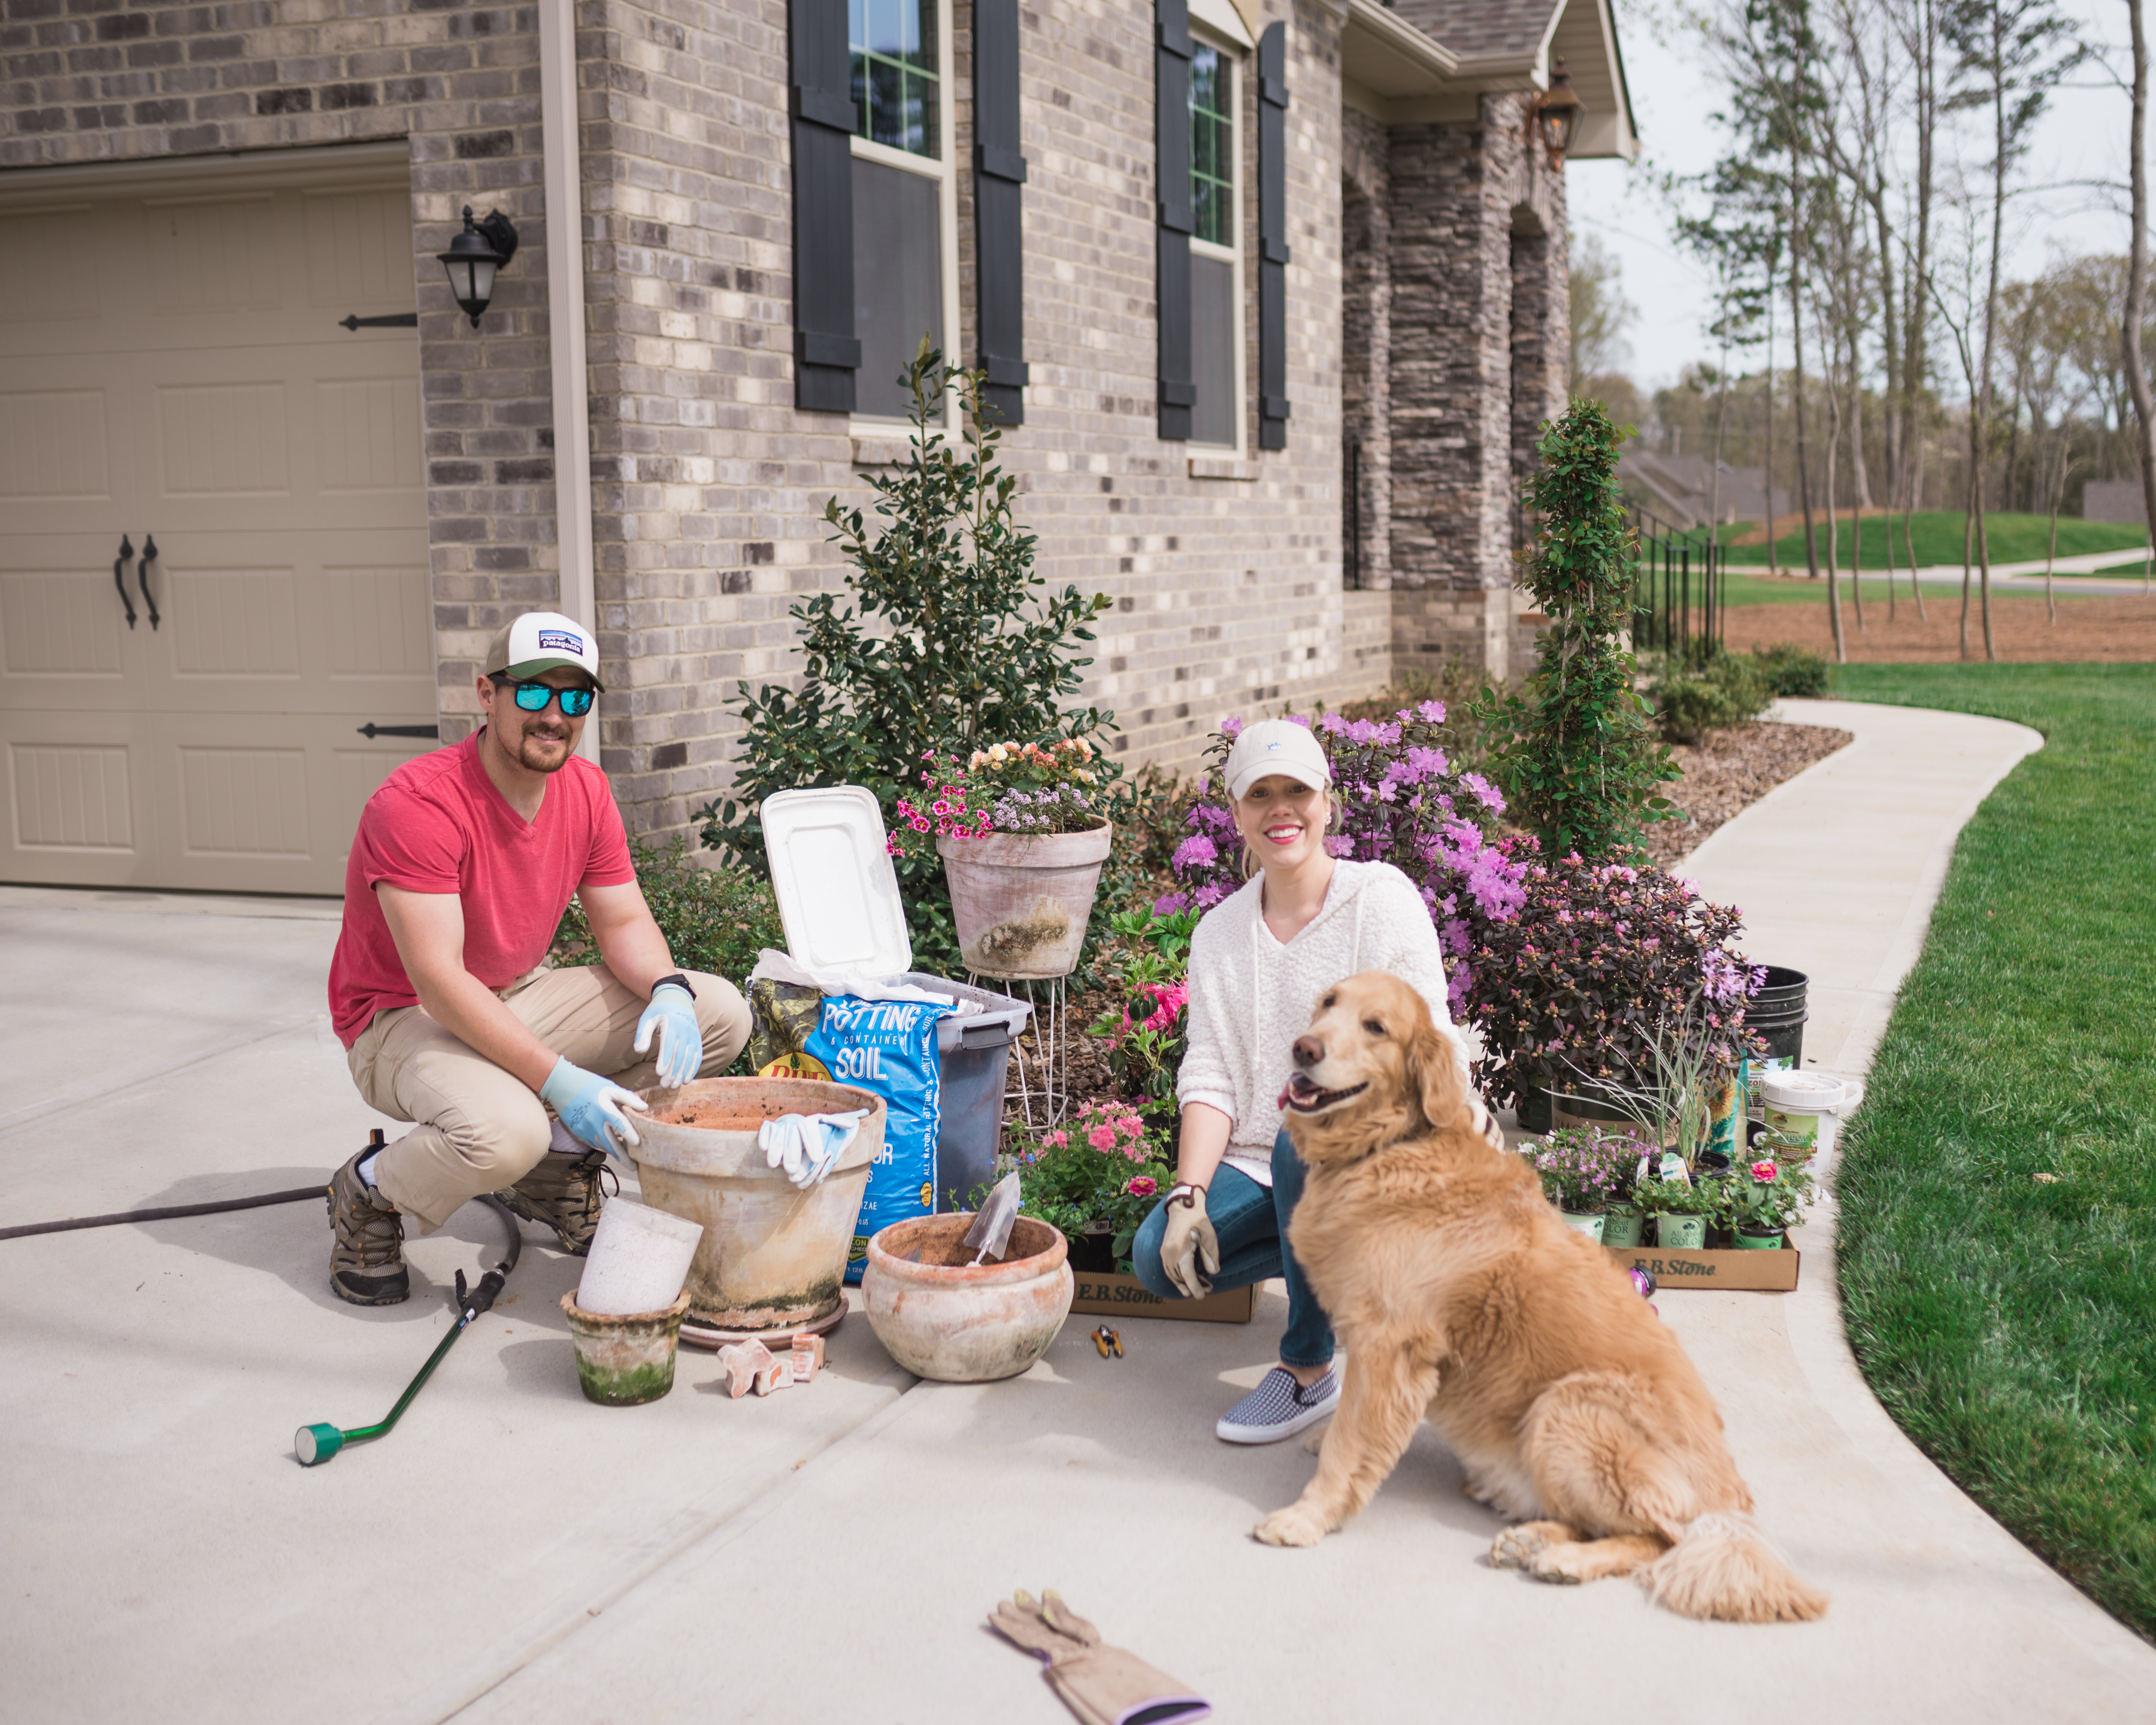
Happy Monday, friends! Today we’re excited to share our second post within our garden series, In Full Bloom. Last week, to introduce our series, we touched on our most used products and tools, and even included a garden glossary. I’ve linked that post for you here. We wanted to start out with the basics for those reading who are new (or relatively new) to gardening! We’re thrilled you’re back and love having you follow along! 🙂
– Favorite Products –
Though our strengths lie in different areas – Justin’s being landscapes and maintenance whereas flowers and design are better suited for TR – one thing we love doing together is creating beautiful planters for our front porch and back patio. Since we used mostly evergreens and white flowering shrubs in the landscaping around our home, pots allow us to add a touch of color and texture to our outdoor living space. Last year our collection of potted plants got a bit out of control. Come mid-summer, we had so many pots on our back deck that we were running out of room.
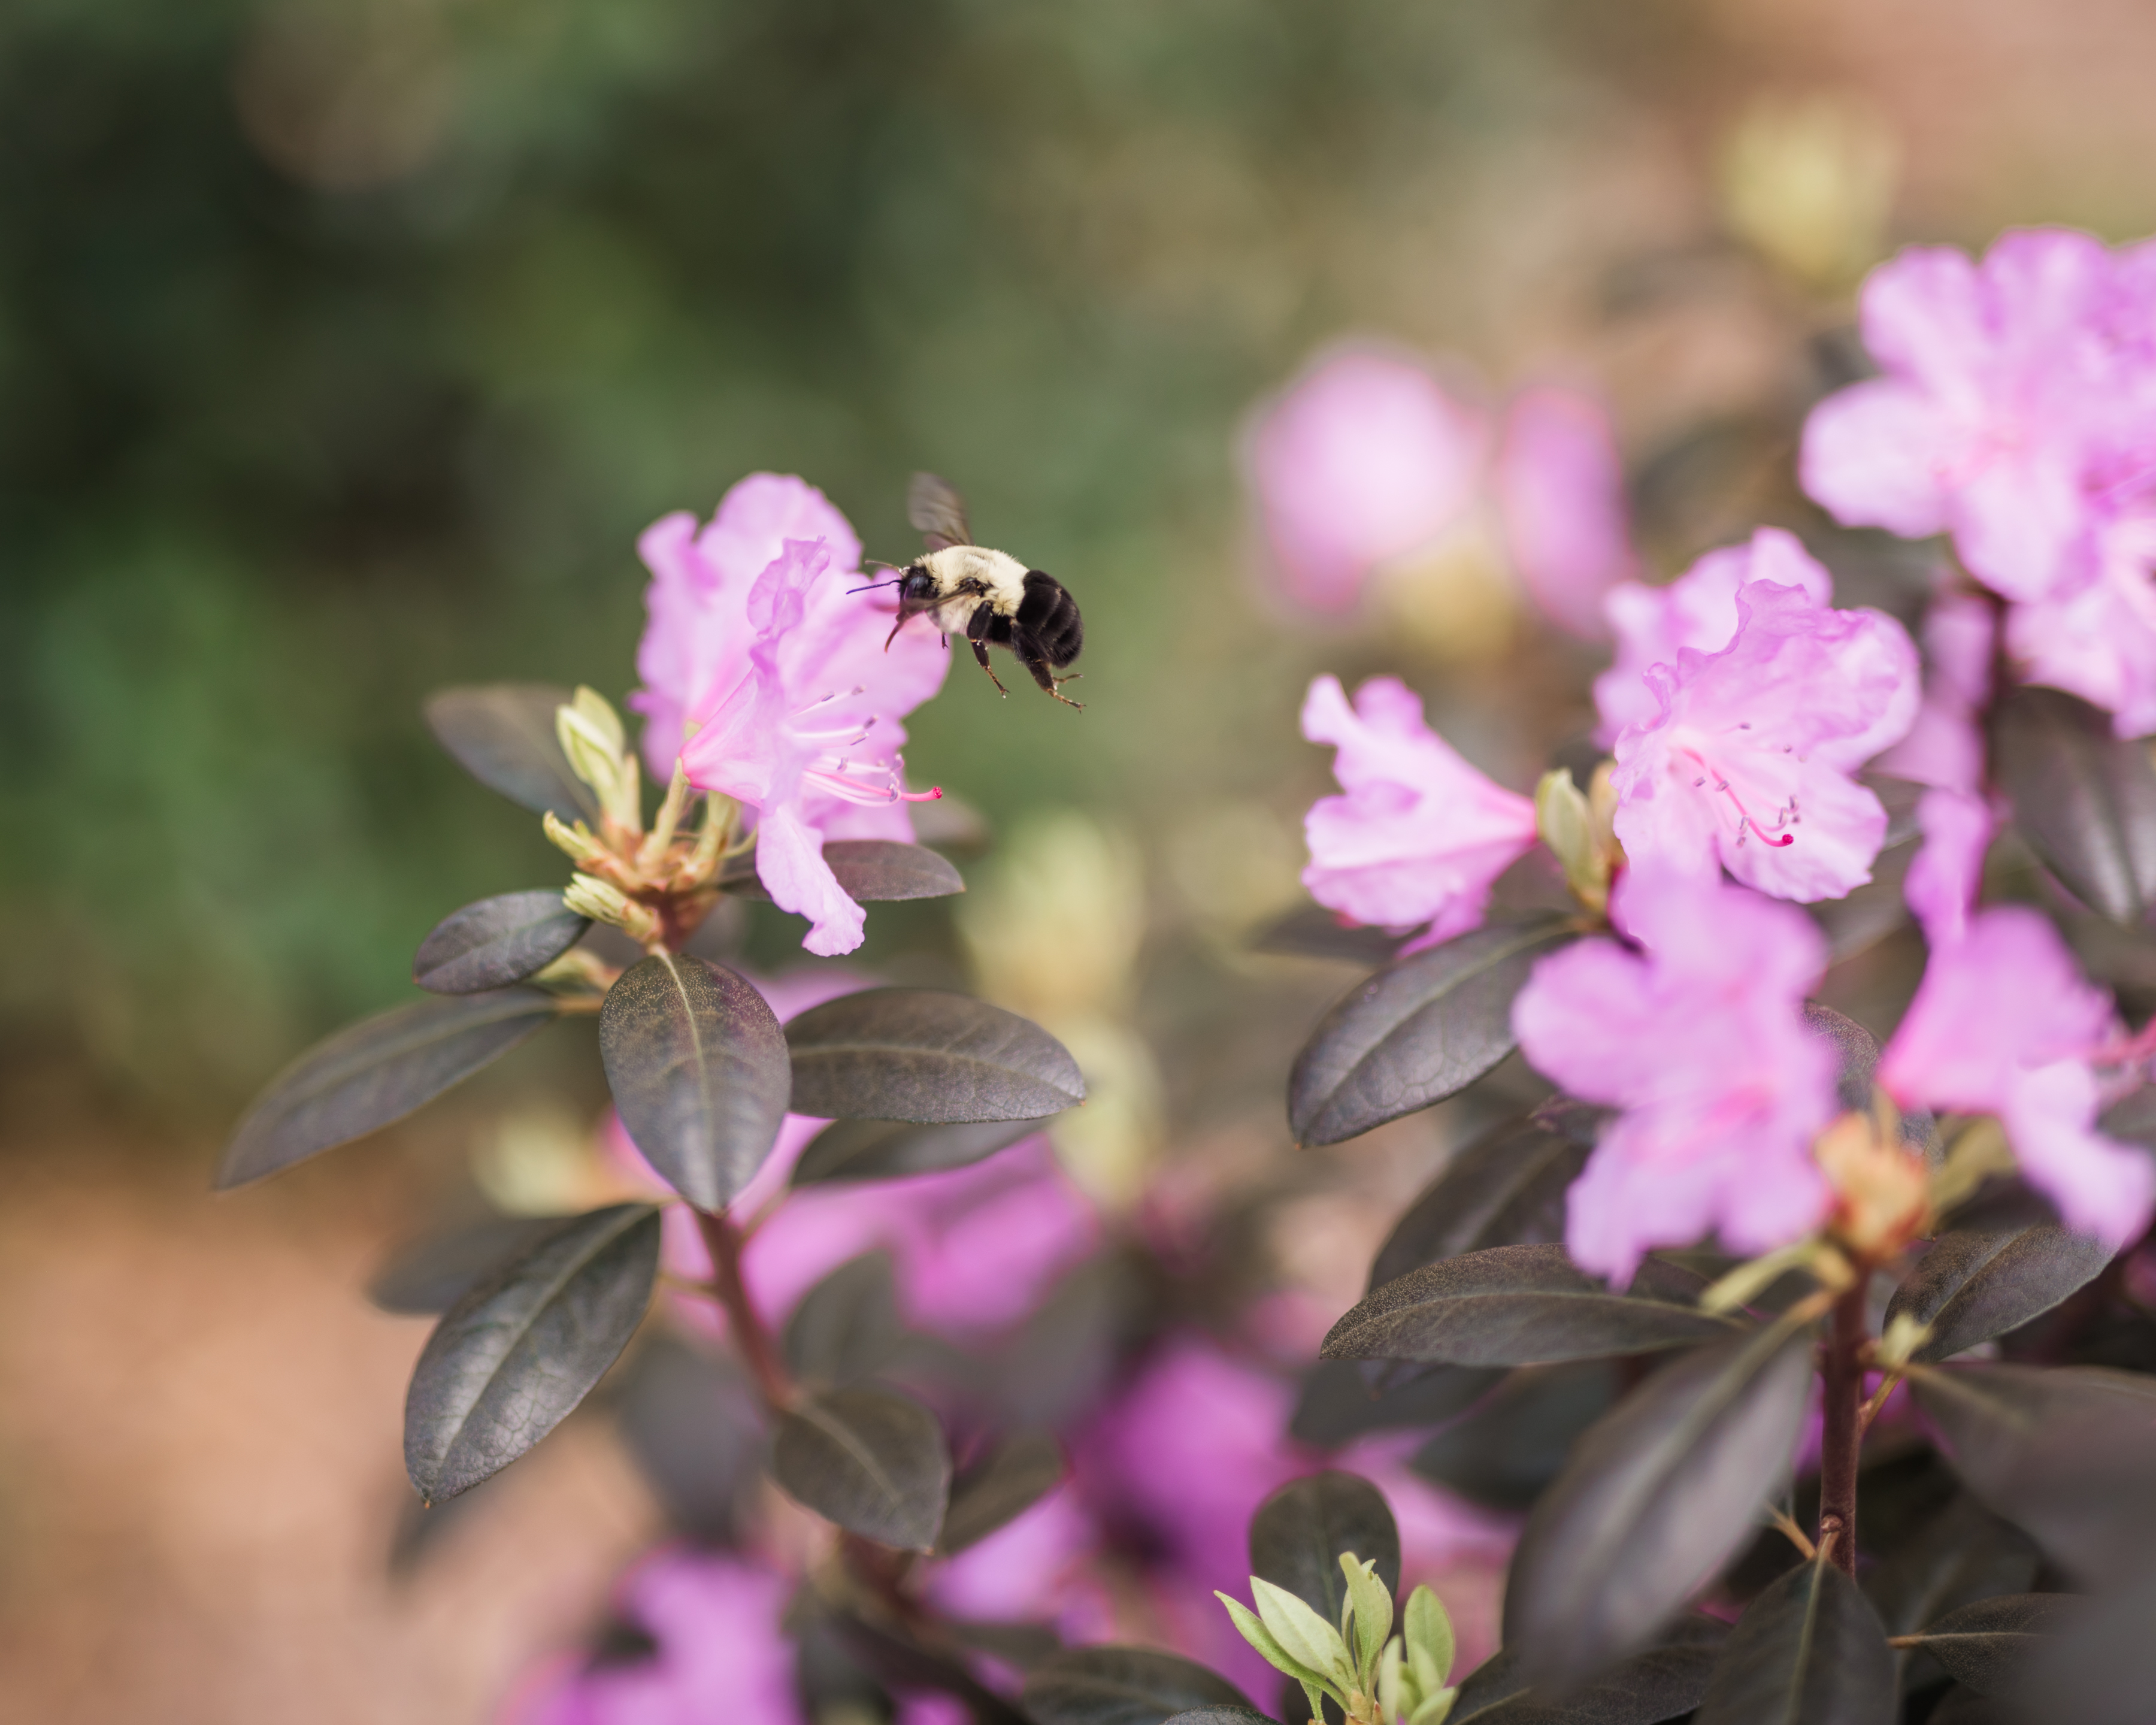
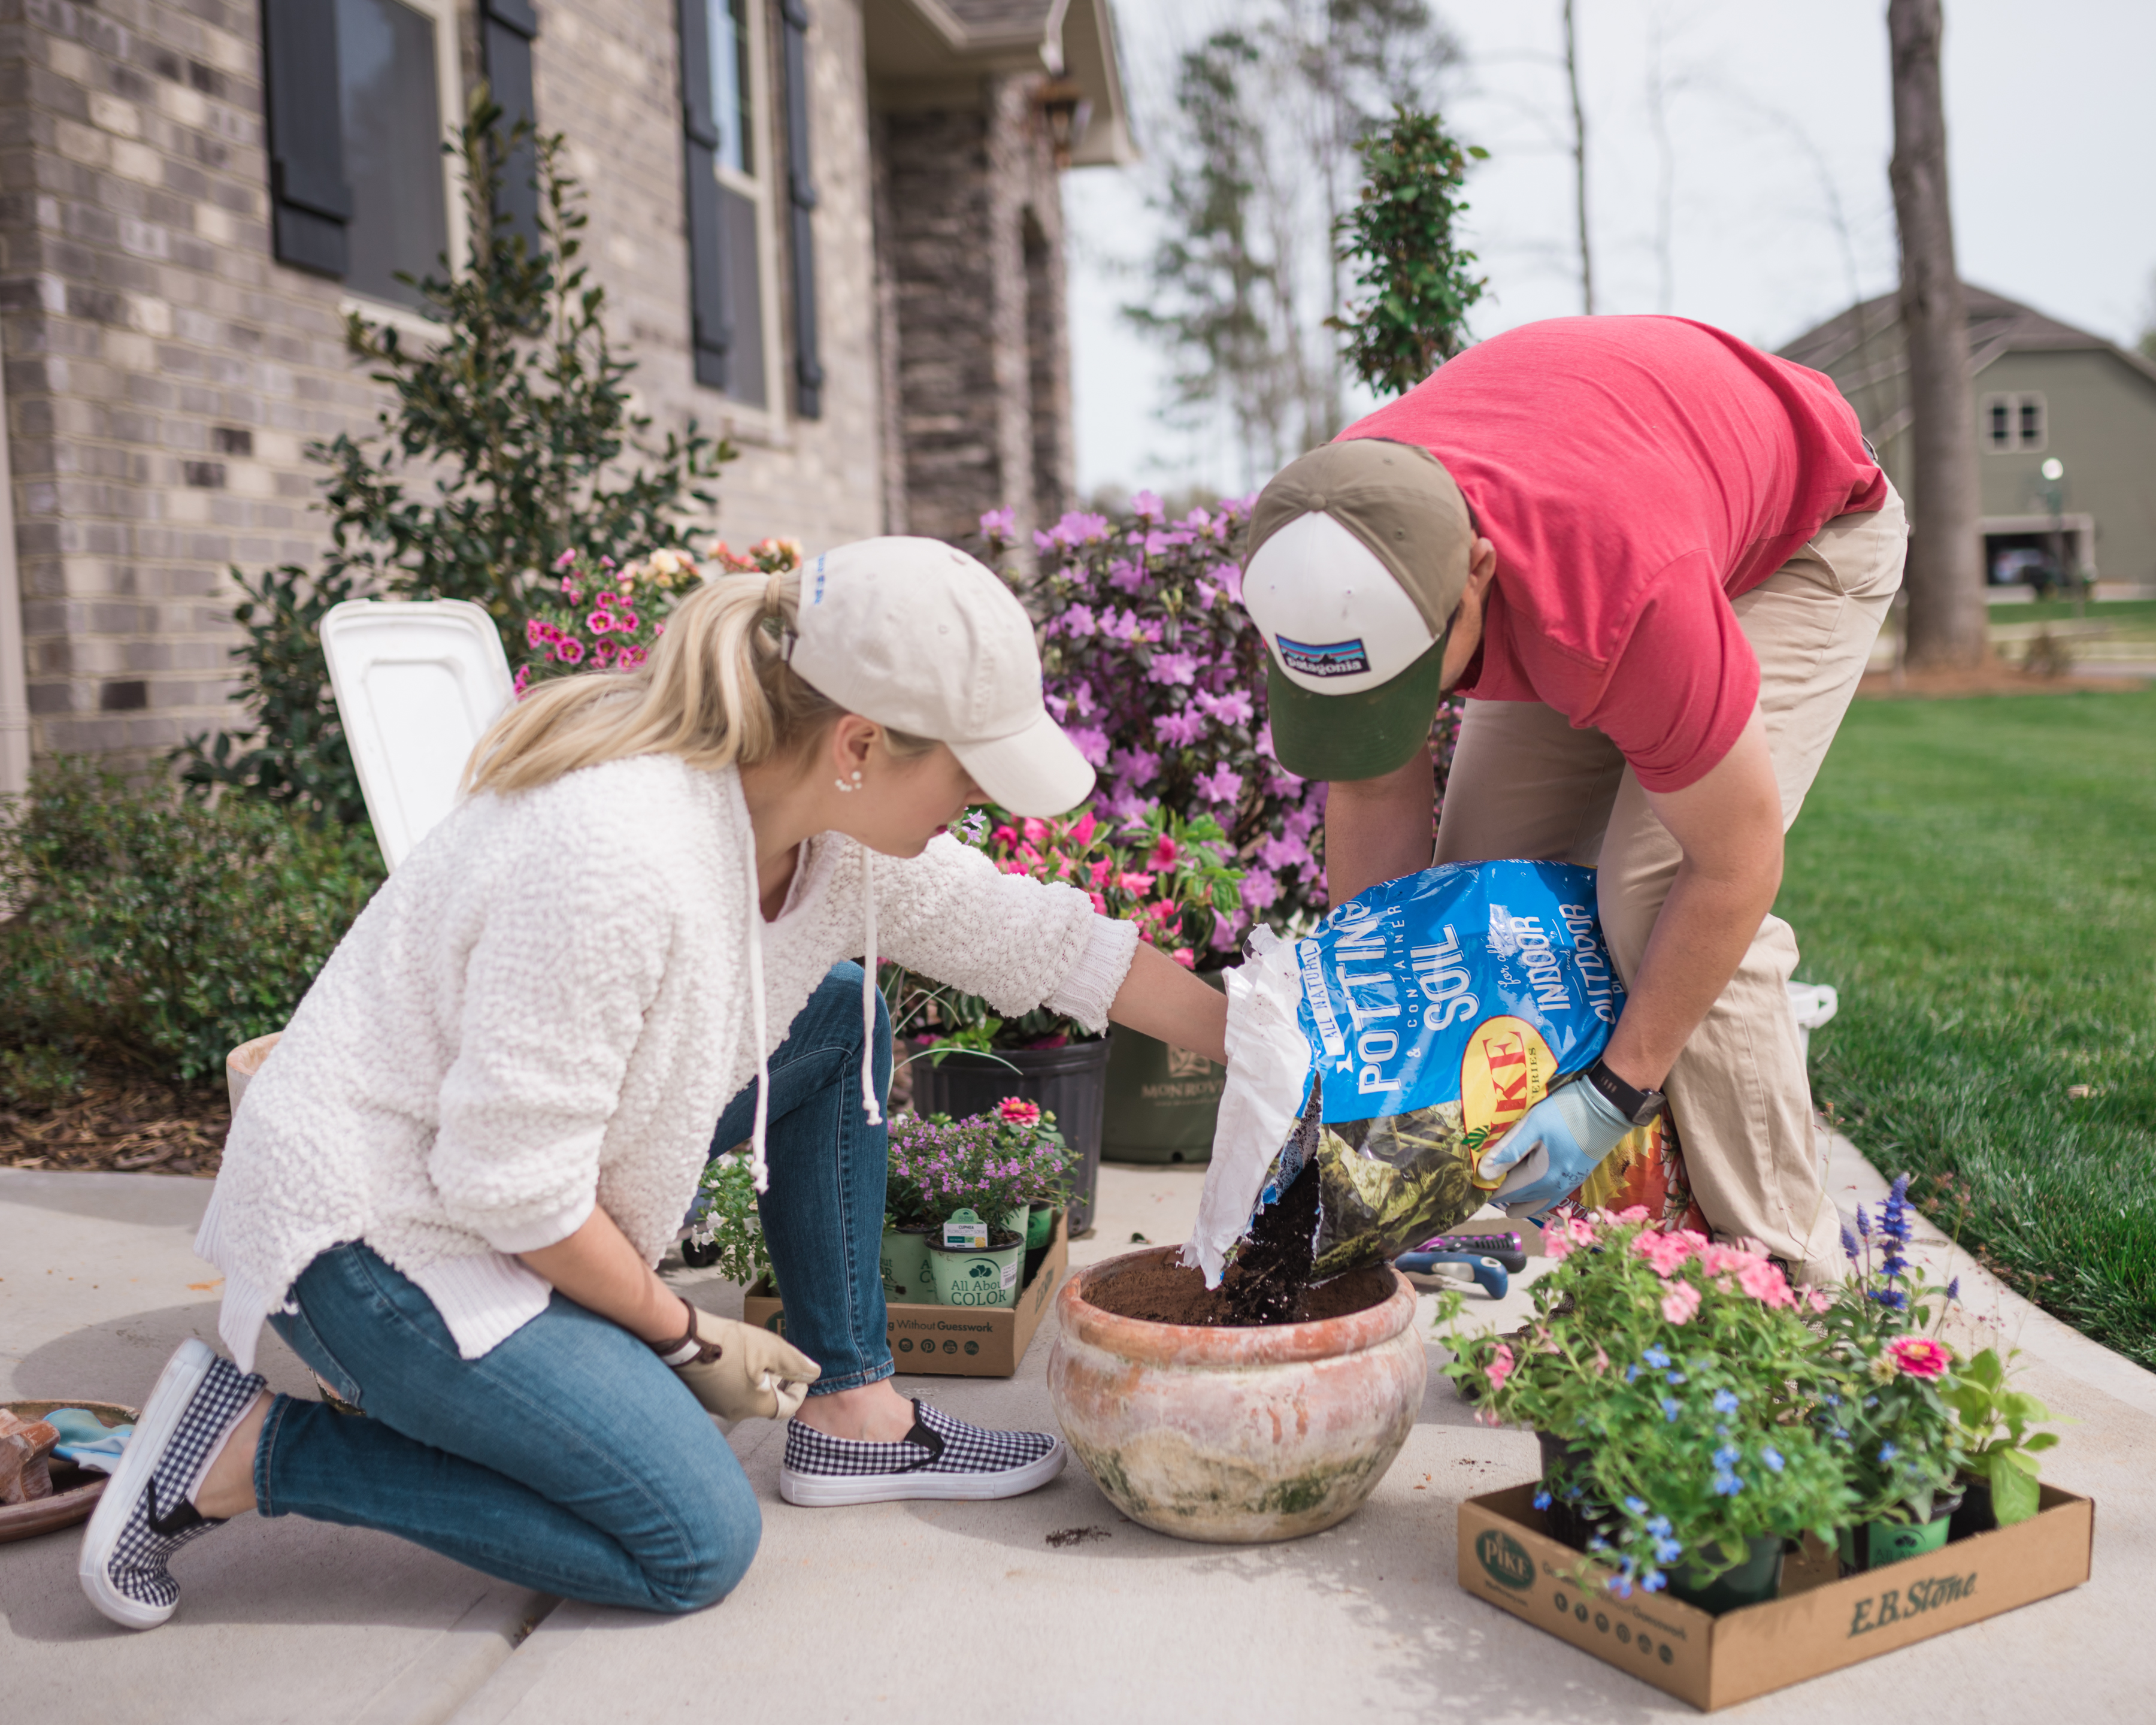
We initially planned to end the series with today’s post, but with everyone sprucing up their outdoor spaces in lieu of the warm weather we thought it would be most helpful to share it earlier on! It’s our favorite within the lineup for sure! That said, today we are sharing our tips for creating balanced pots, planters and containers. Pots are great for brightening up patios, porches, balconies, decks and stoops; the places we linger most on long summer days. They also allow you to garden where there’s no ground to till! While there are no “rules” per se when it comes to creating a good-looking planter, there are a handful of things we always consider to keep our pots from looking awkward and also grow to their full potential. Pairing plants in pleasing compositions will give texture, evenness and balance to you outdoor space. While today’s post focuses on outdoor plants, these same tips can be applied when creating indoor planters as well.
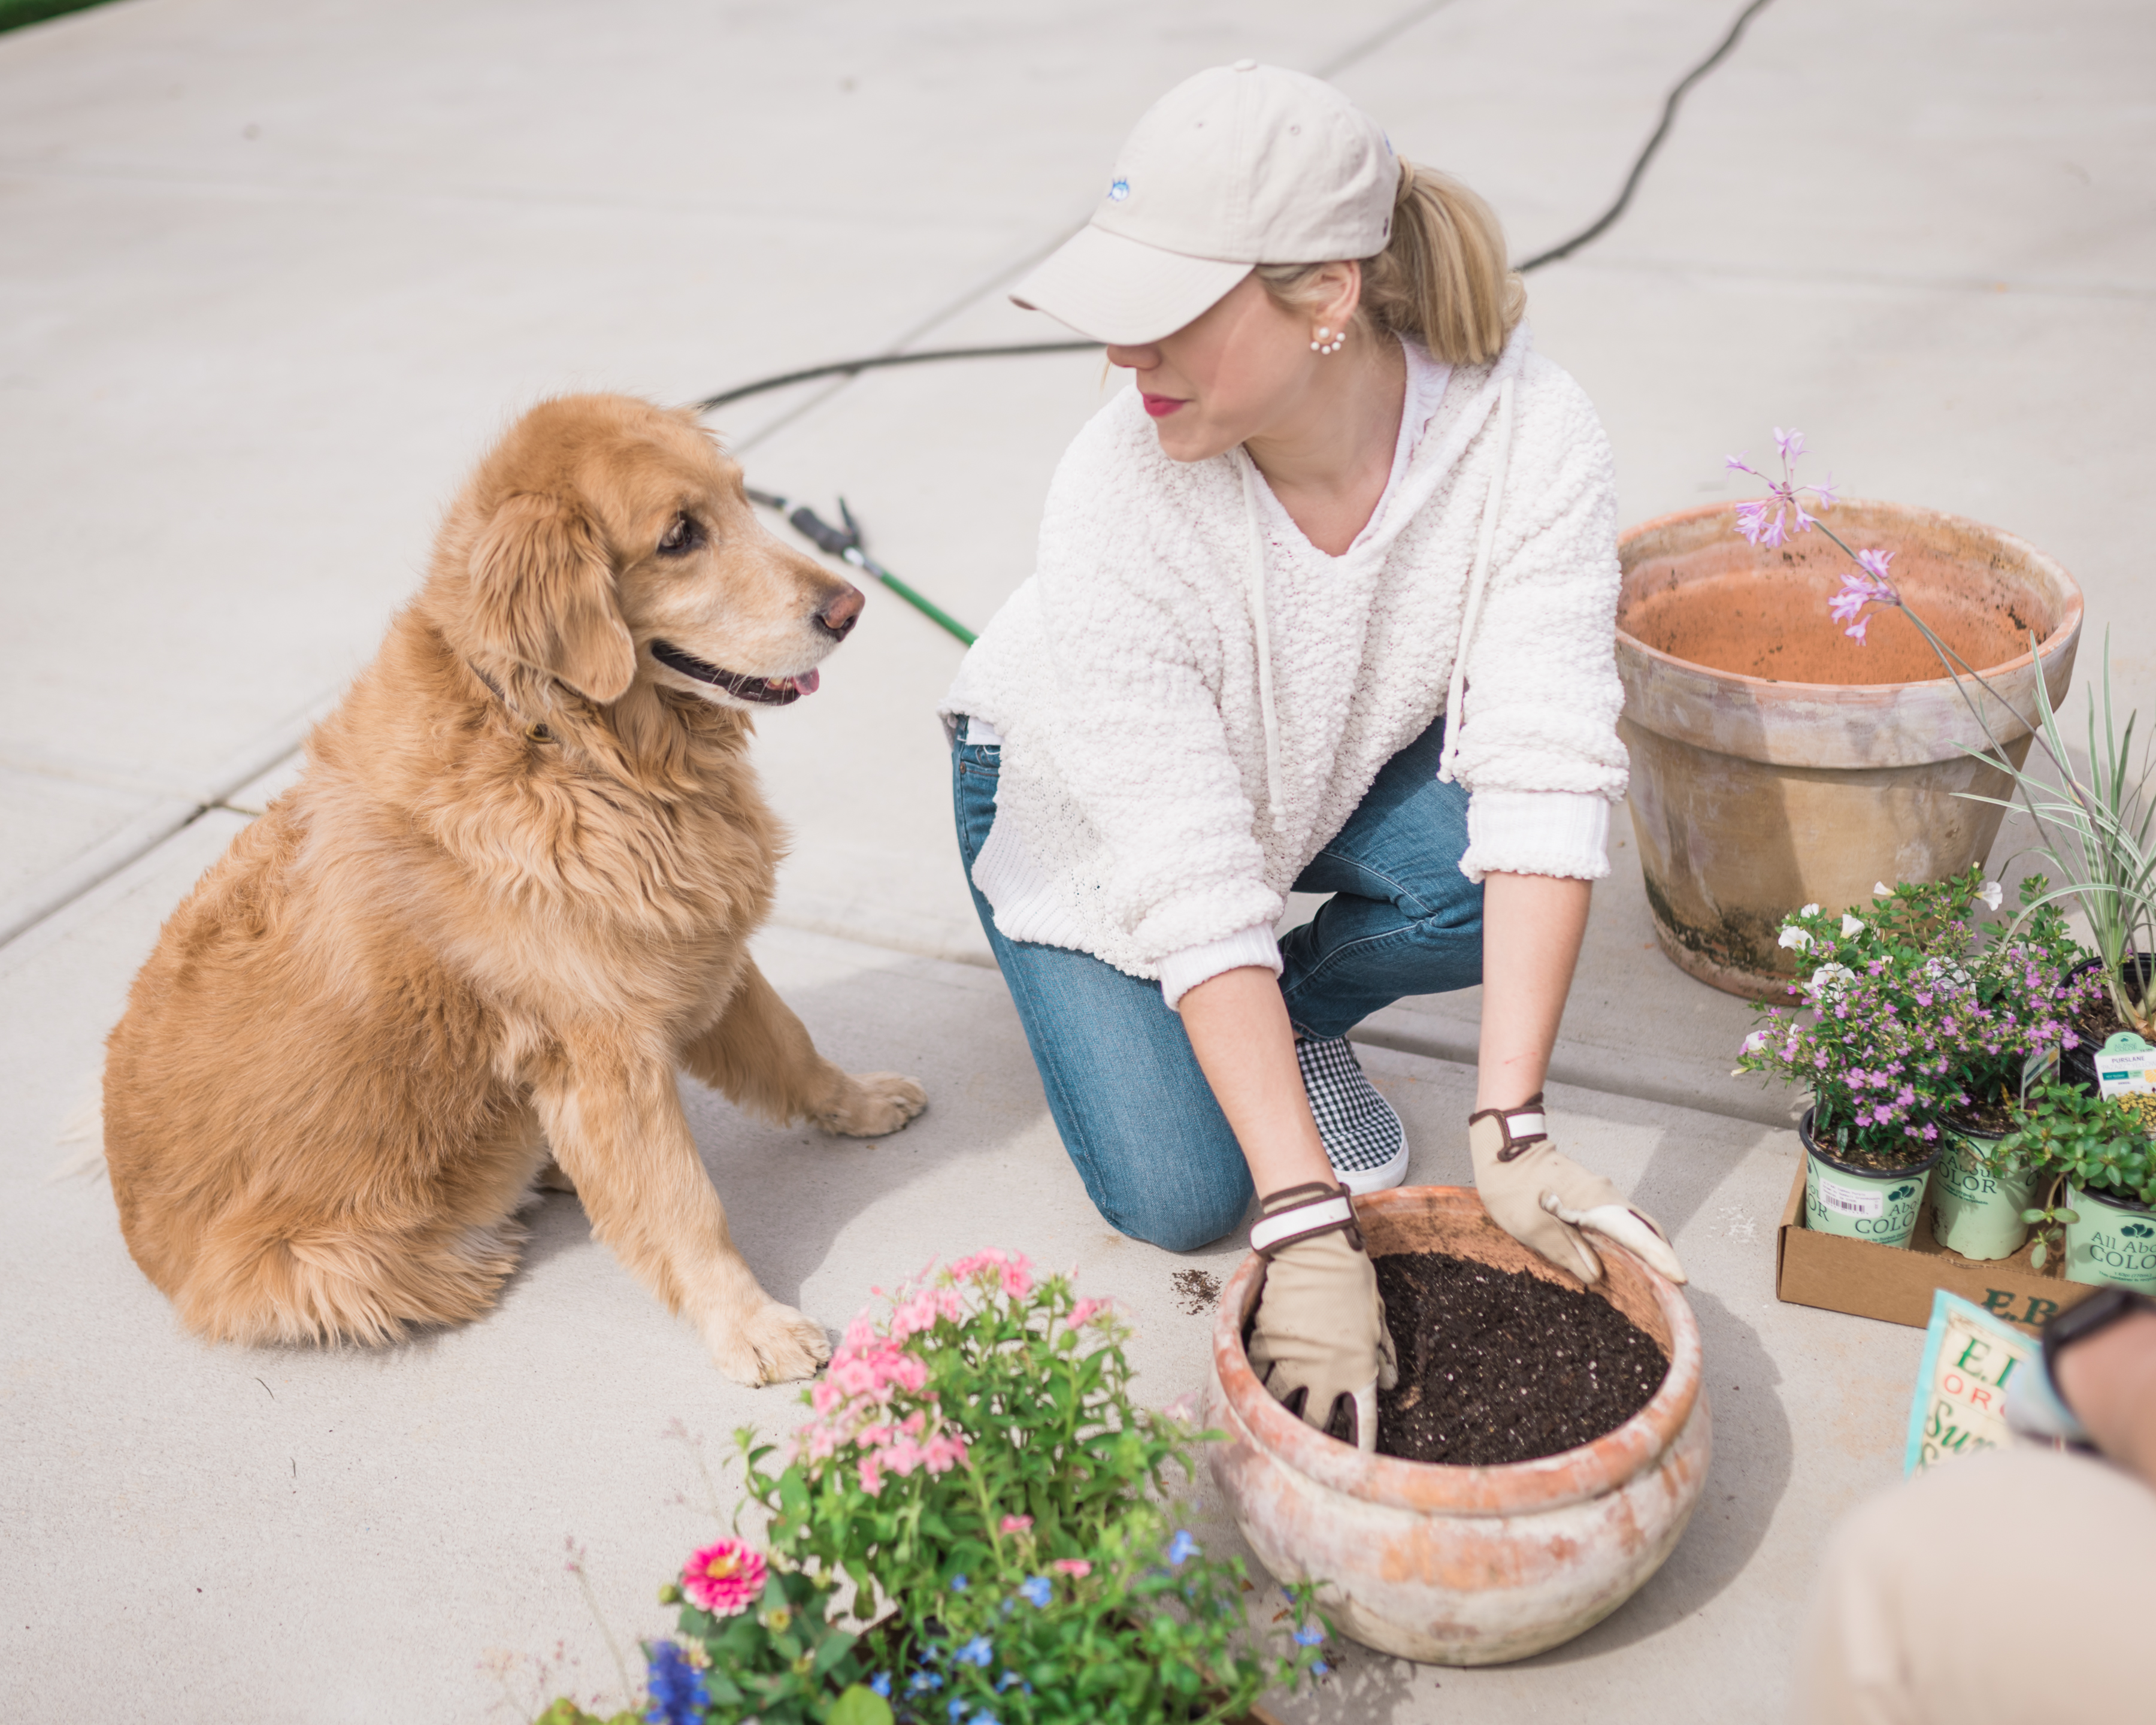
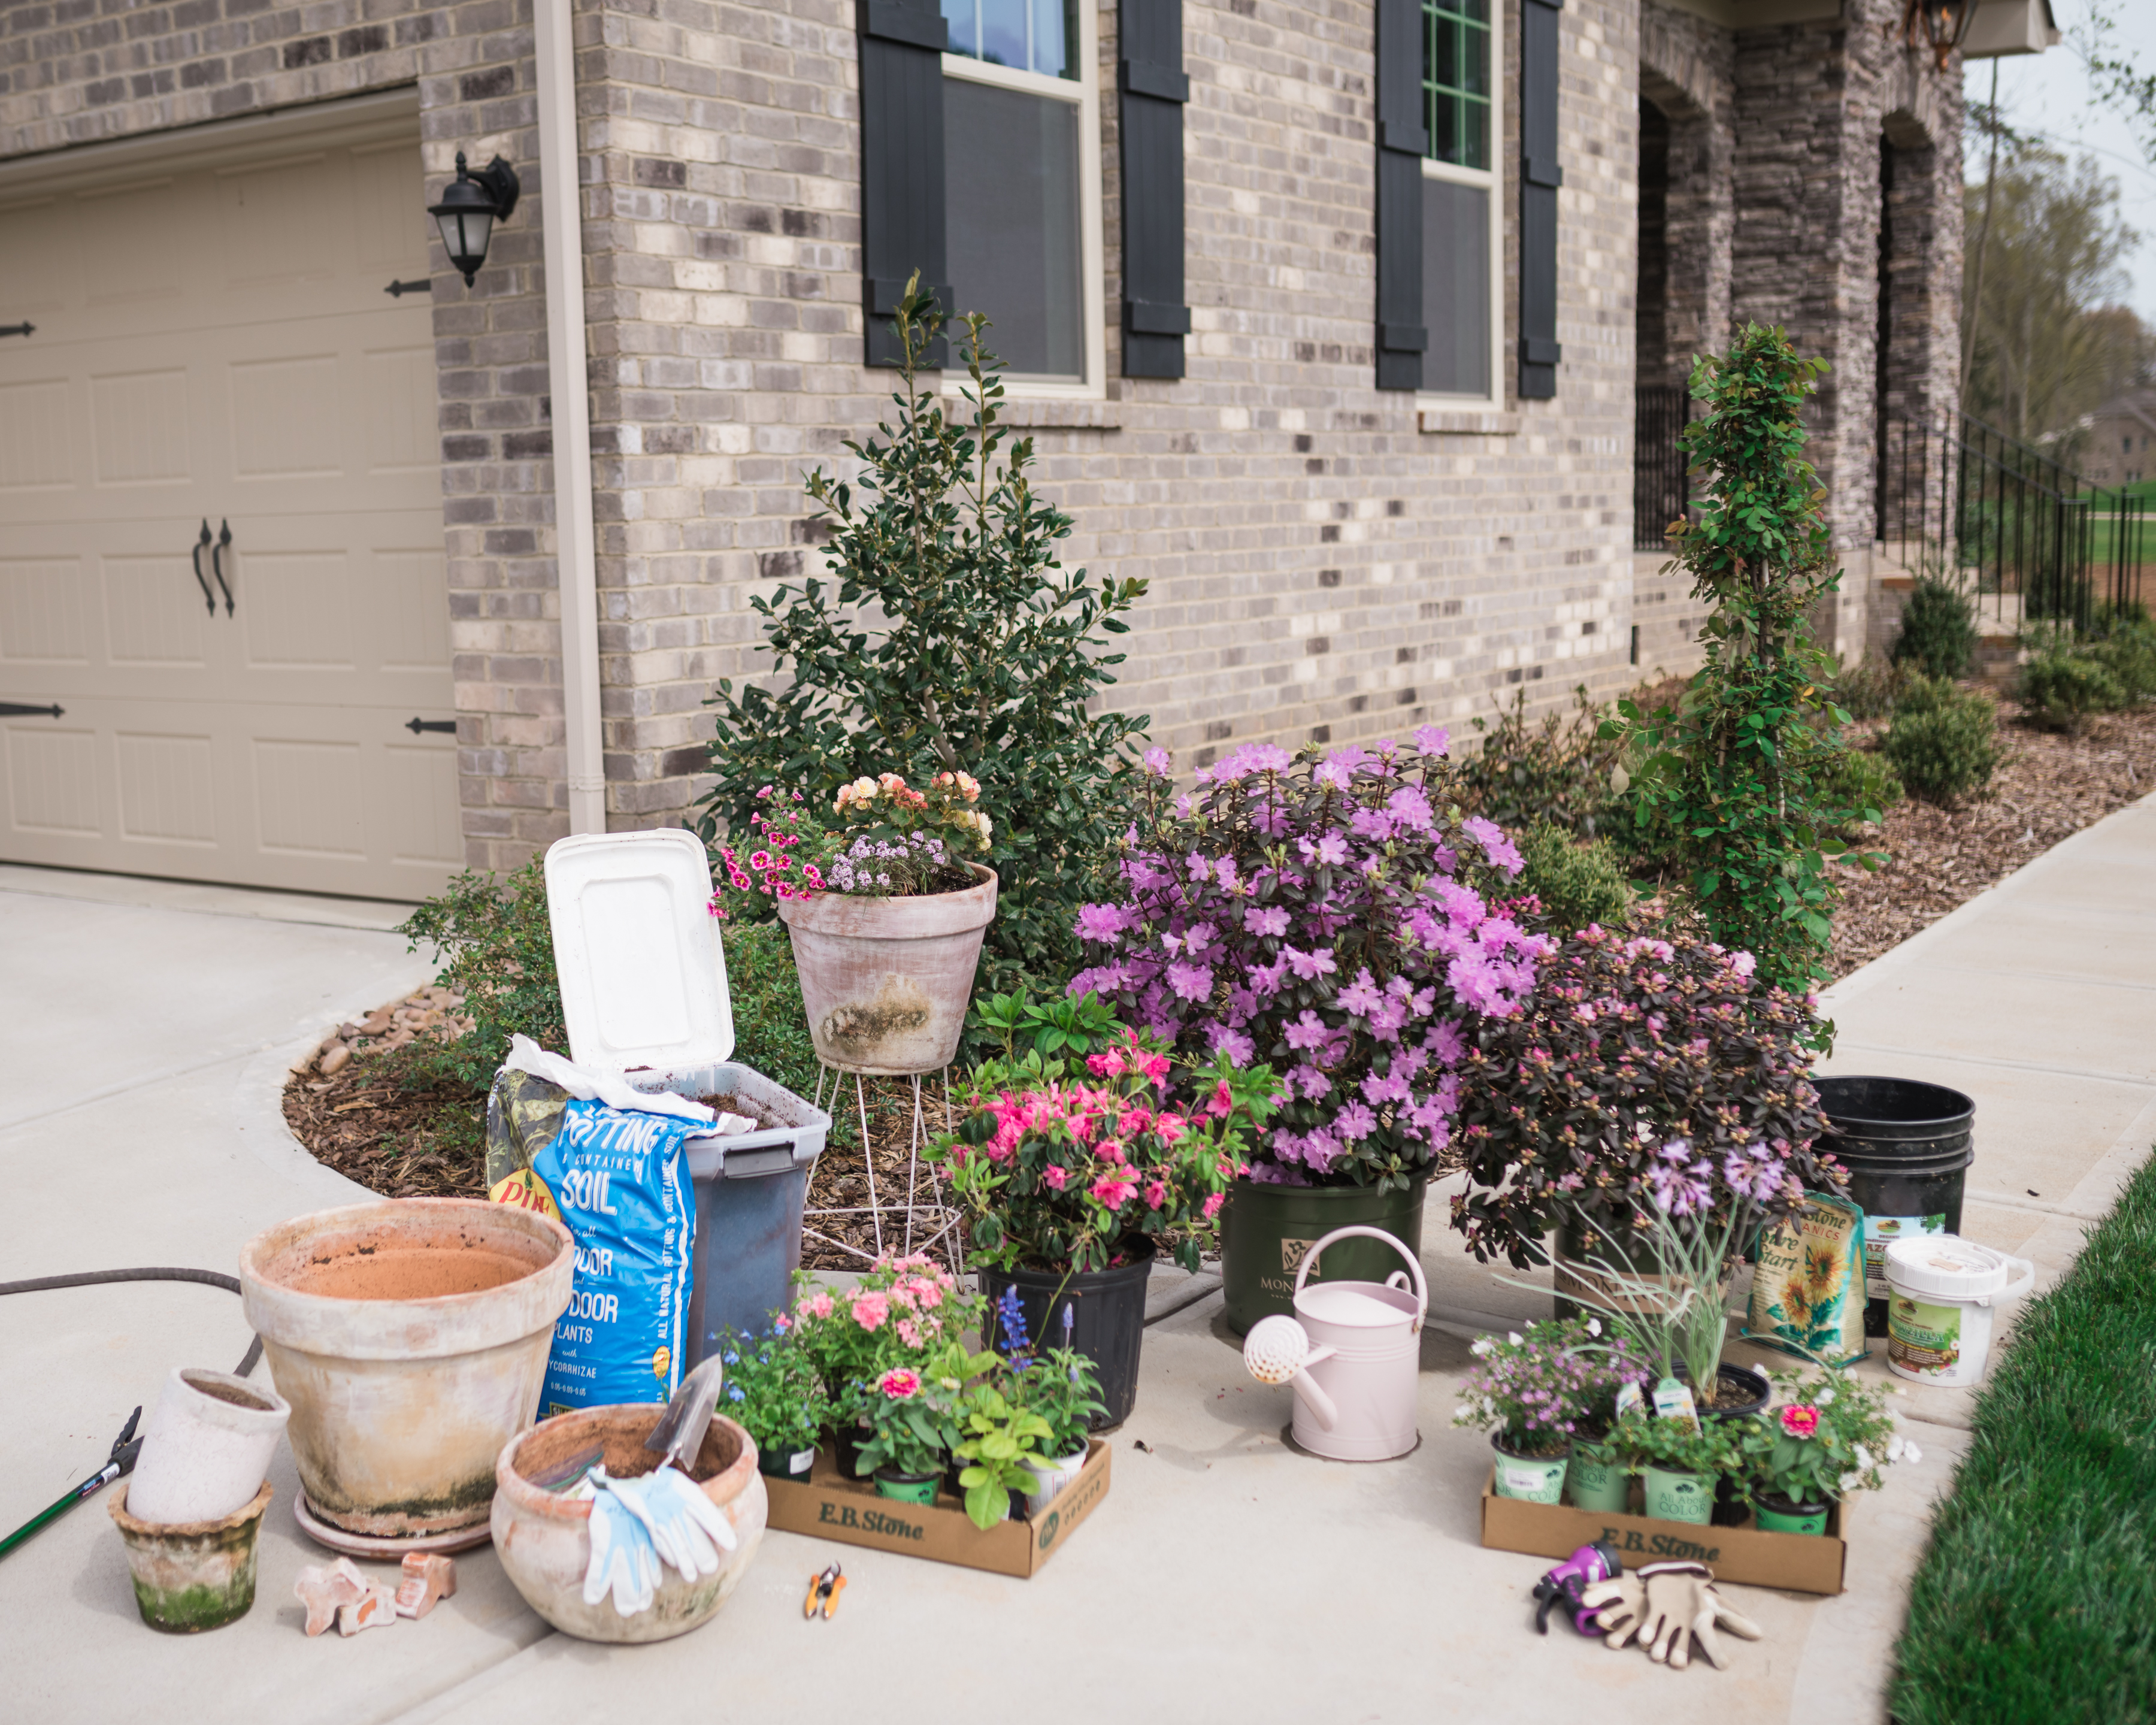
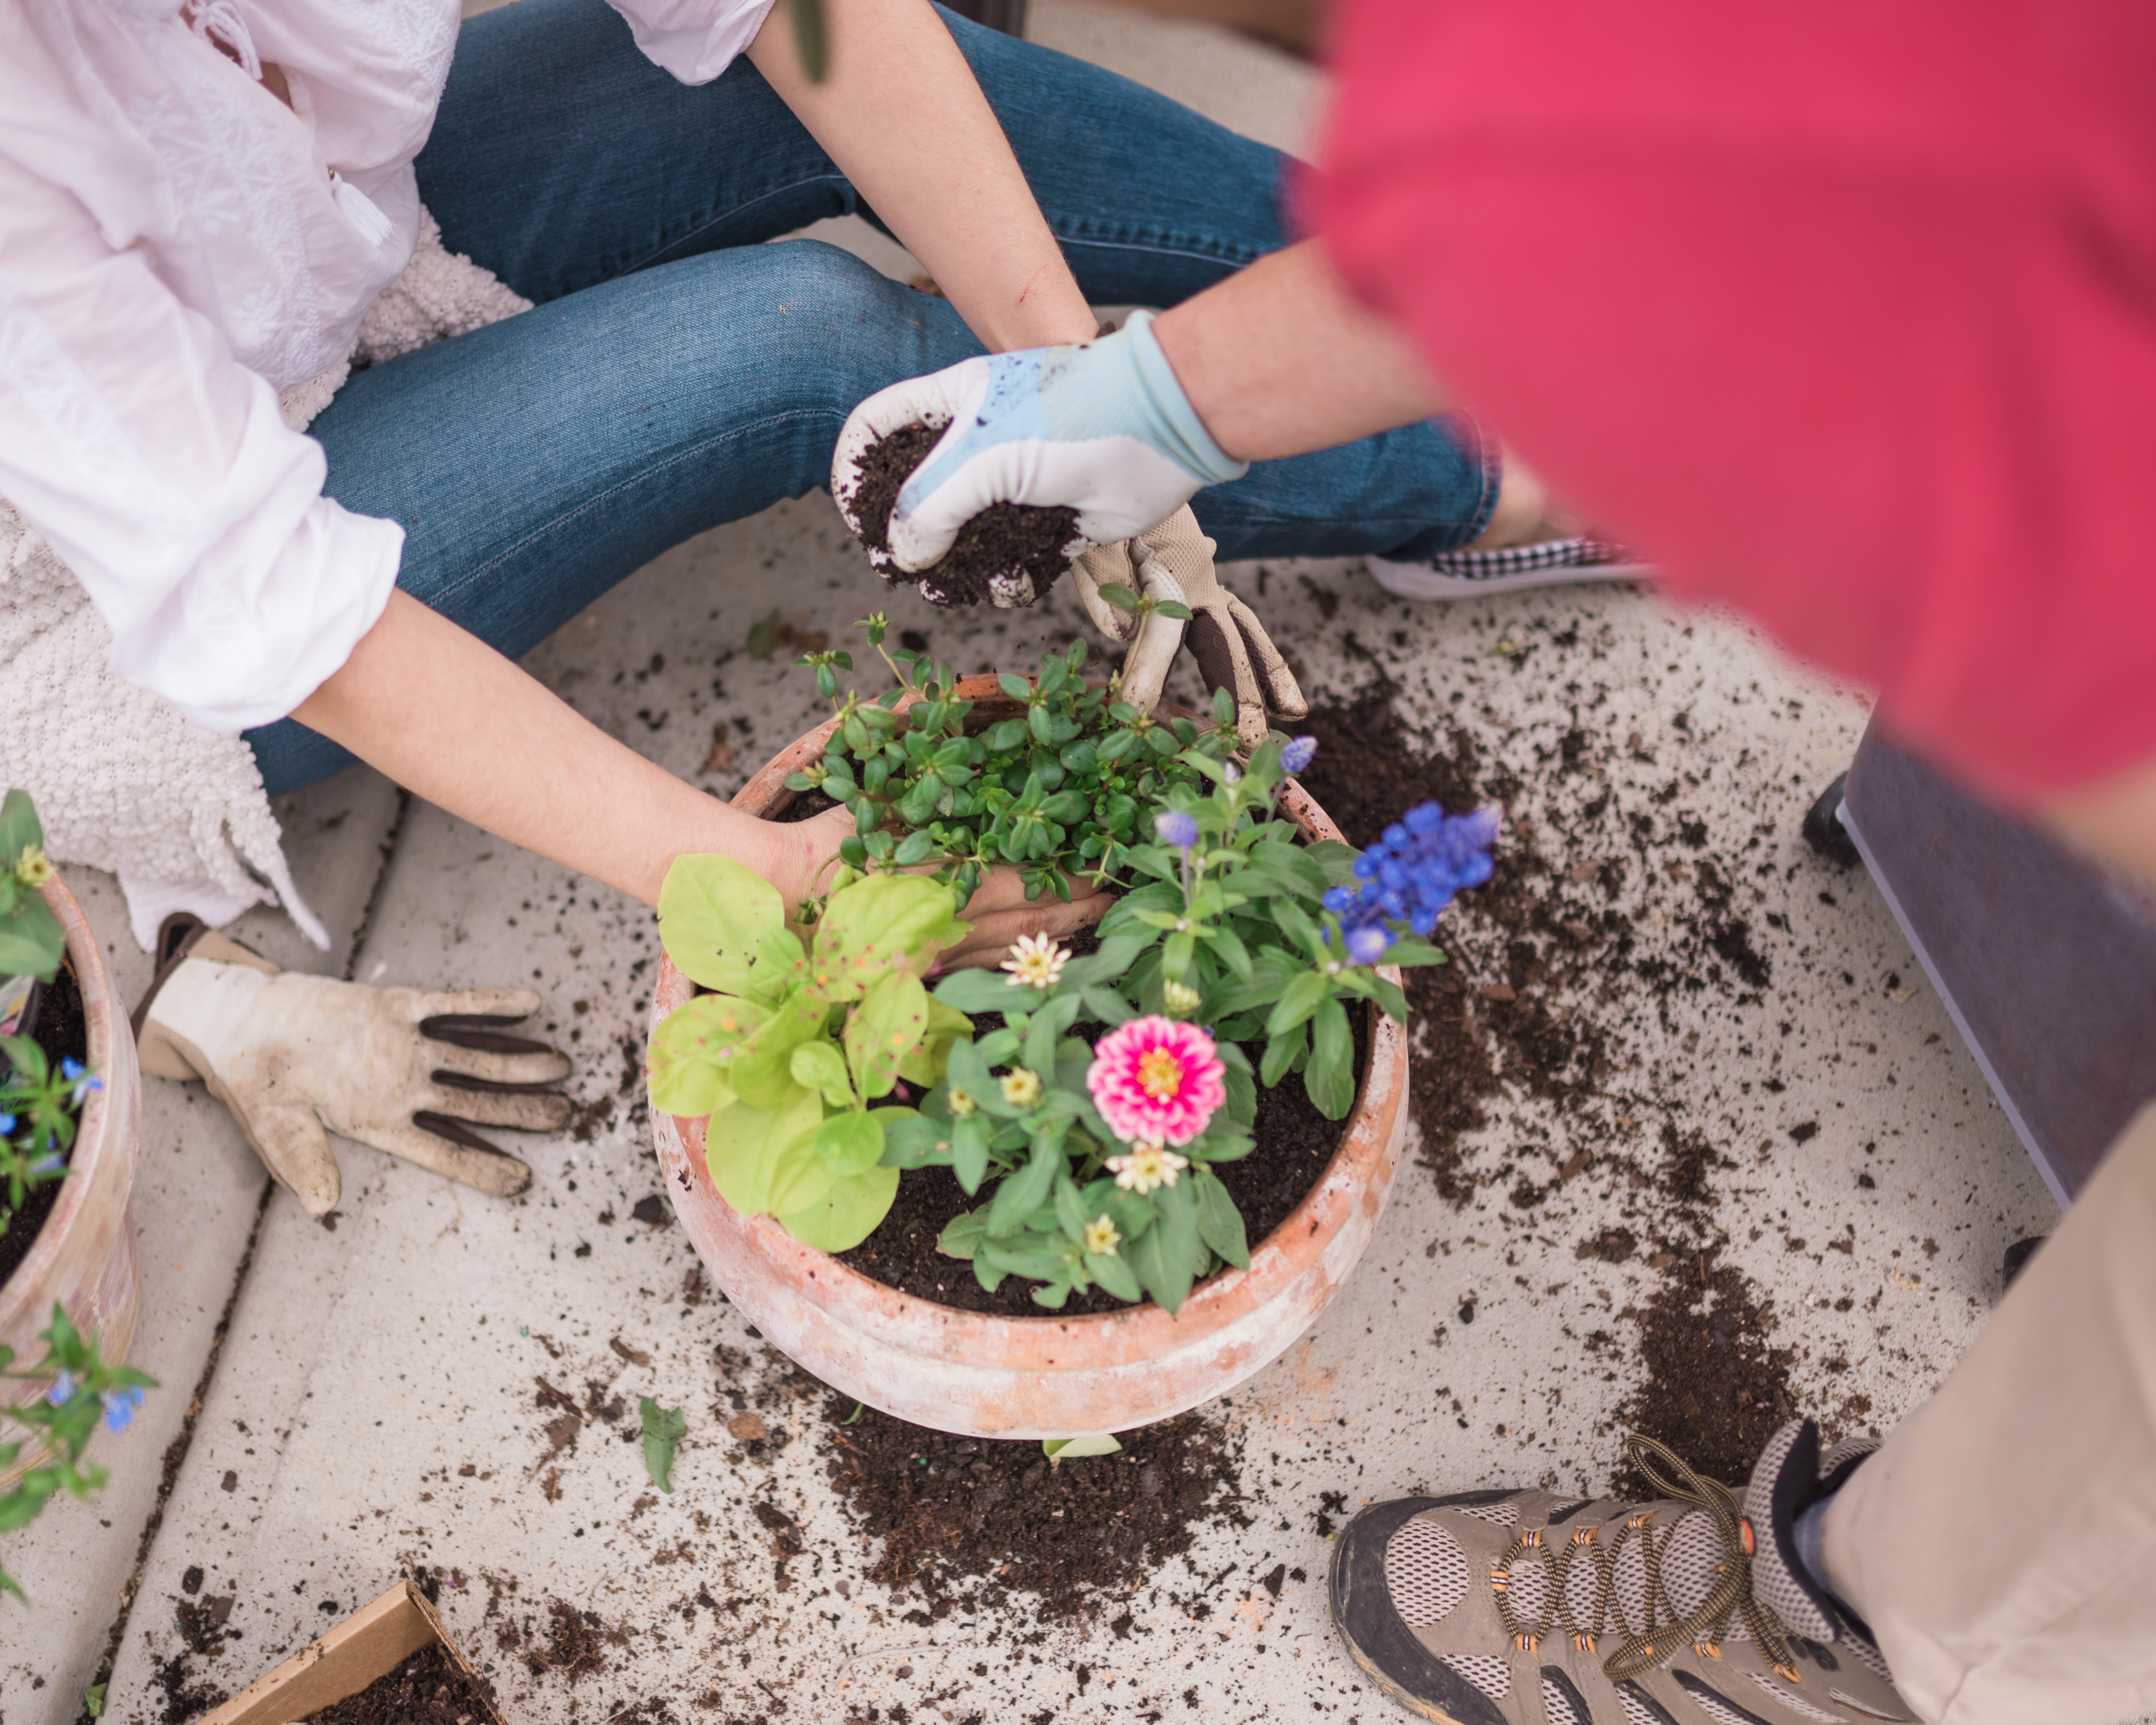
Below we’re sharing a detailed guide on how we create potted planters and use them to accent our home! Hopefully these tips along with your own creativity and eye for design will leave you feeling inspired to plant something beautiful!
1. Consider Your Space –
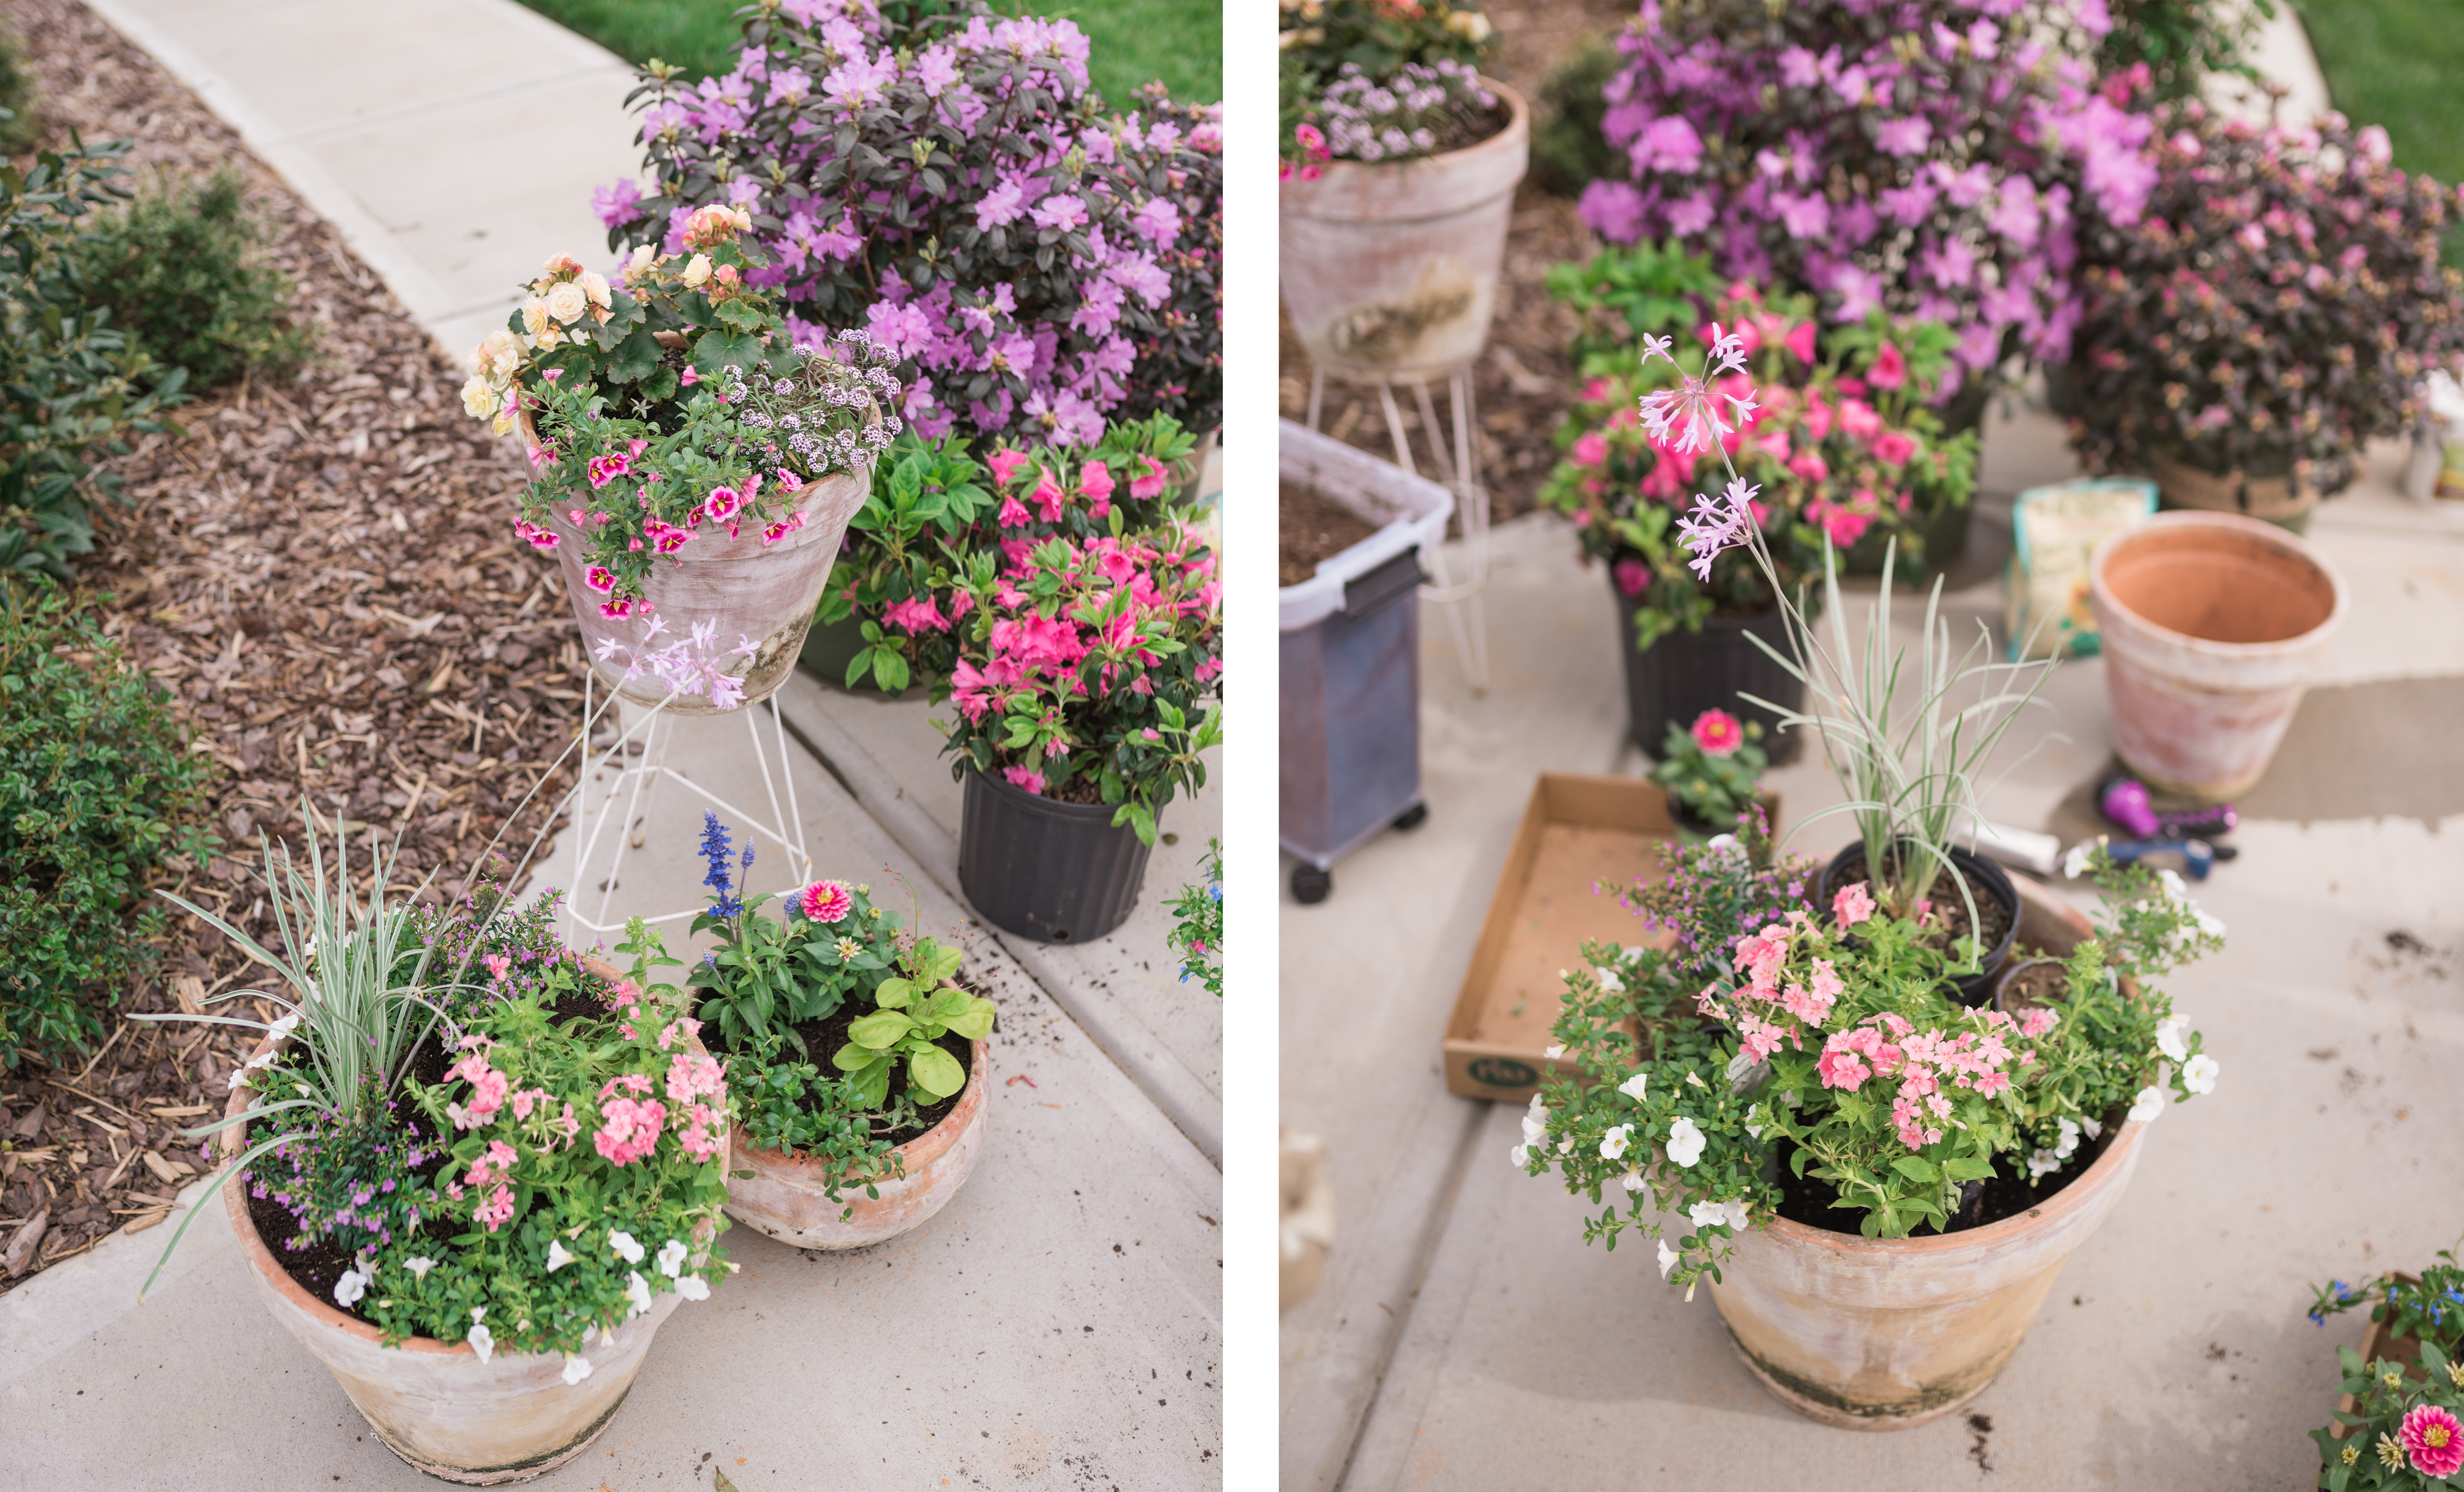
Use planters to accent a space. You want their placement to have purpose or else they’ll look awkward and out of place. This could be a walkway, corner, set of stairs, tabletop, softening retaining walls or framing furniture. By establishing some sort of pattern you ensure it flows well and doesn’t visually take away from the space its in. We love to frame our front porch stairs with layers of pots on either side, as well as use clusters of pots to soften the corners on our back patio. When arranging clusters use stands or pots of varying sizes/ heights to create layers and dimension.
Tip: If you are struggling to make a group of potted planters look good grouped together, try this simple trick. Place one large pot at the center and then add two smaller pots to each side. This will draw the eye to the focal point, but also offer texture and dimension accentuating the focal pot.
2. Consider Your Pot –
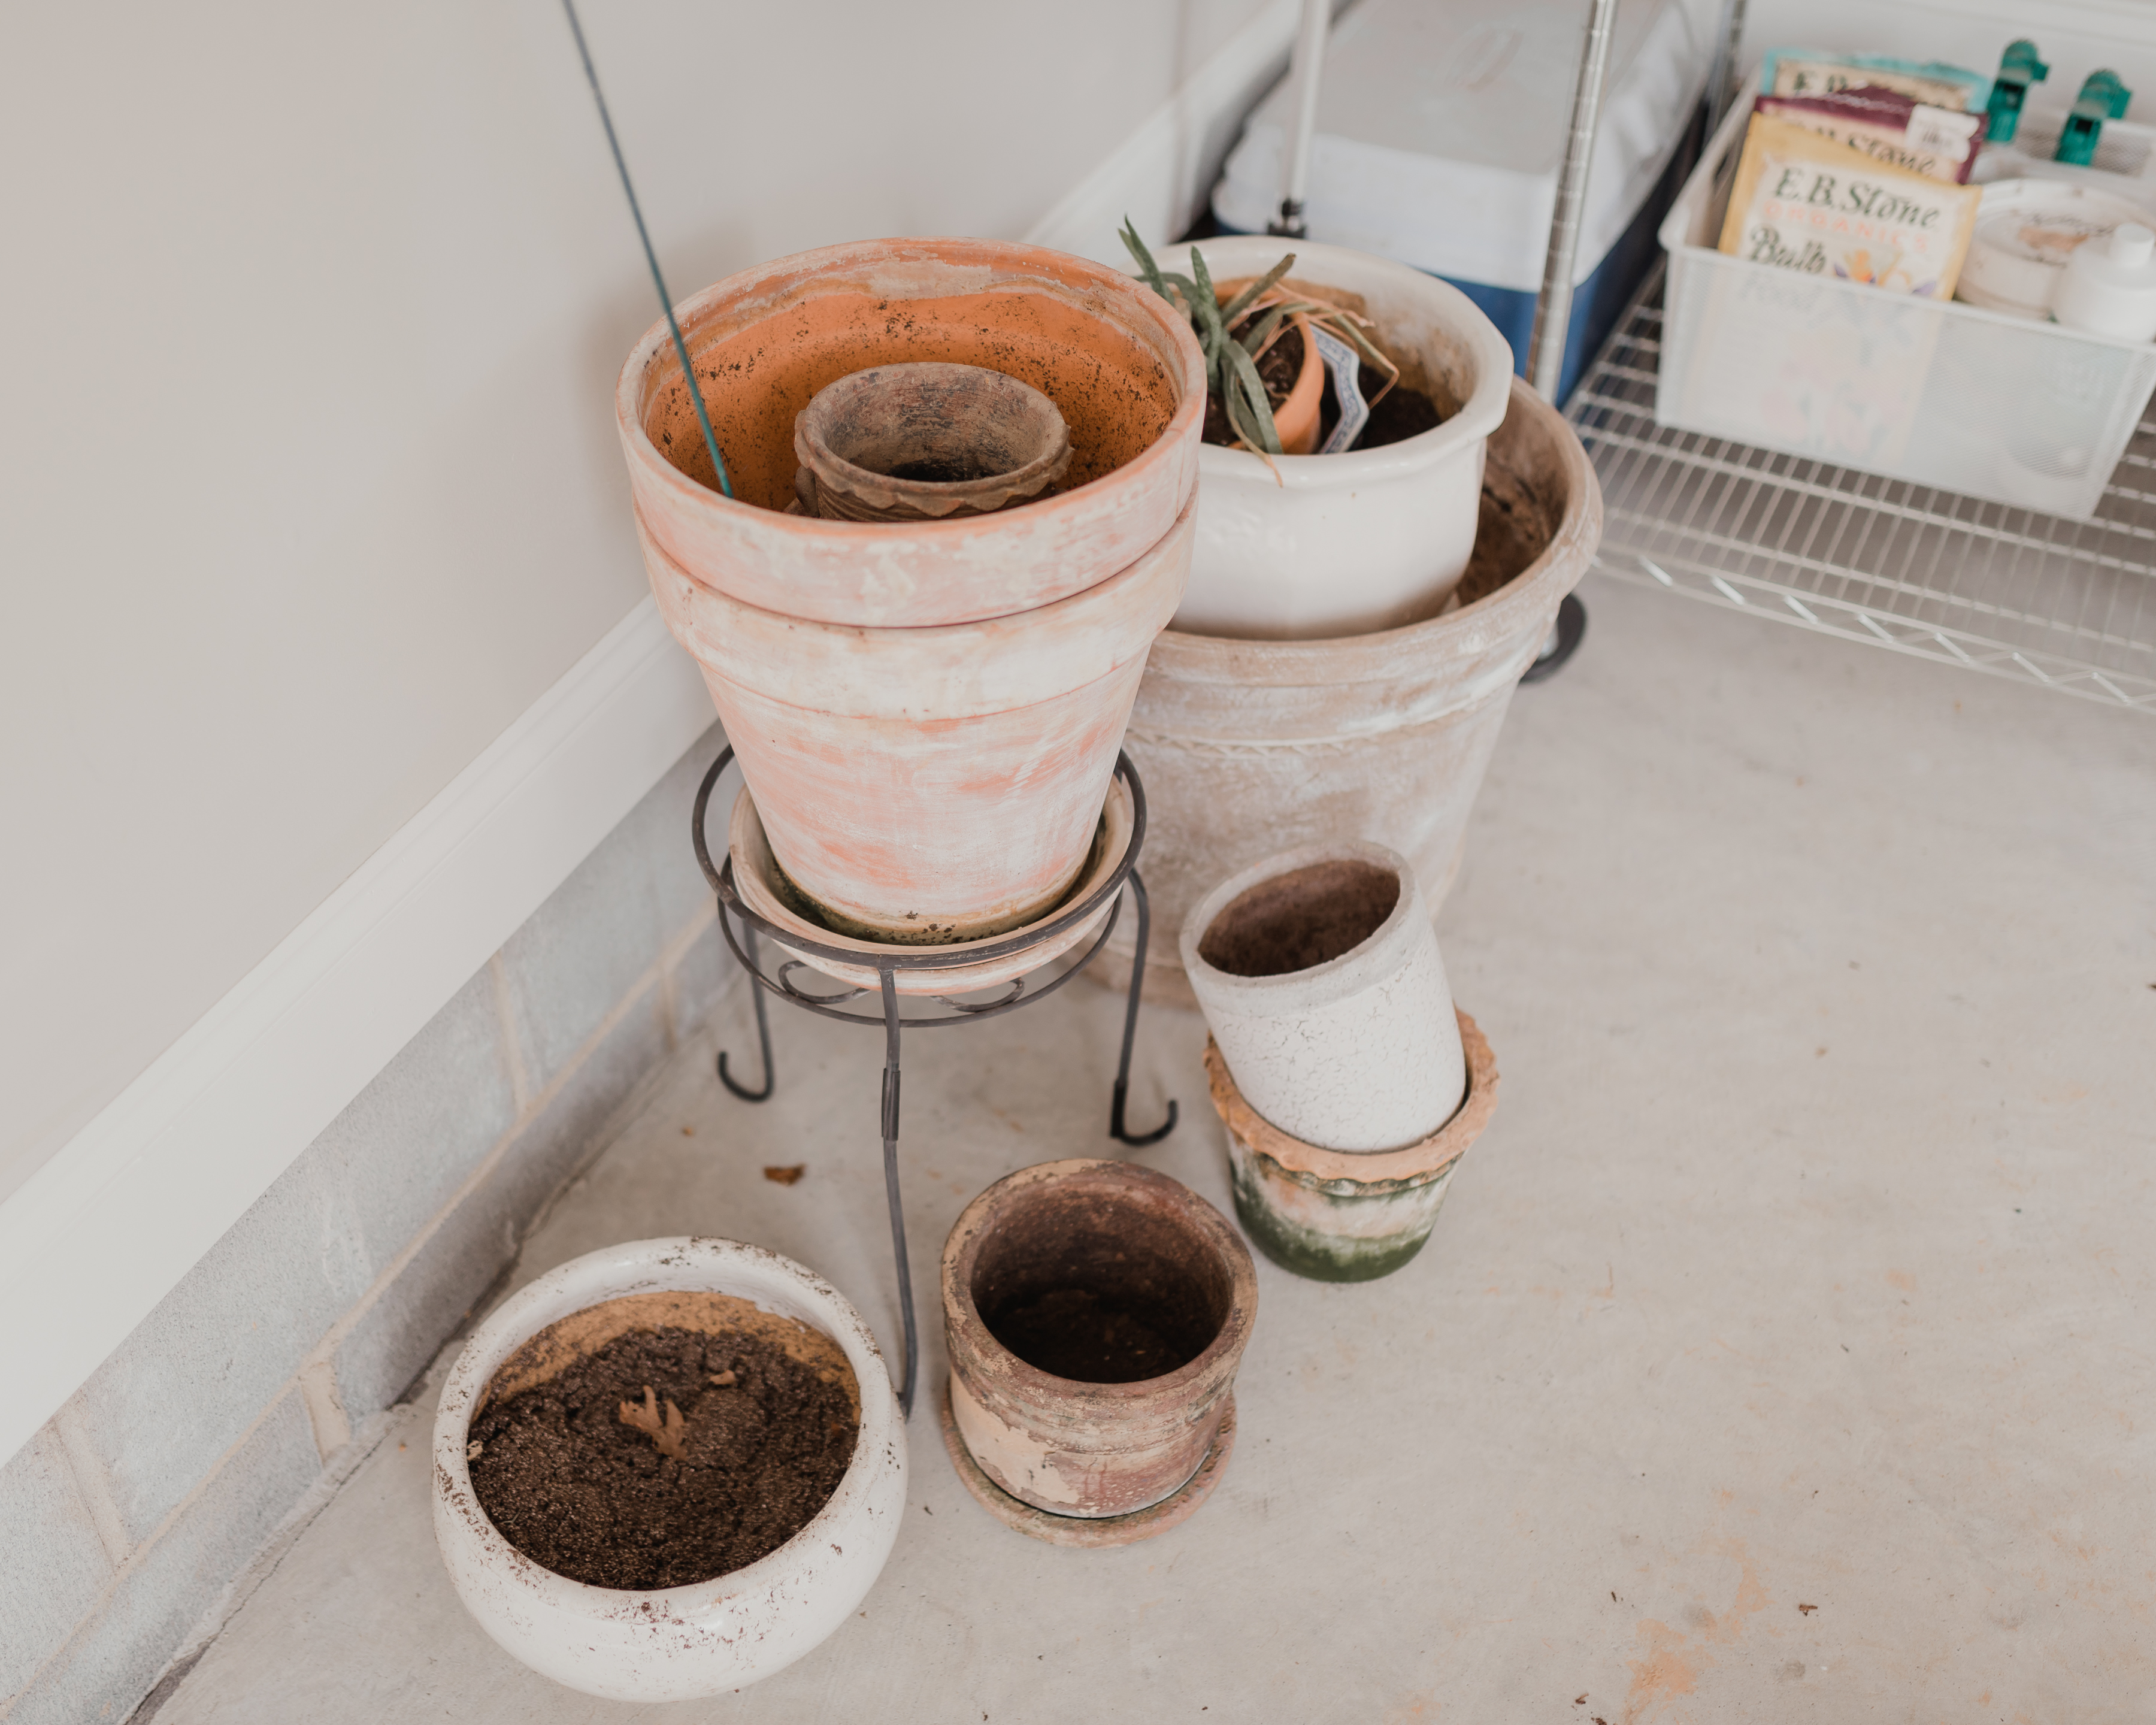
Unless you’re set on specific plants, it’s best to pick the pot before you decide what’s going in it. Choose something that suits the style of your home/ the space your trying to create. Aesthetics aside, there are a few practical things to consider. For a mixture of plants, look for containers at least 12 inches wide and 8 inches deep. Every pot needs drainage holes to prevent root rot and should be lined with small stones to keep soil from migrating out (keep in mind you will eventually need to move this pot, so a few stones should do the job without being too heavy).
3. Choosing Plants (Tall, Short, Full, Thin – Make Planter Diversity A Priority –
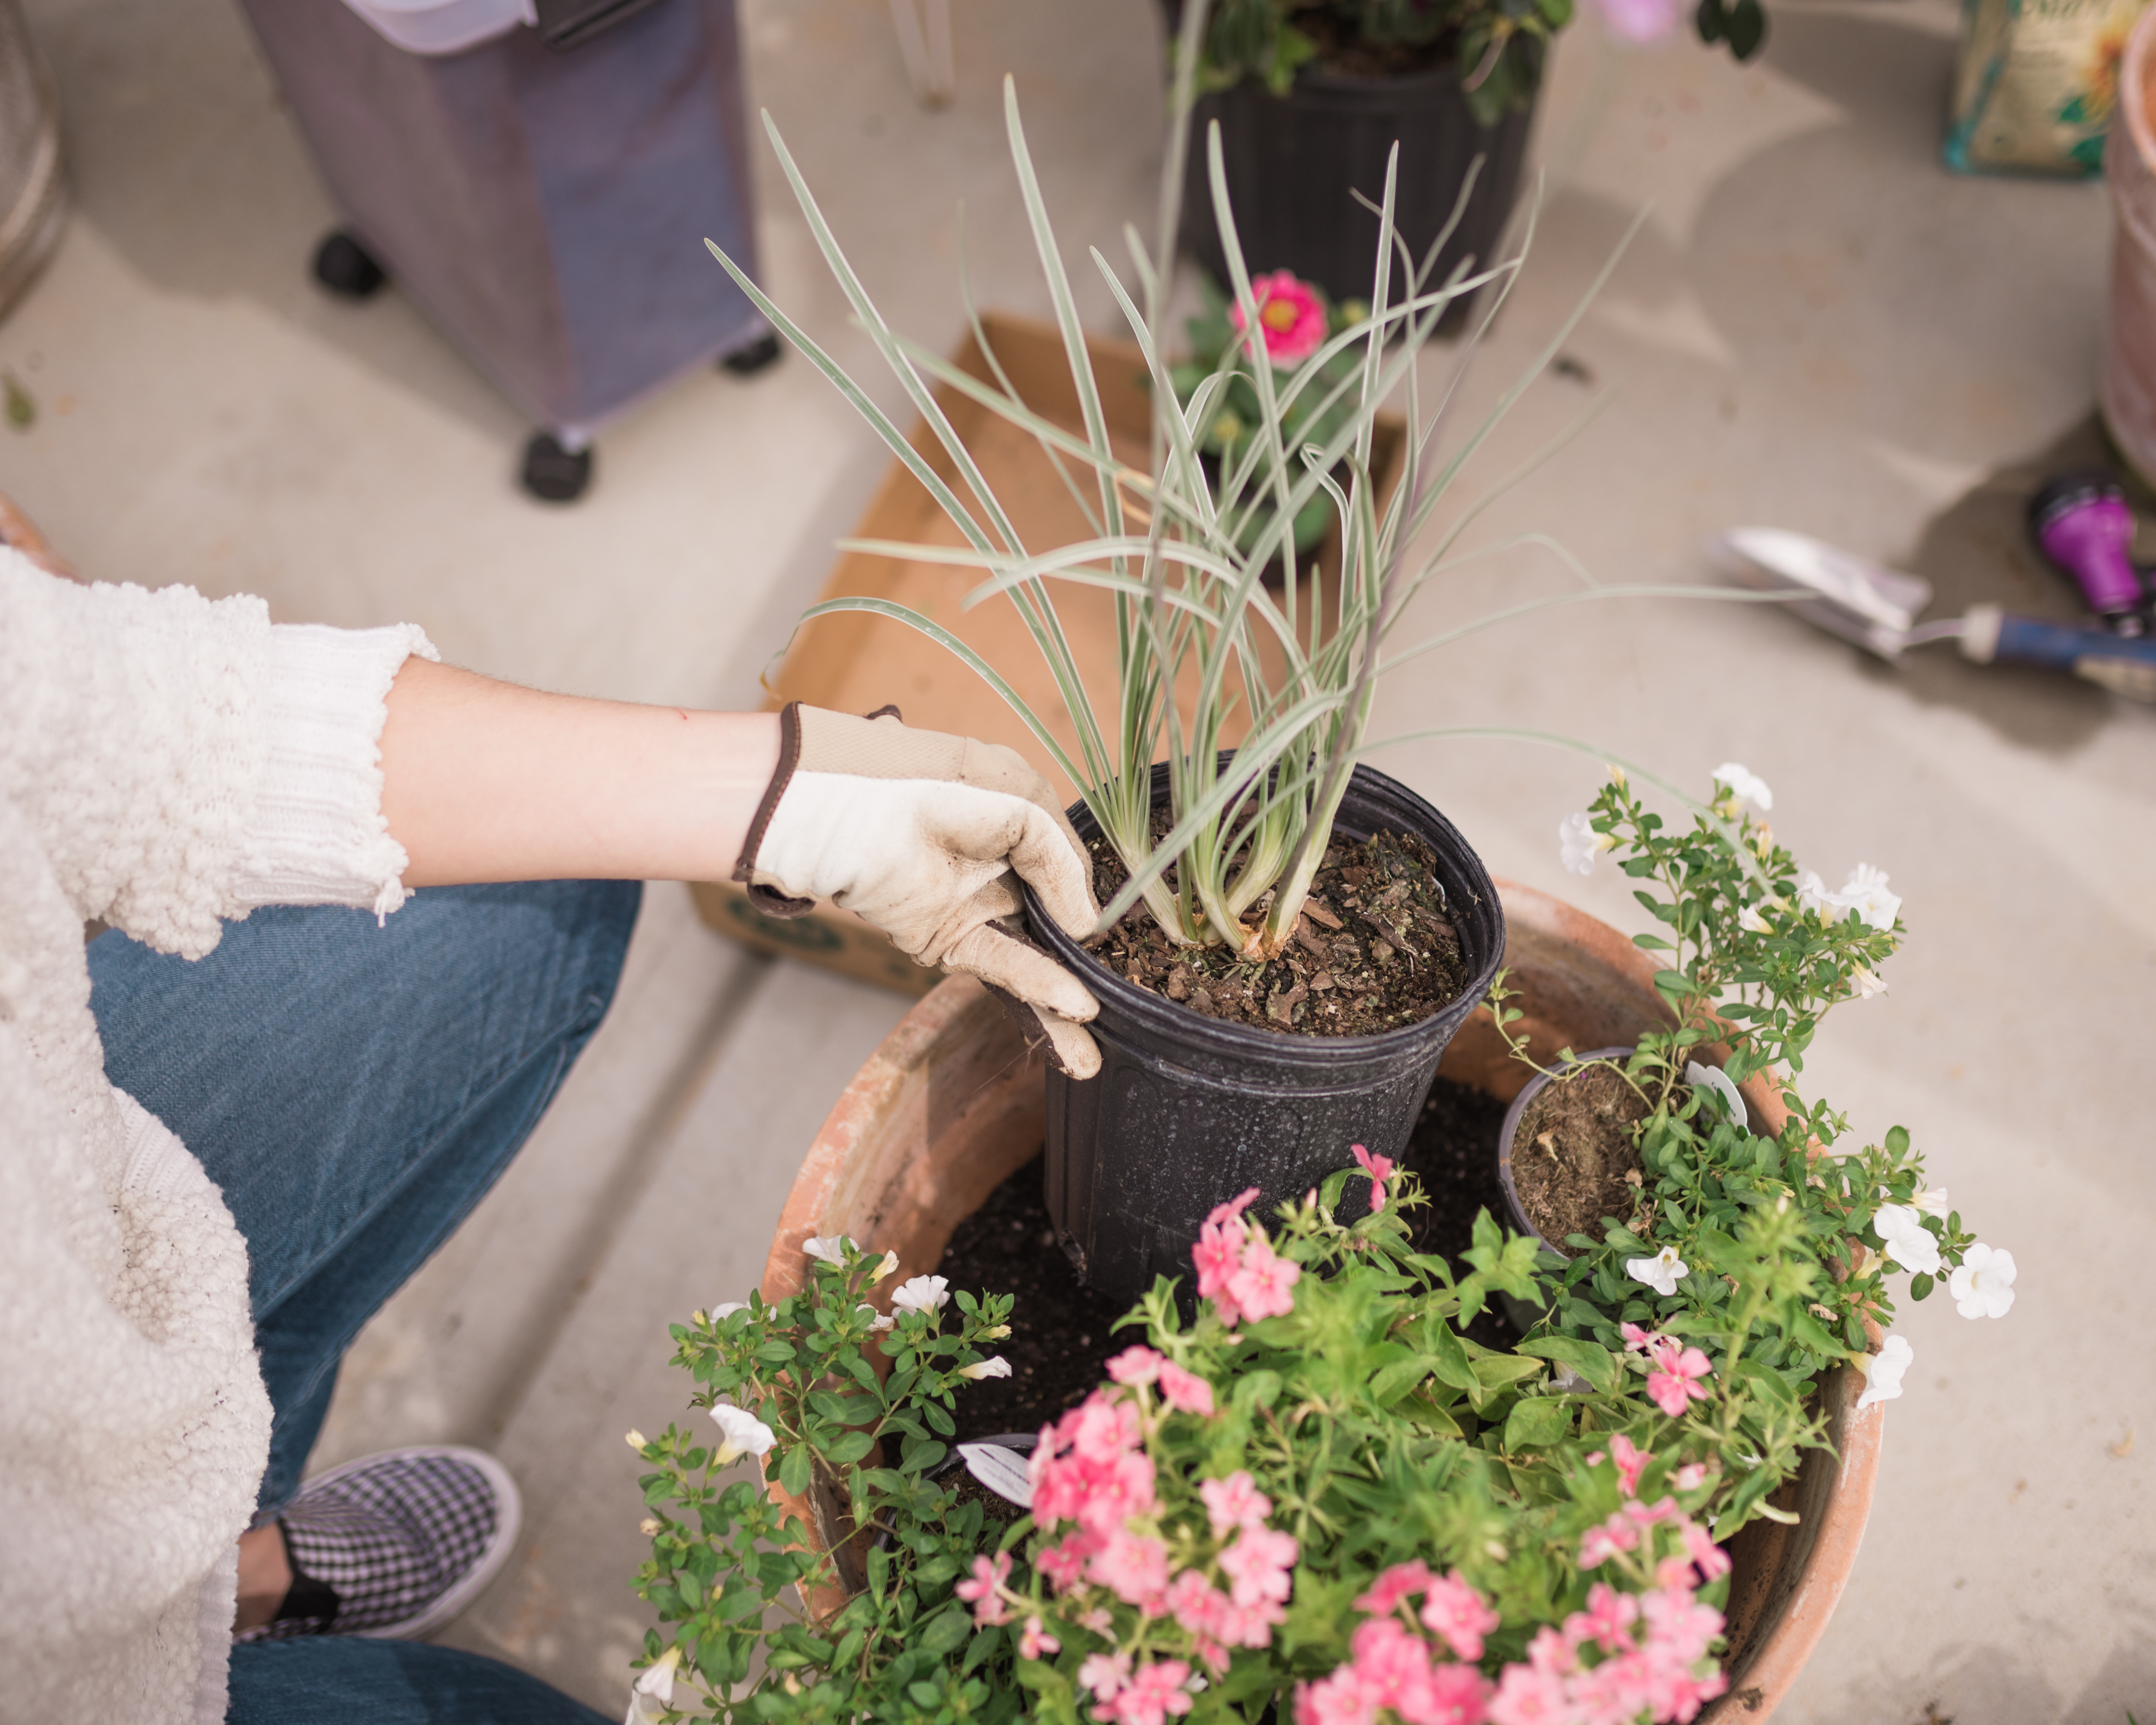
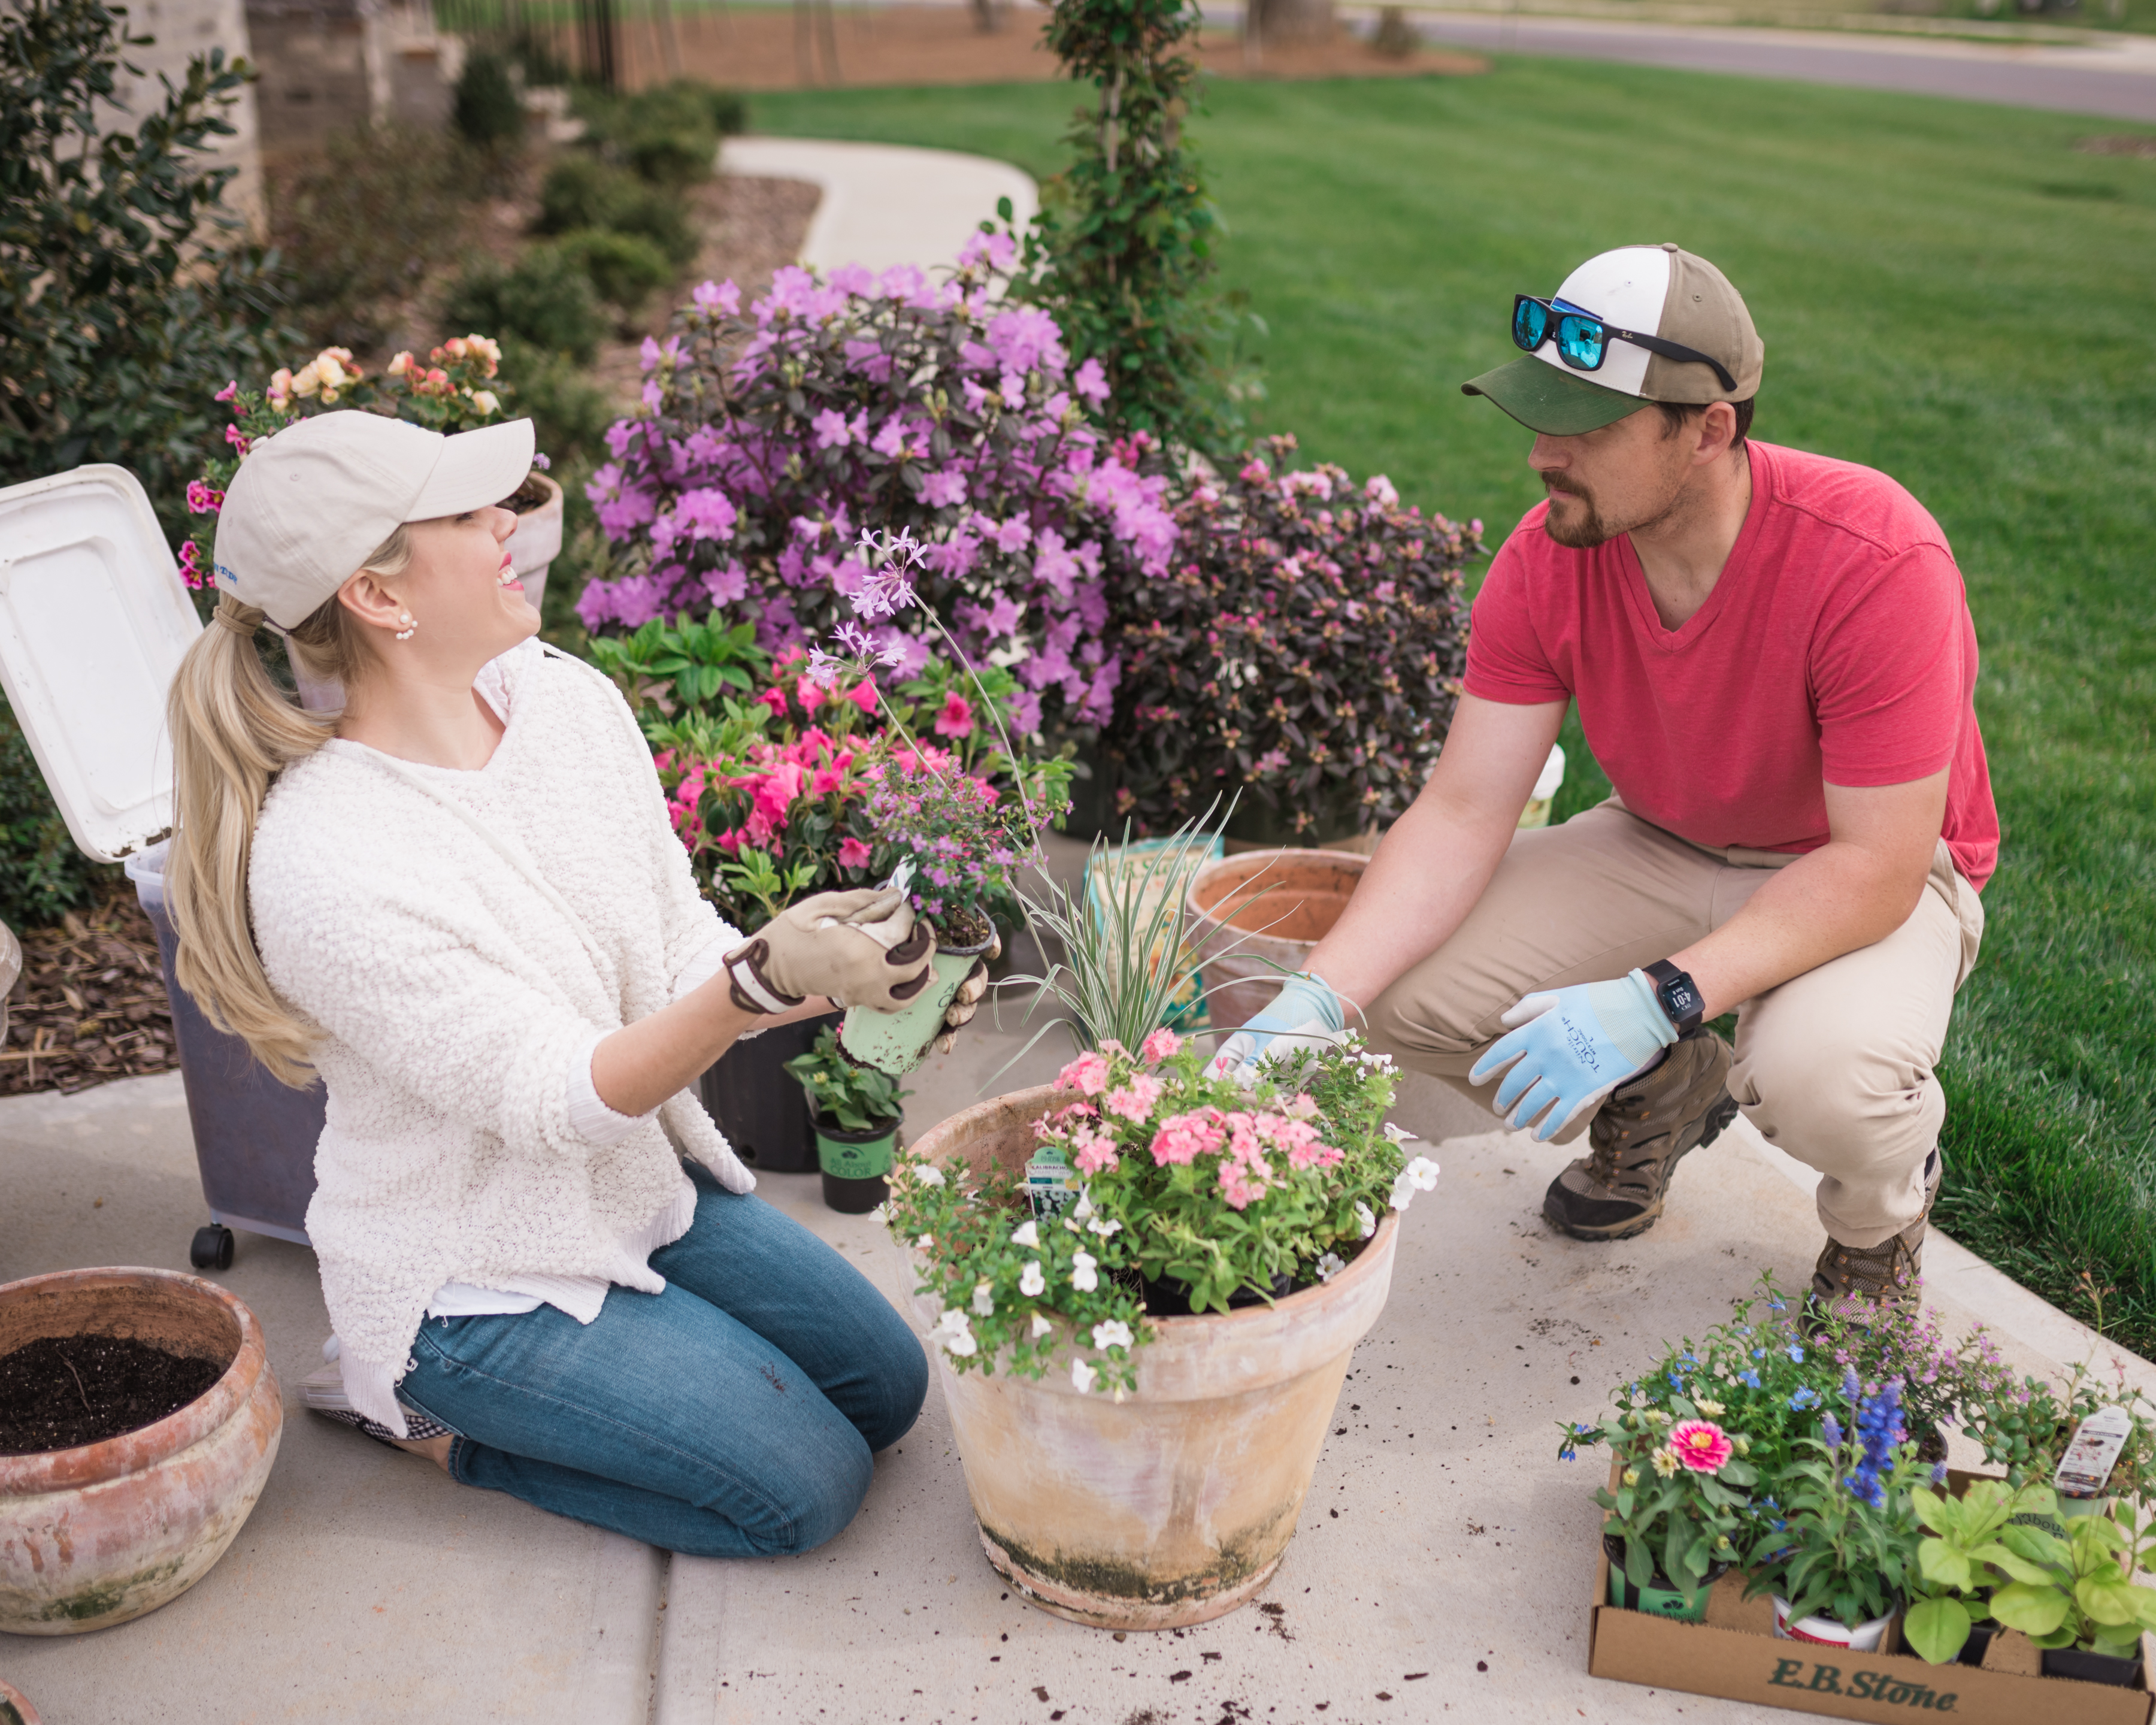
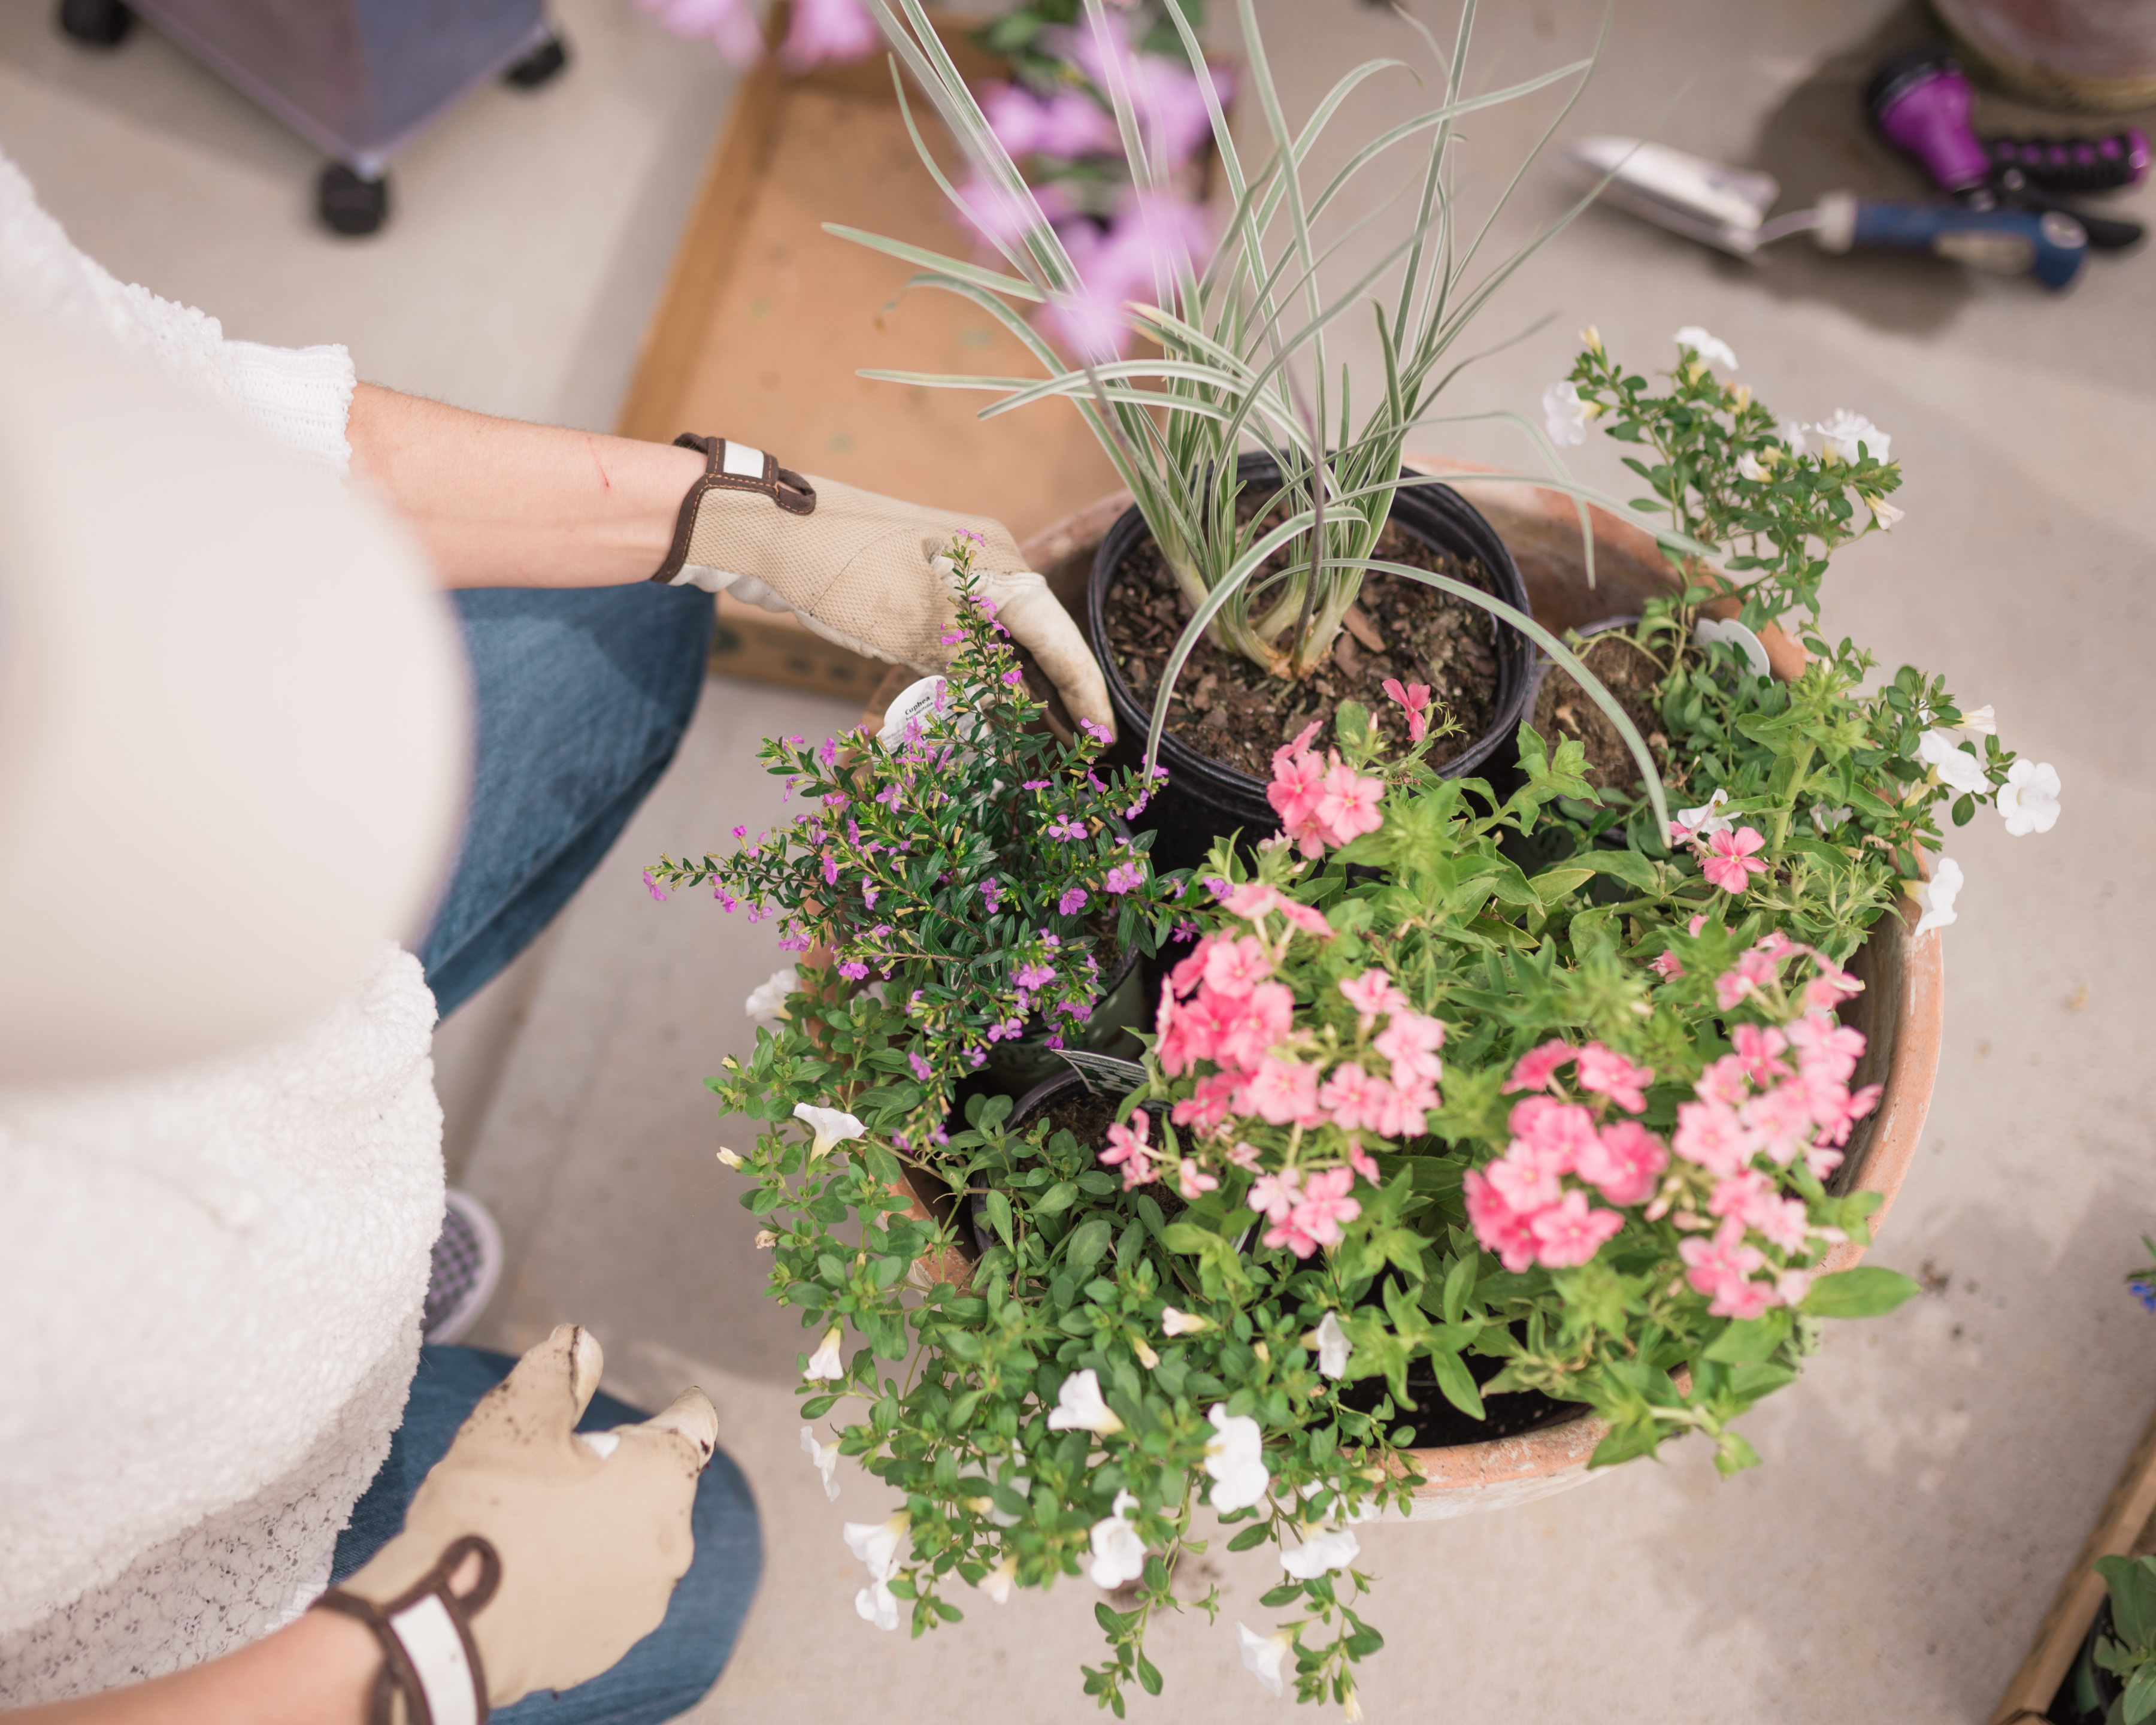
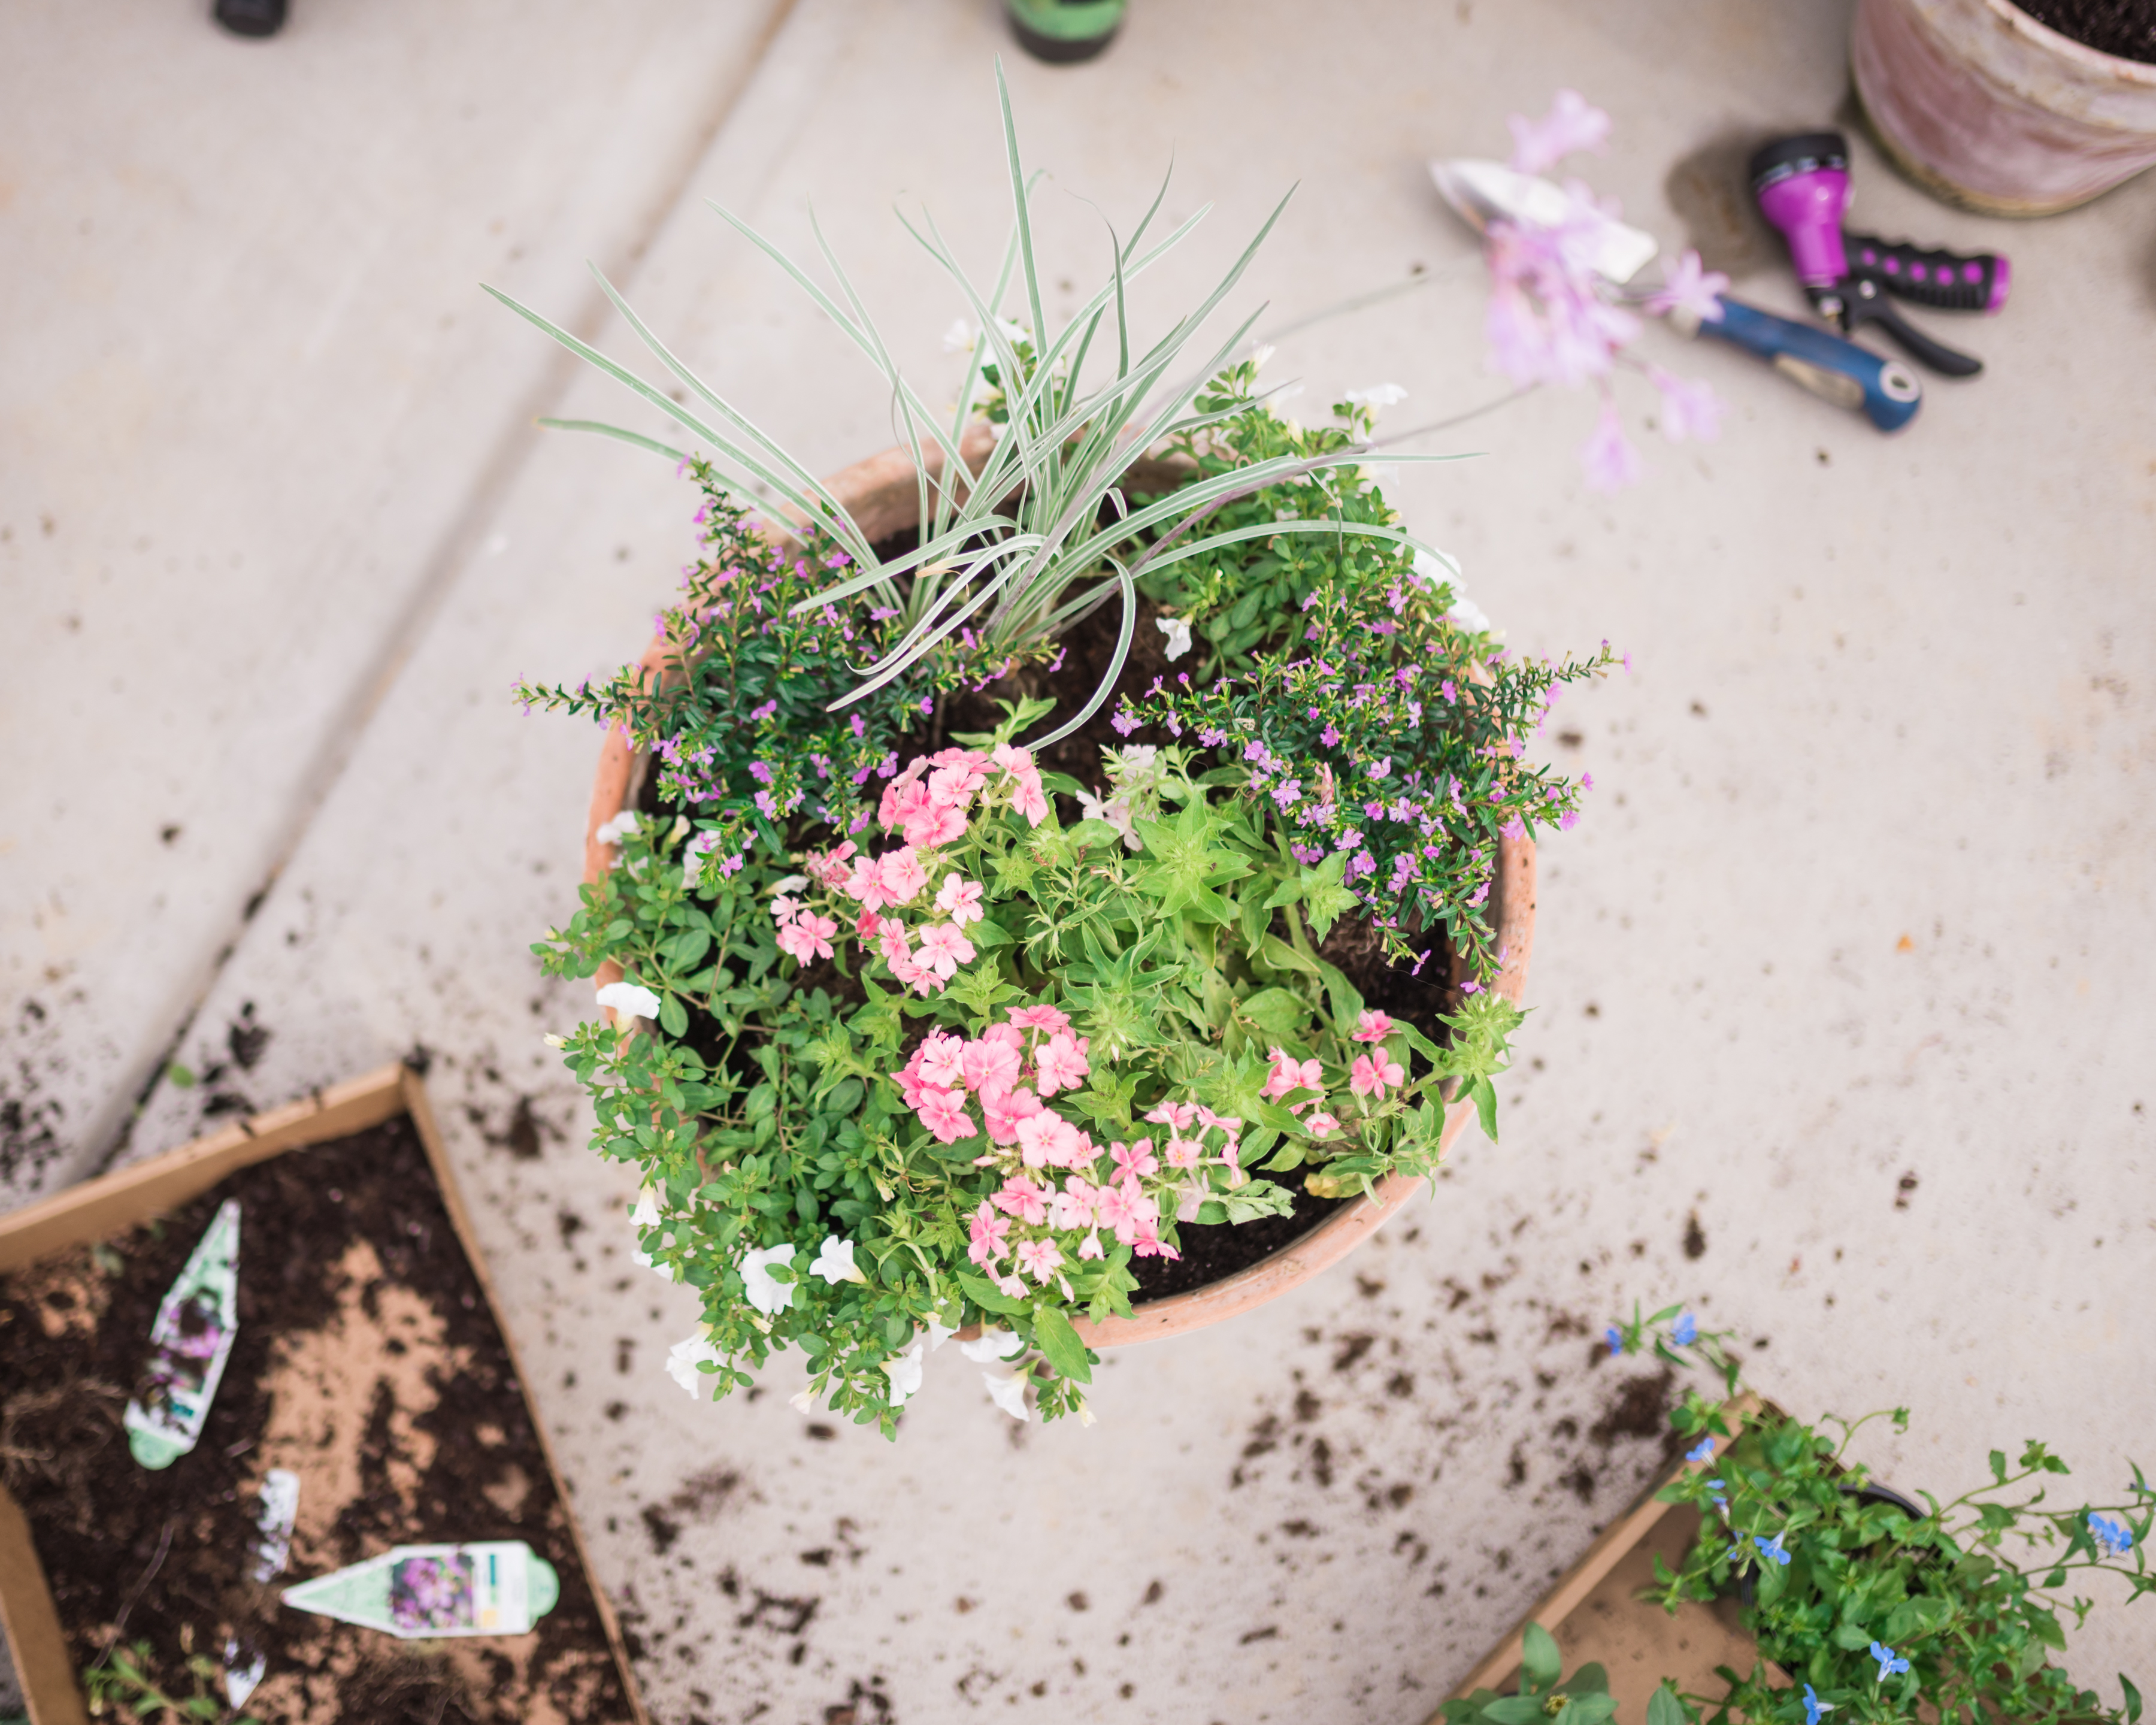
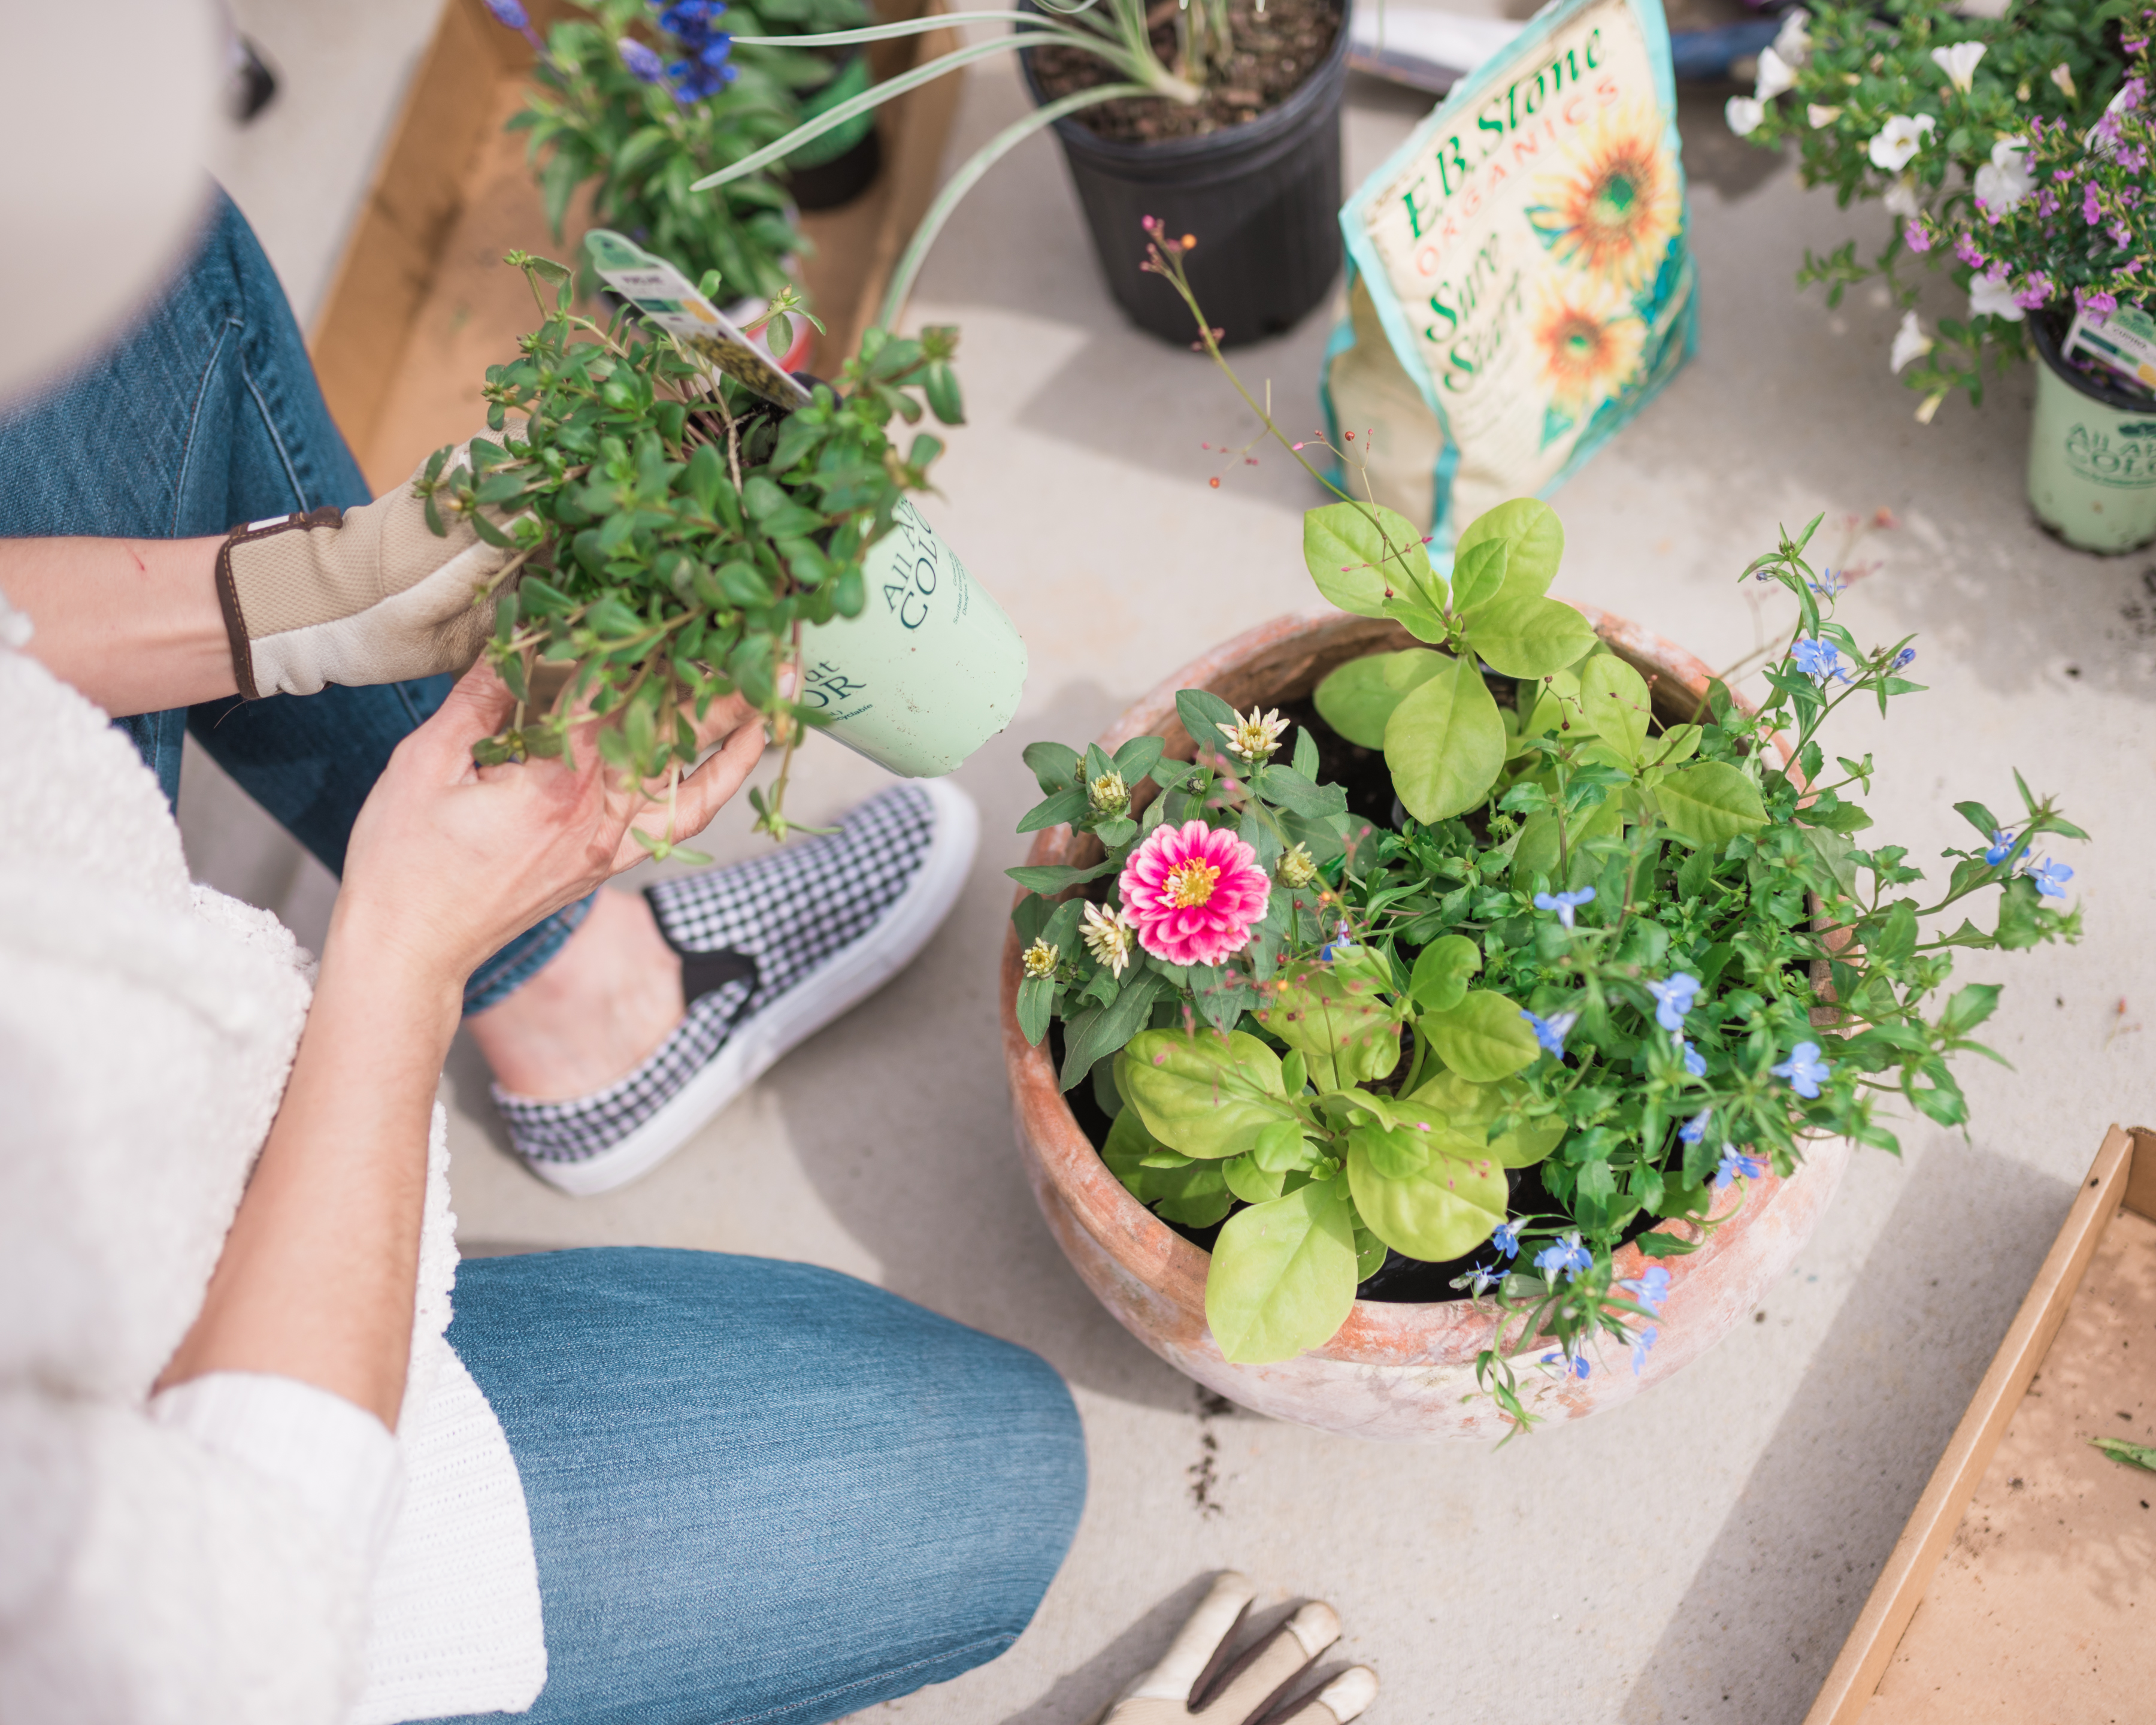
Now this is the fun part! We like to create pots that have dimension, texture and an unbalanced-balance. Justin calls this recipe “thrillers, fillers, and spillers.” Thrillers are your tall plants that go in the center or back, fillers are medium-sized plants that fill out the middle (the meat of the arrangement) and spillers gracefully trail or cascade over and down the pot to soften its hard edge.
When choosing flowers, we usually make our selection based on whatever catches our eye. Our tastes differ, so it’s always a compromise what we go home with. We recommend selecting four-five single plants for each pot that have complimenting colors, but differ in shape, size and texture – keep two of these plants the same (ex: 1-2 spillers, 1-2 fillers and 1 thriller). If you’re creating multiple pots to spread throughout a space we recommend having at least one of the same flower or greenery in each. This helps keep an underlying theme without being too harsh (the unbalanced, balance).
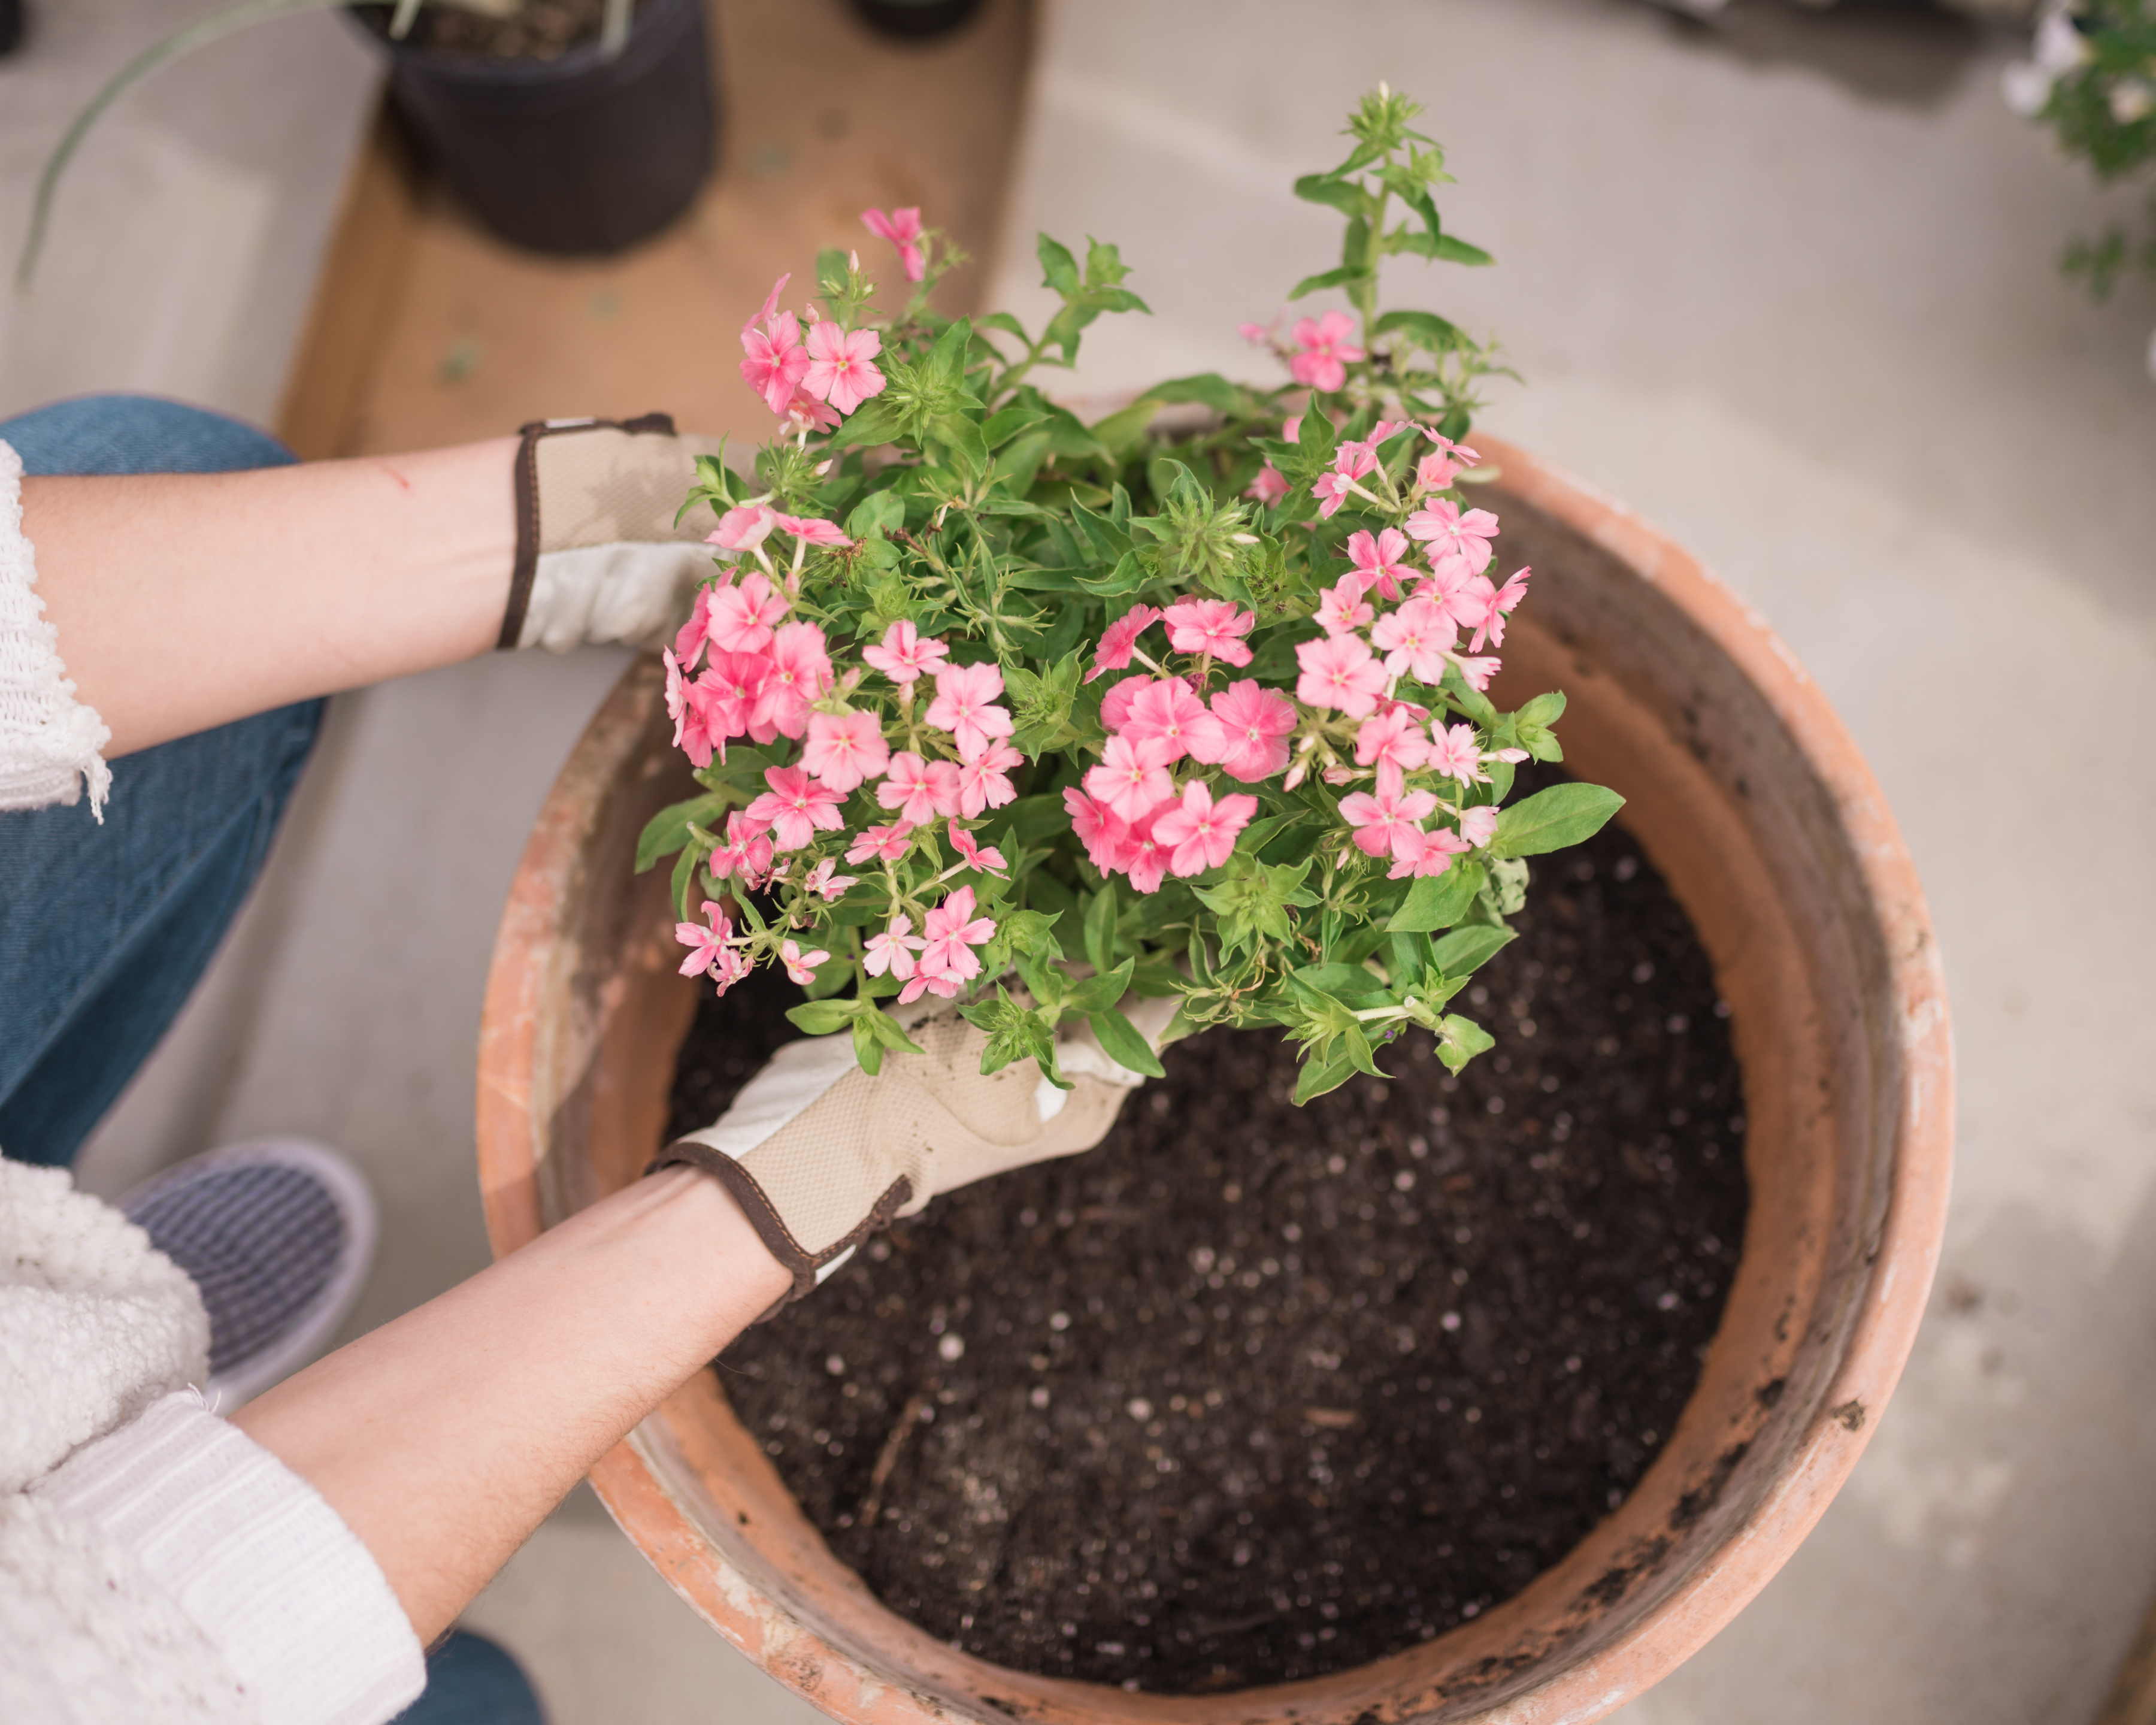
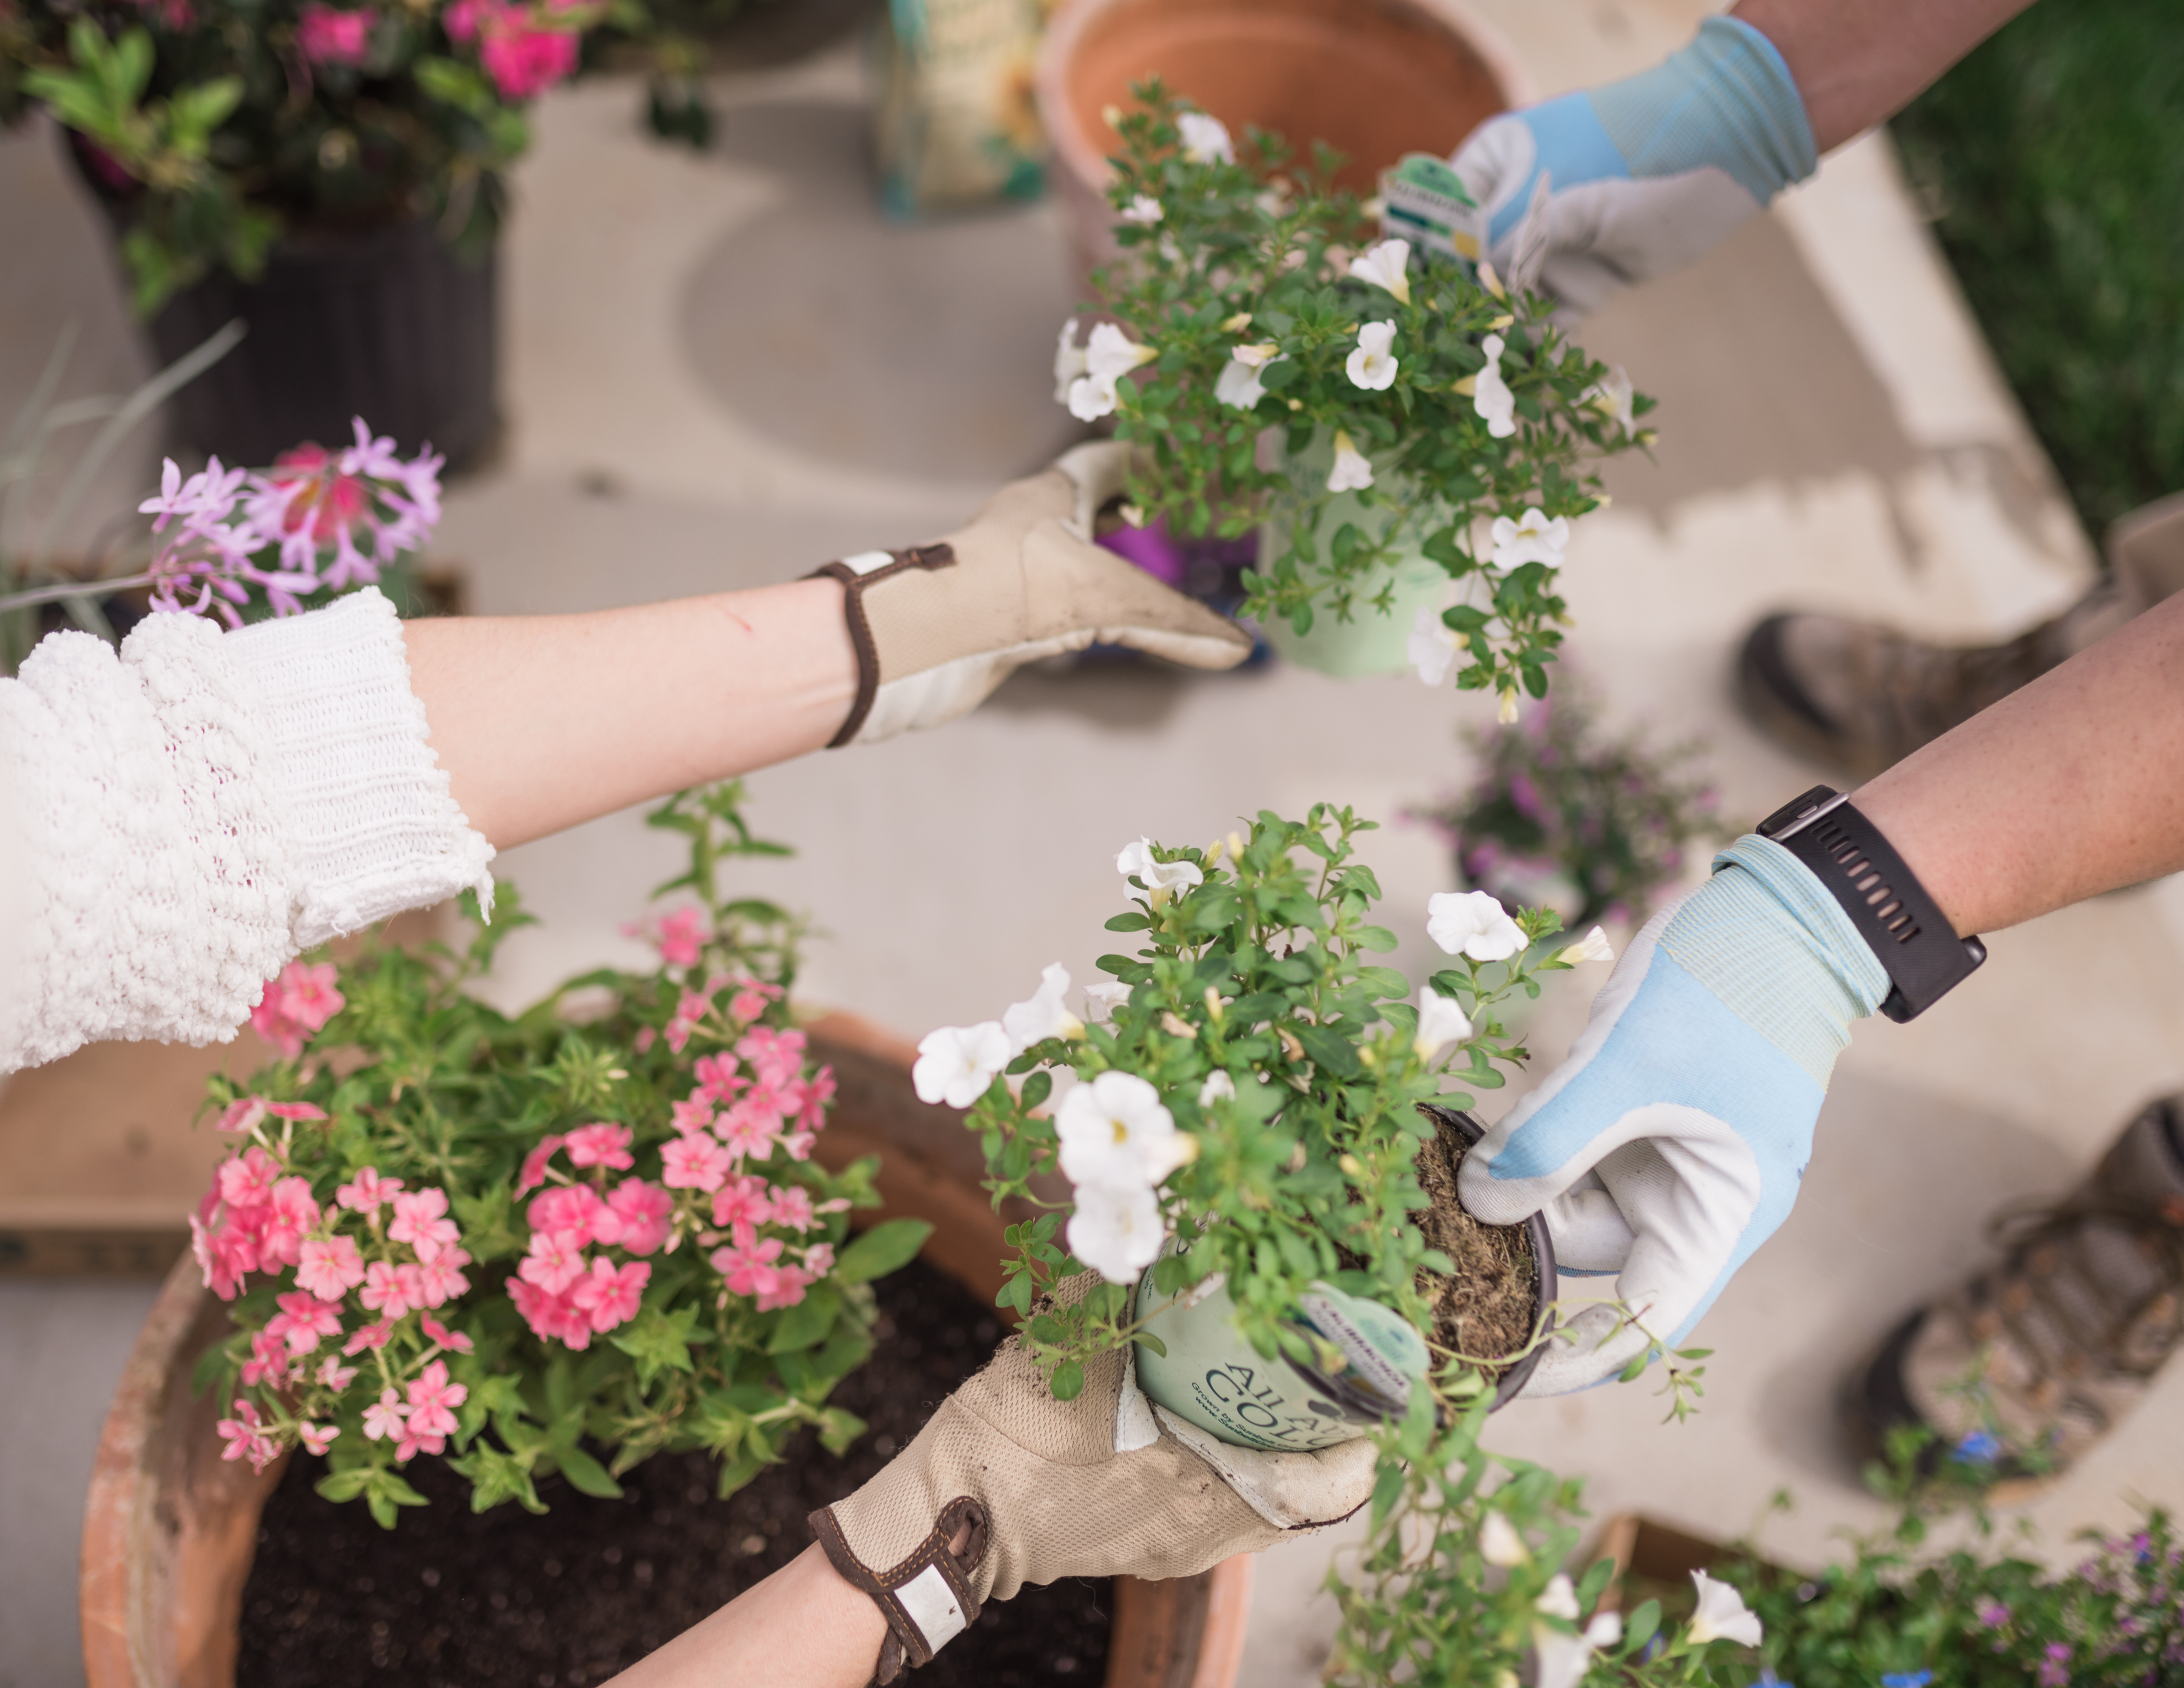
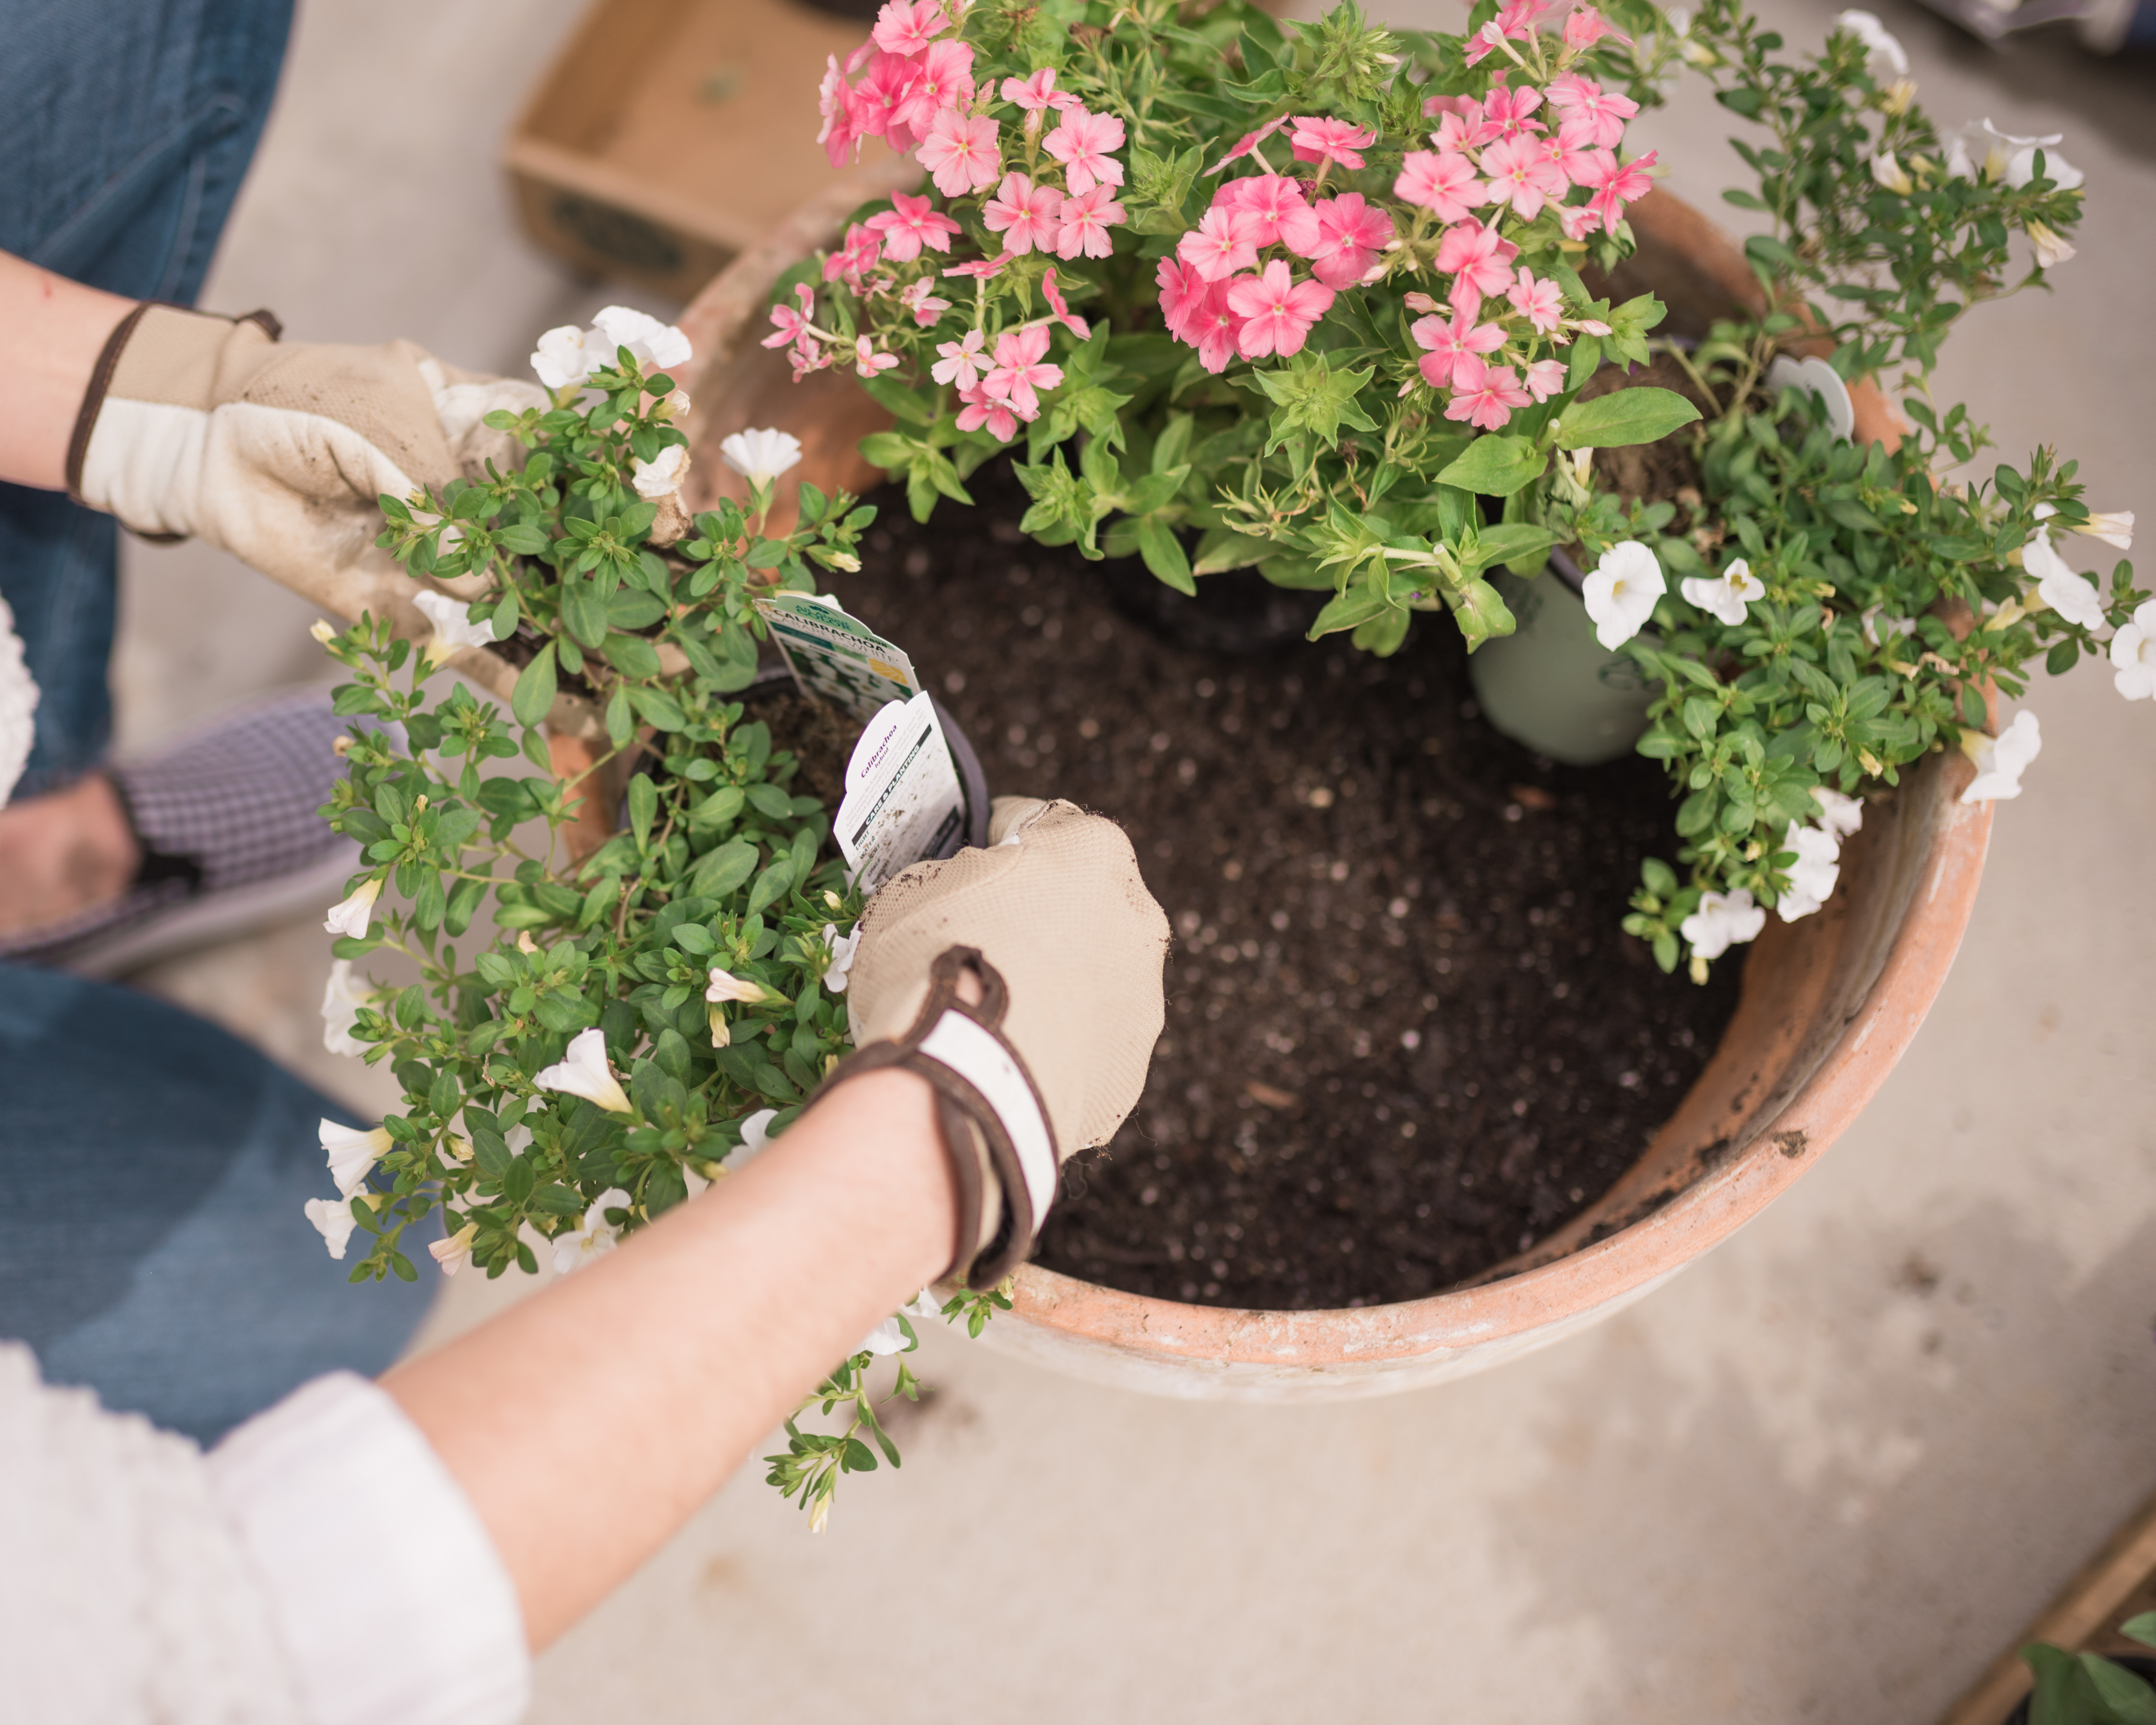
While in the garden center we try and imagine what the plants would like when all planted together. We will walk around comparing different plants placing them on the cart as we would in the pot! Things we look for include: overall shape, healthy amount of buds and it’s needs (these are indicated on the marker). You want to choose plants that all have the same needs: water, sun, shade and soil type. Tip: Once home, arrange the plants in the pot before removing them from their plastic containers (see the step-by-step guide below). This allows you to move plants freely without damaging them prior to transplanting!
4. Soil & Planting –
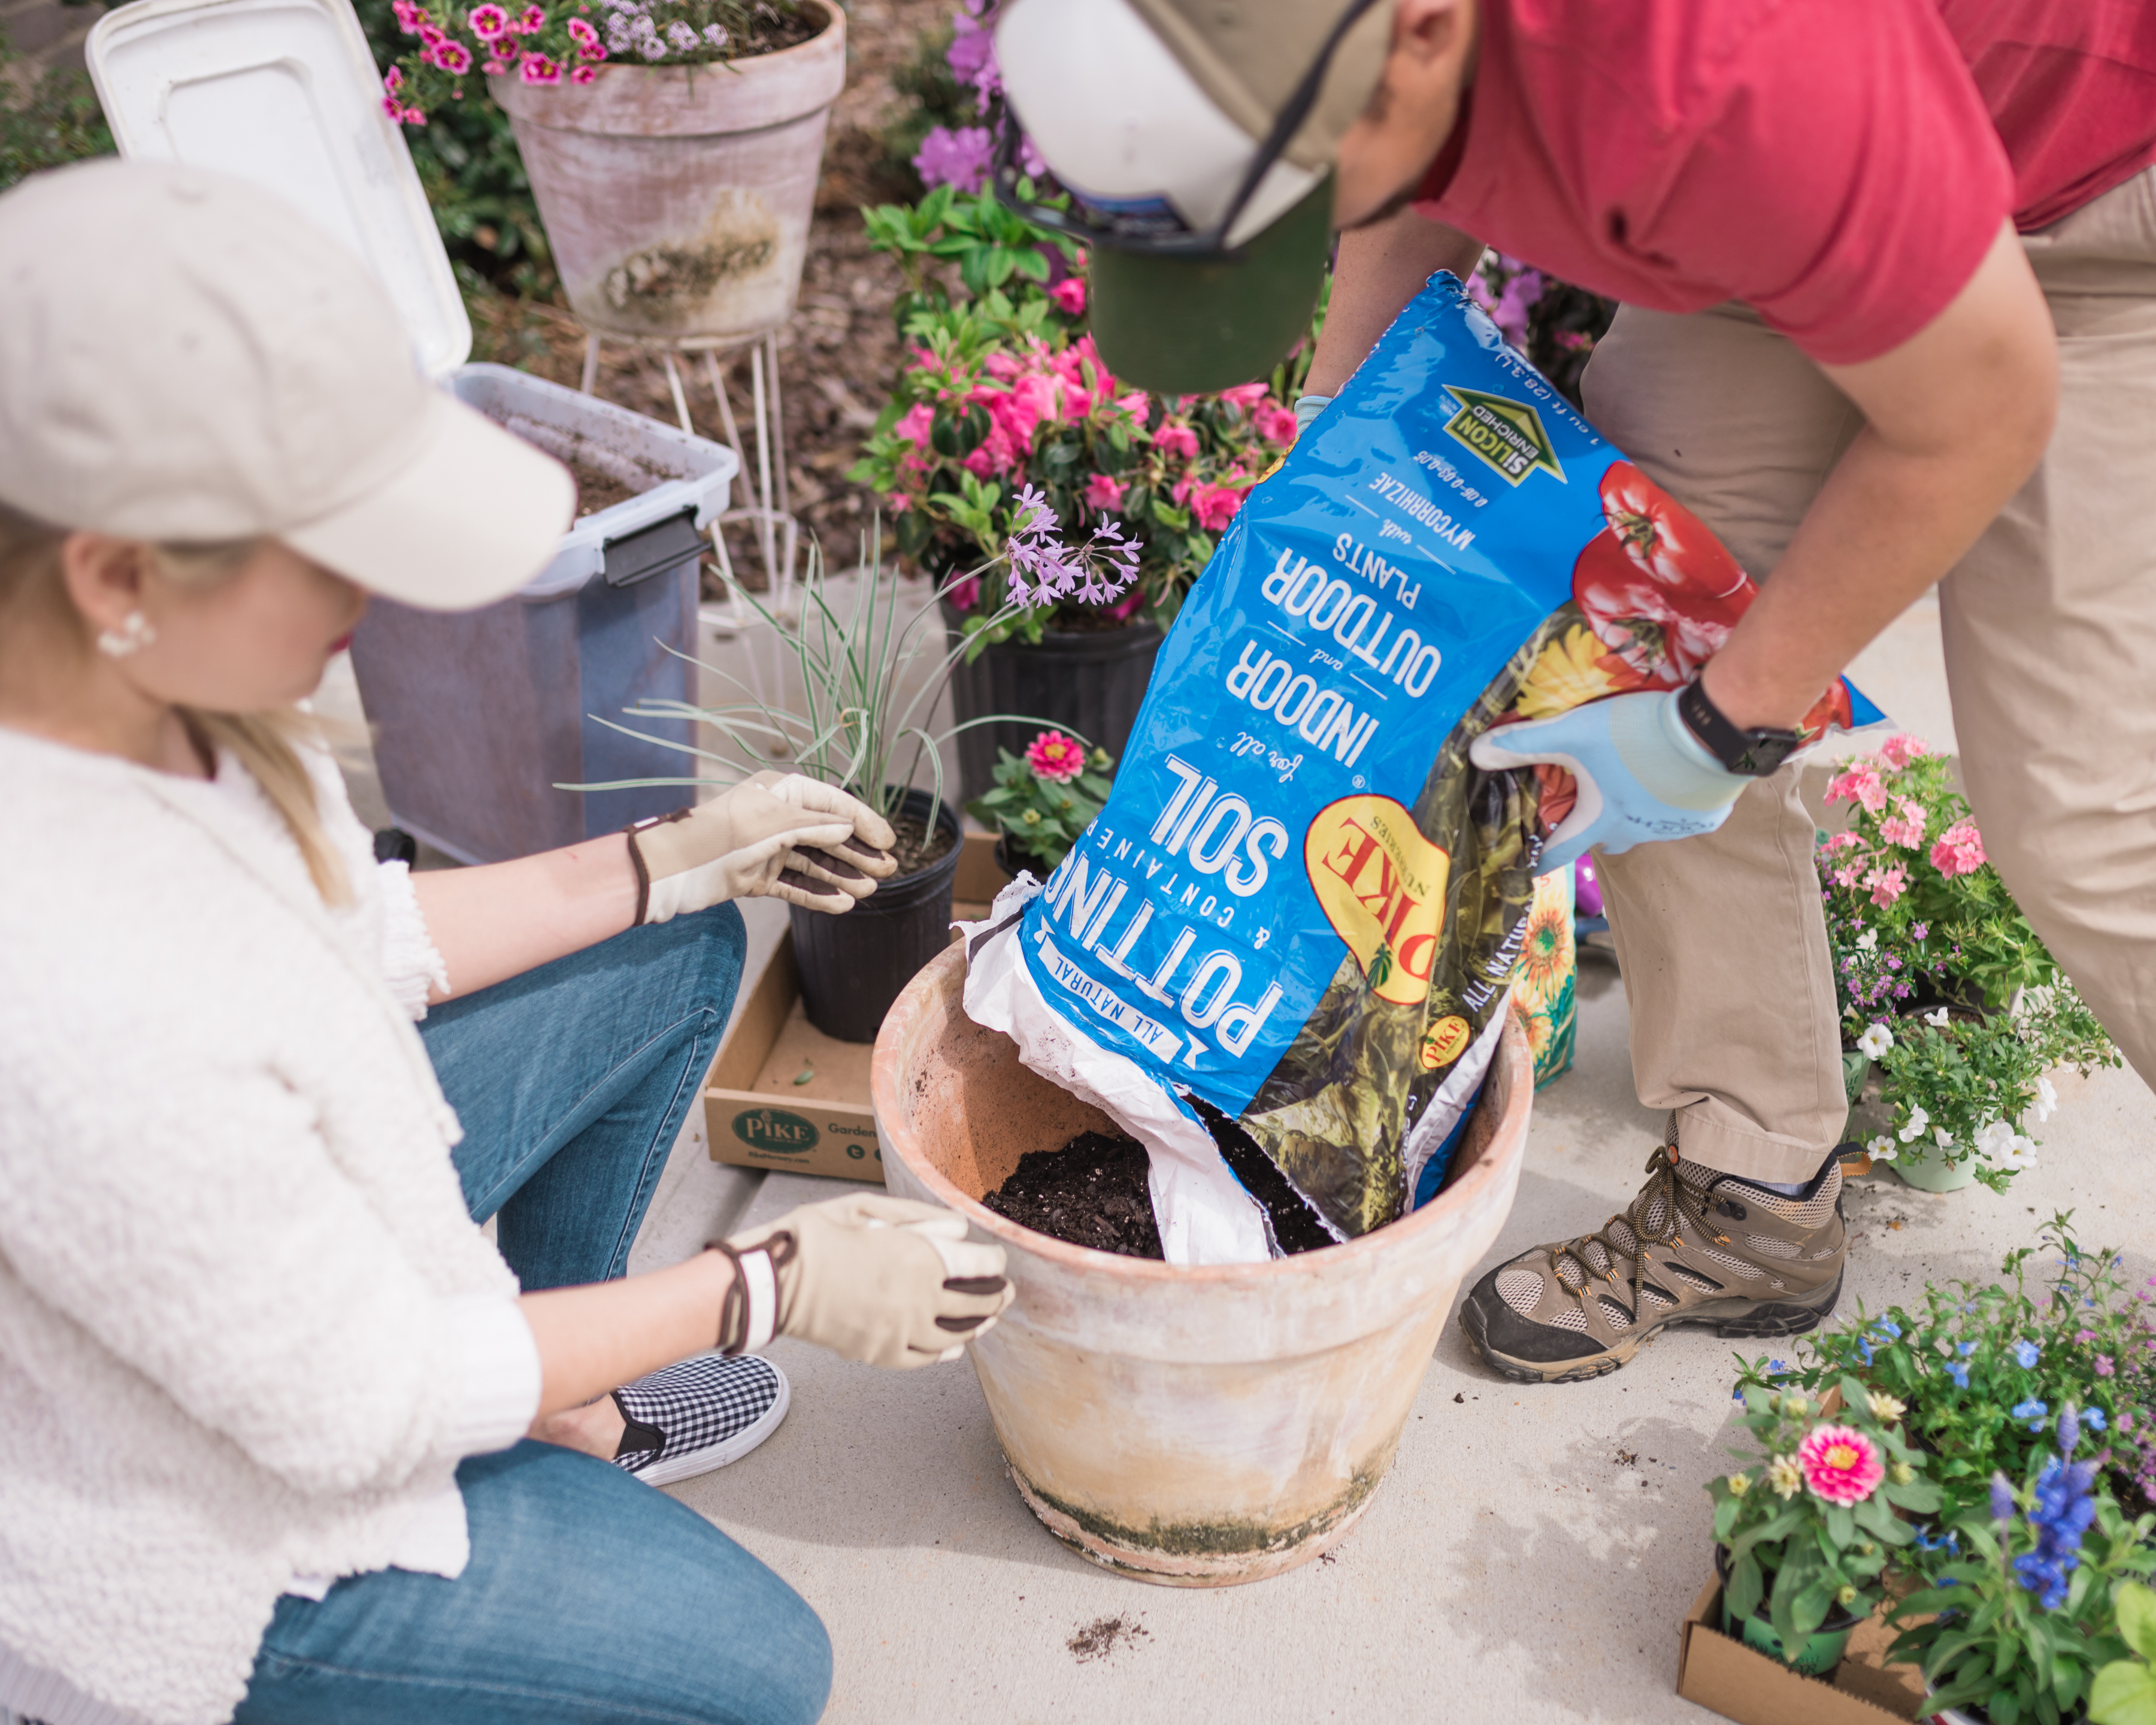
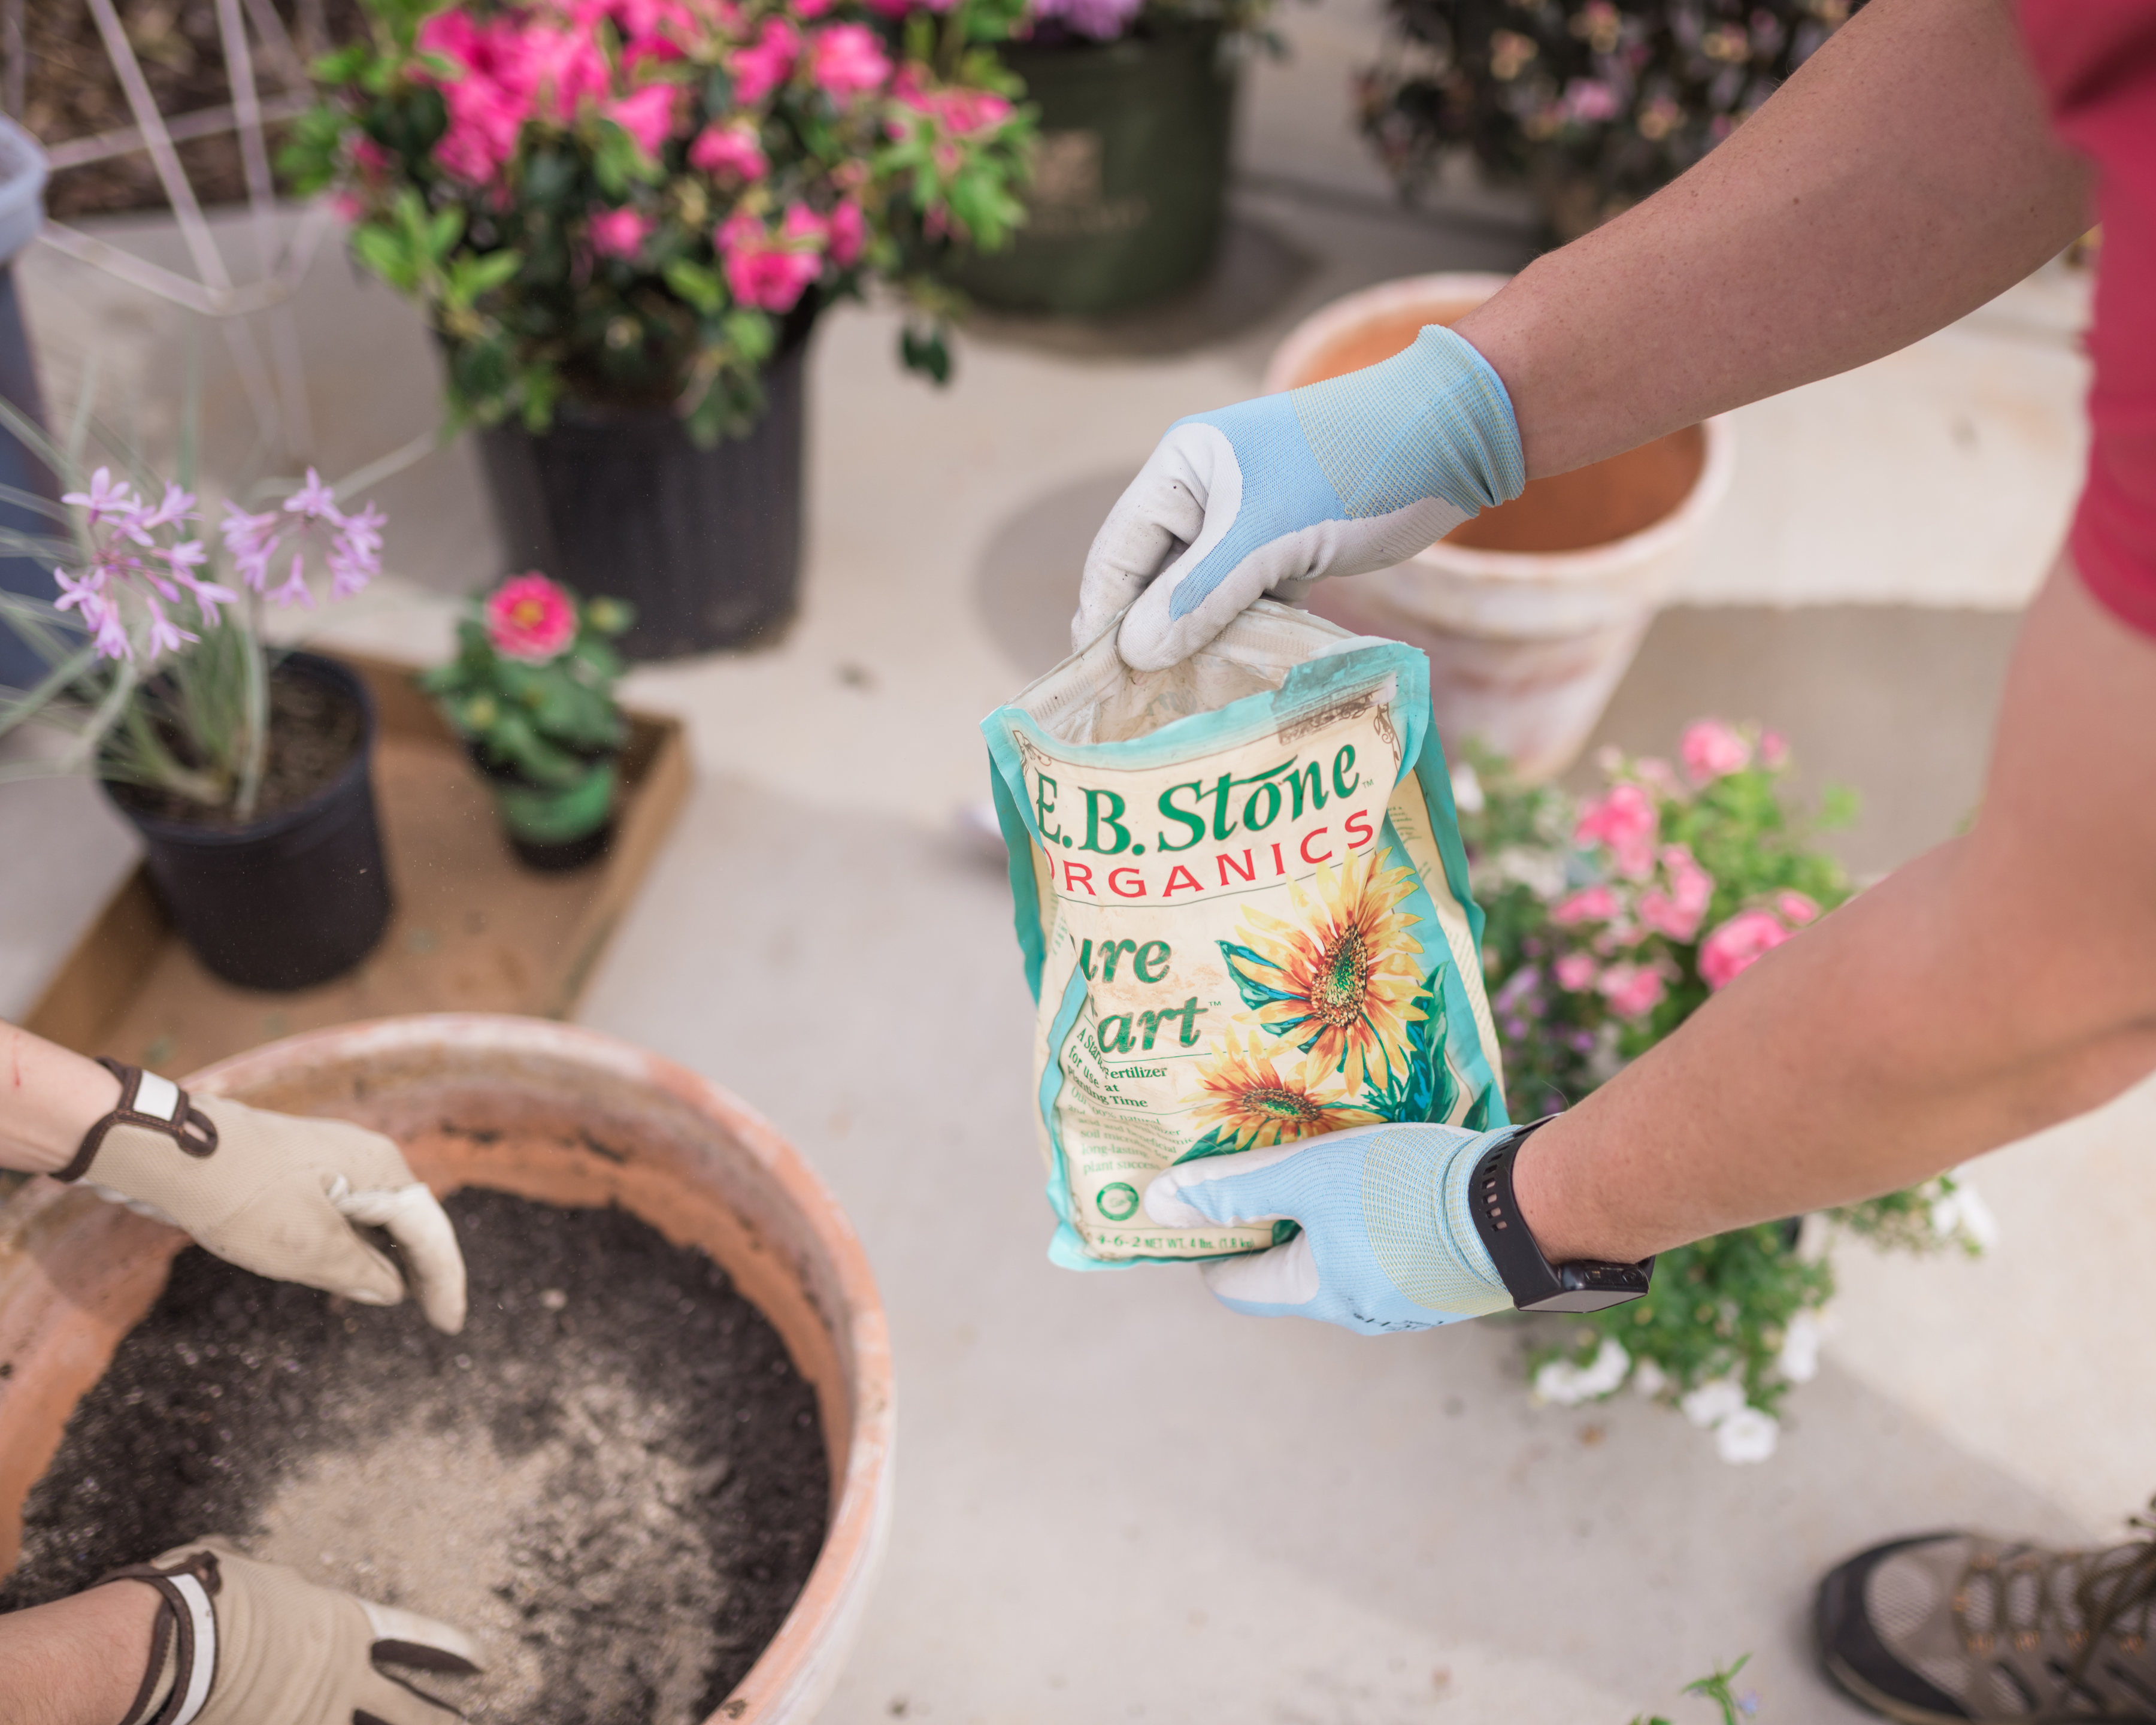
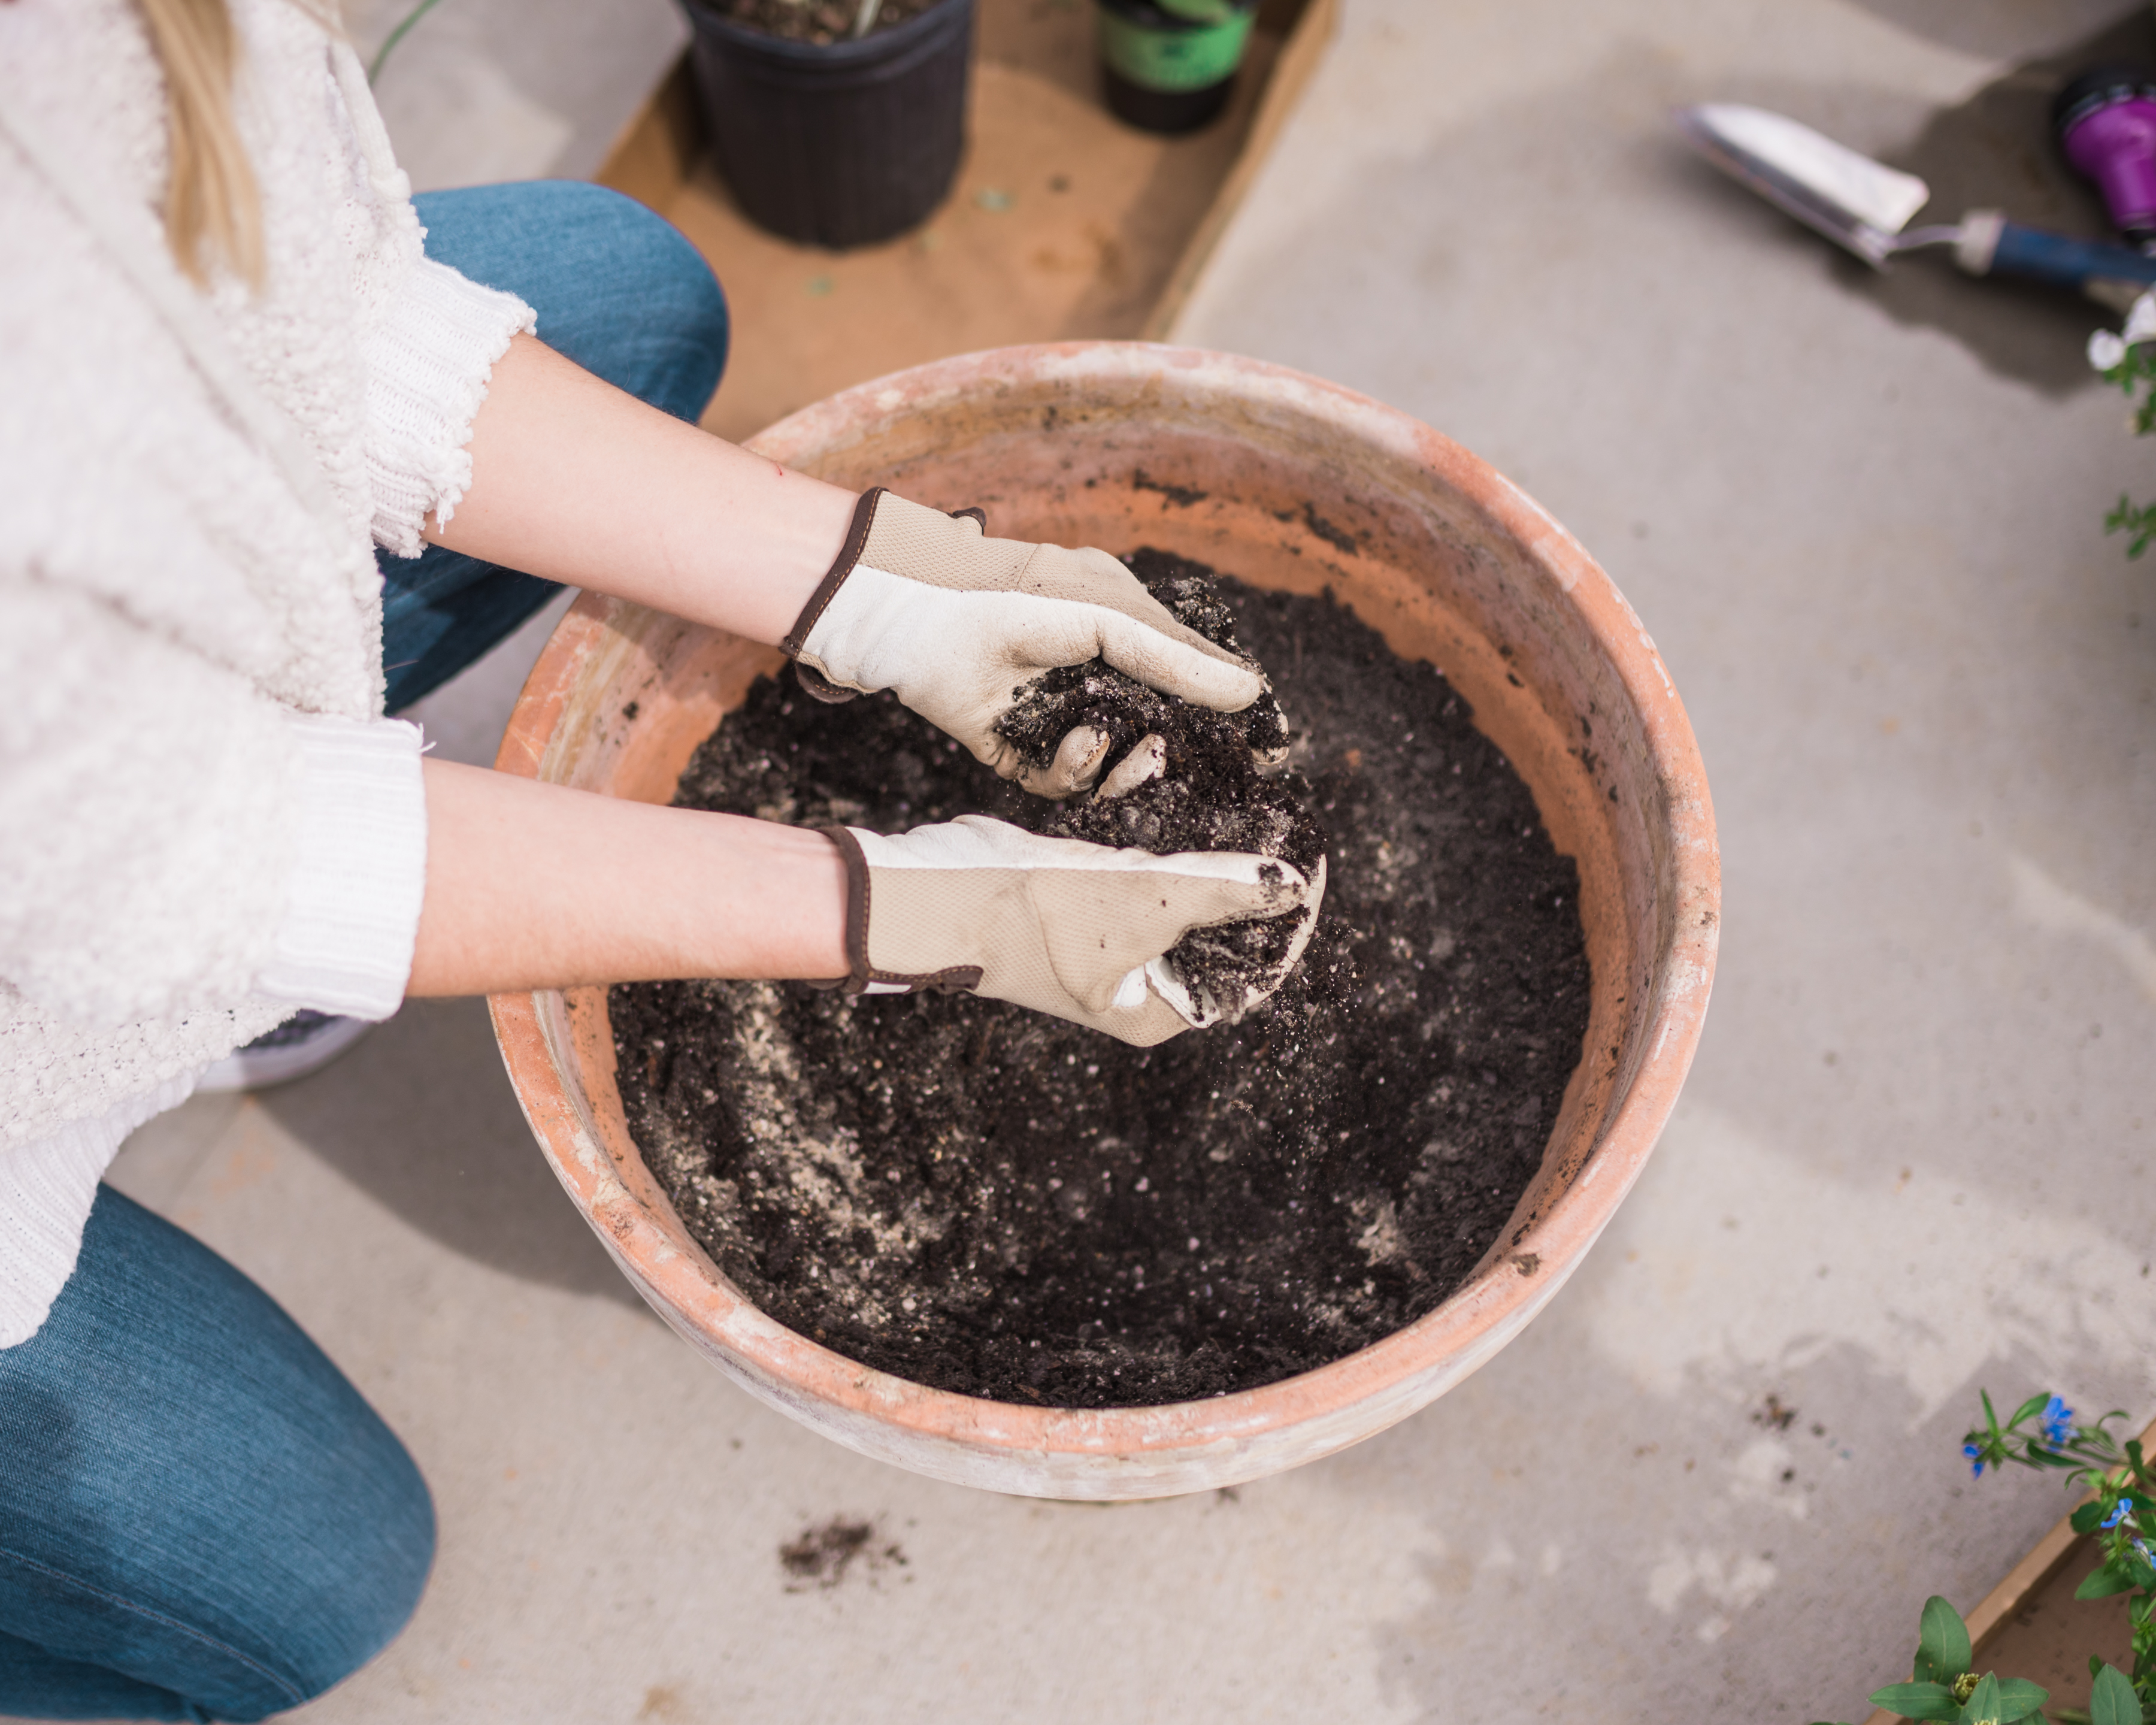
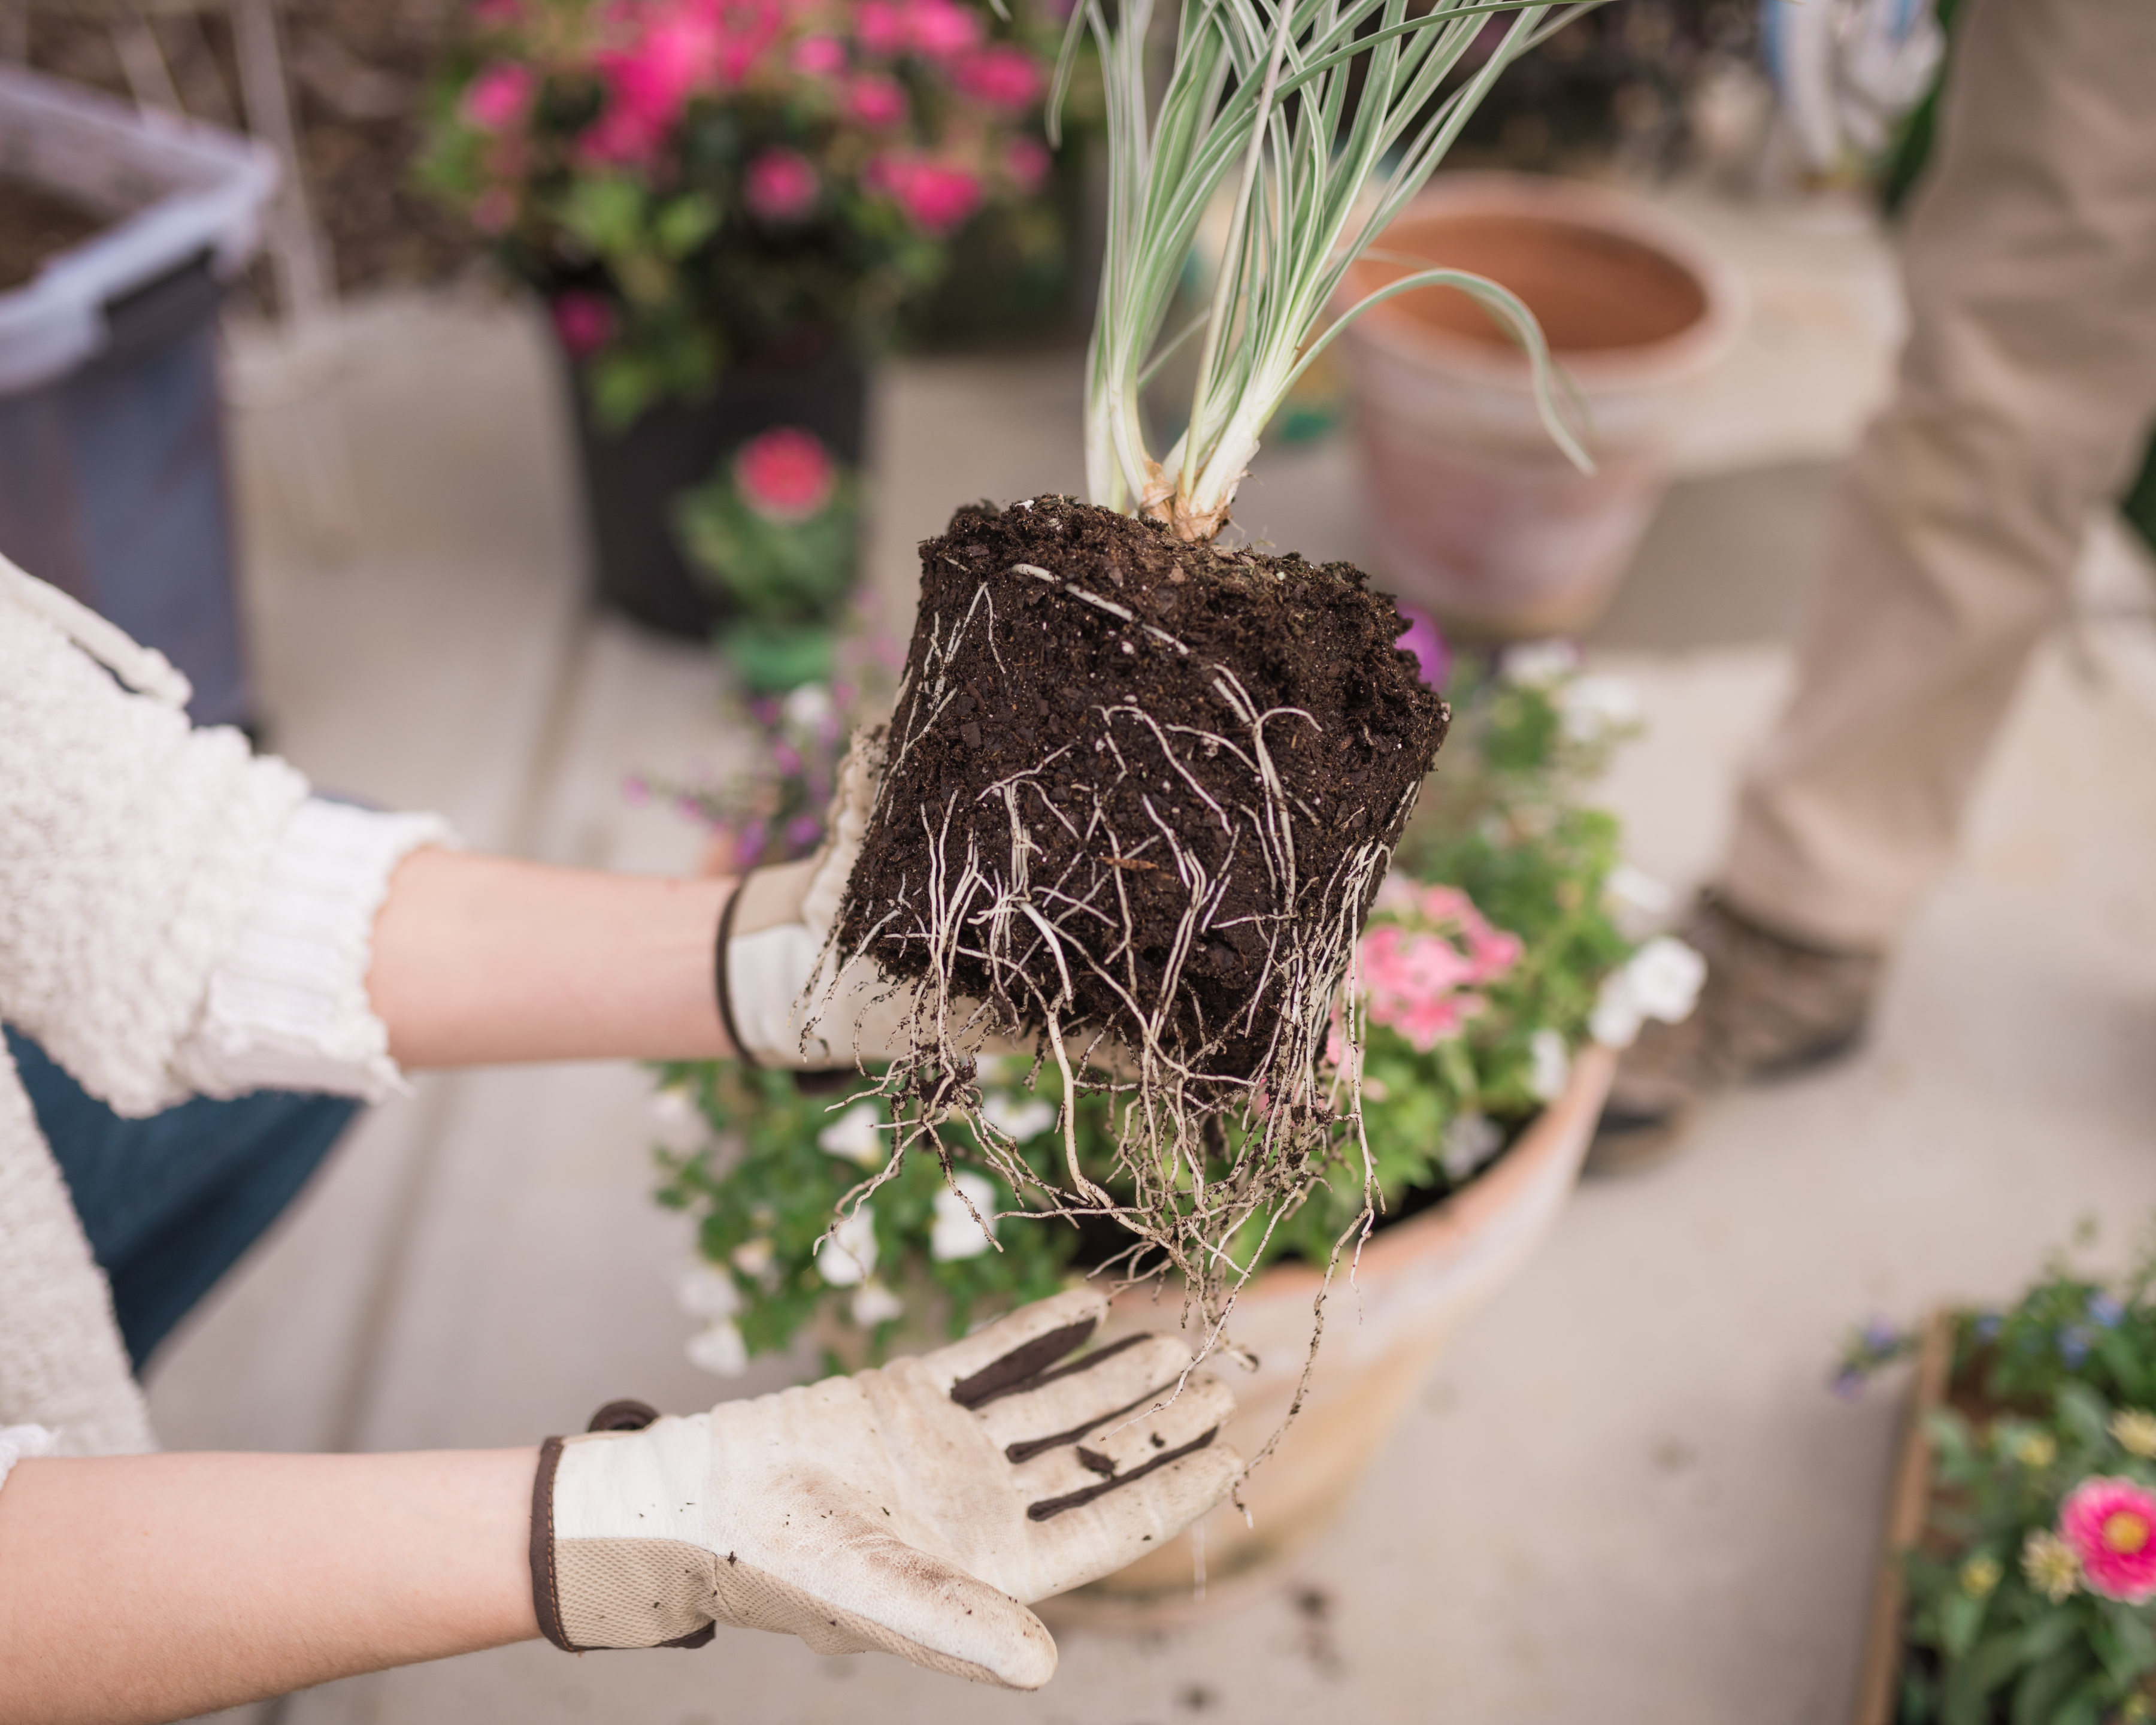
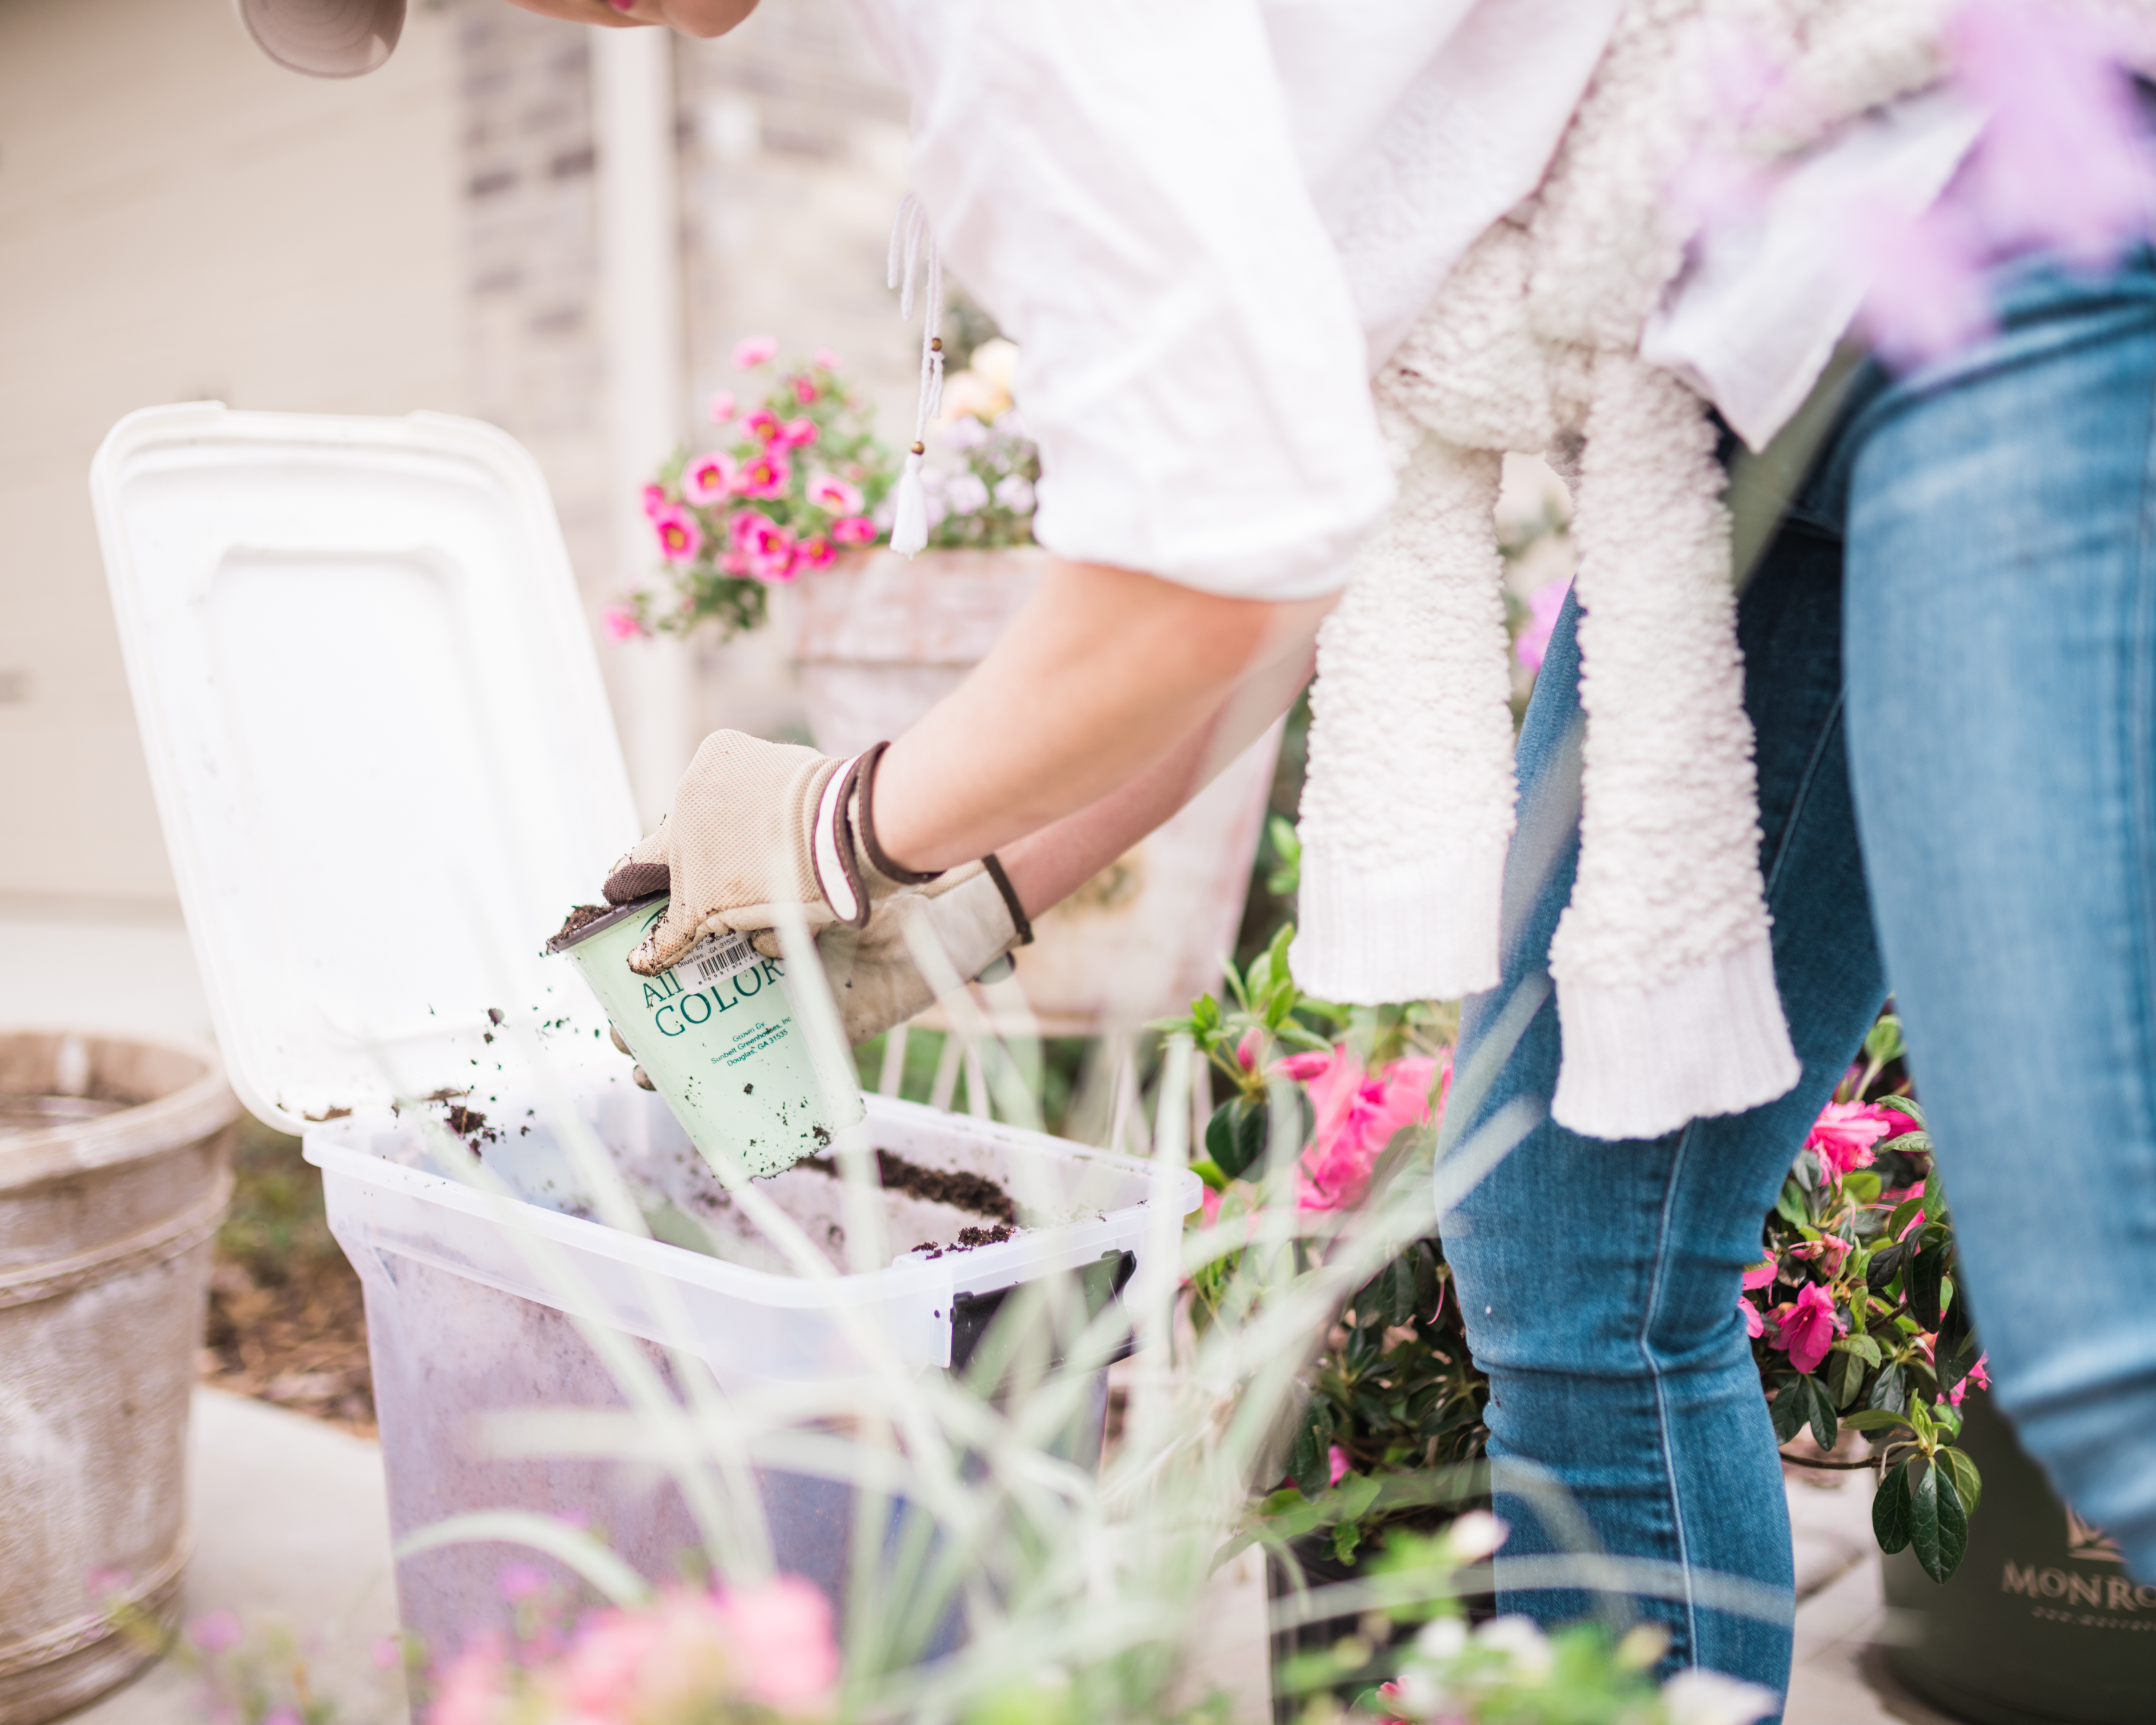
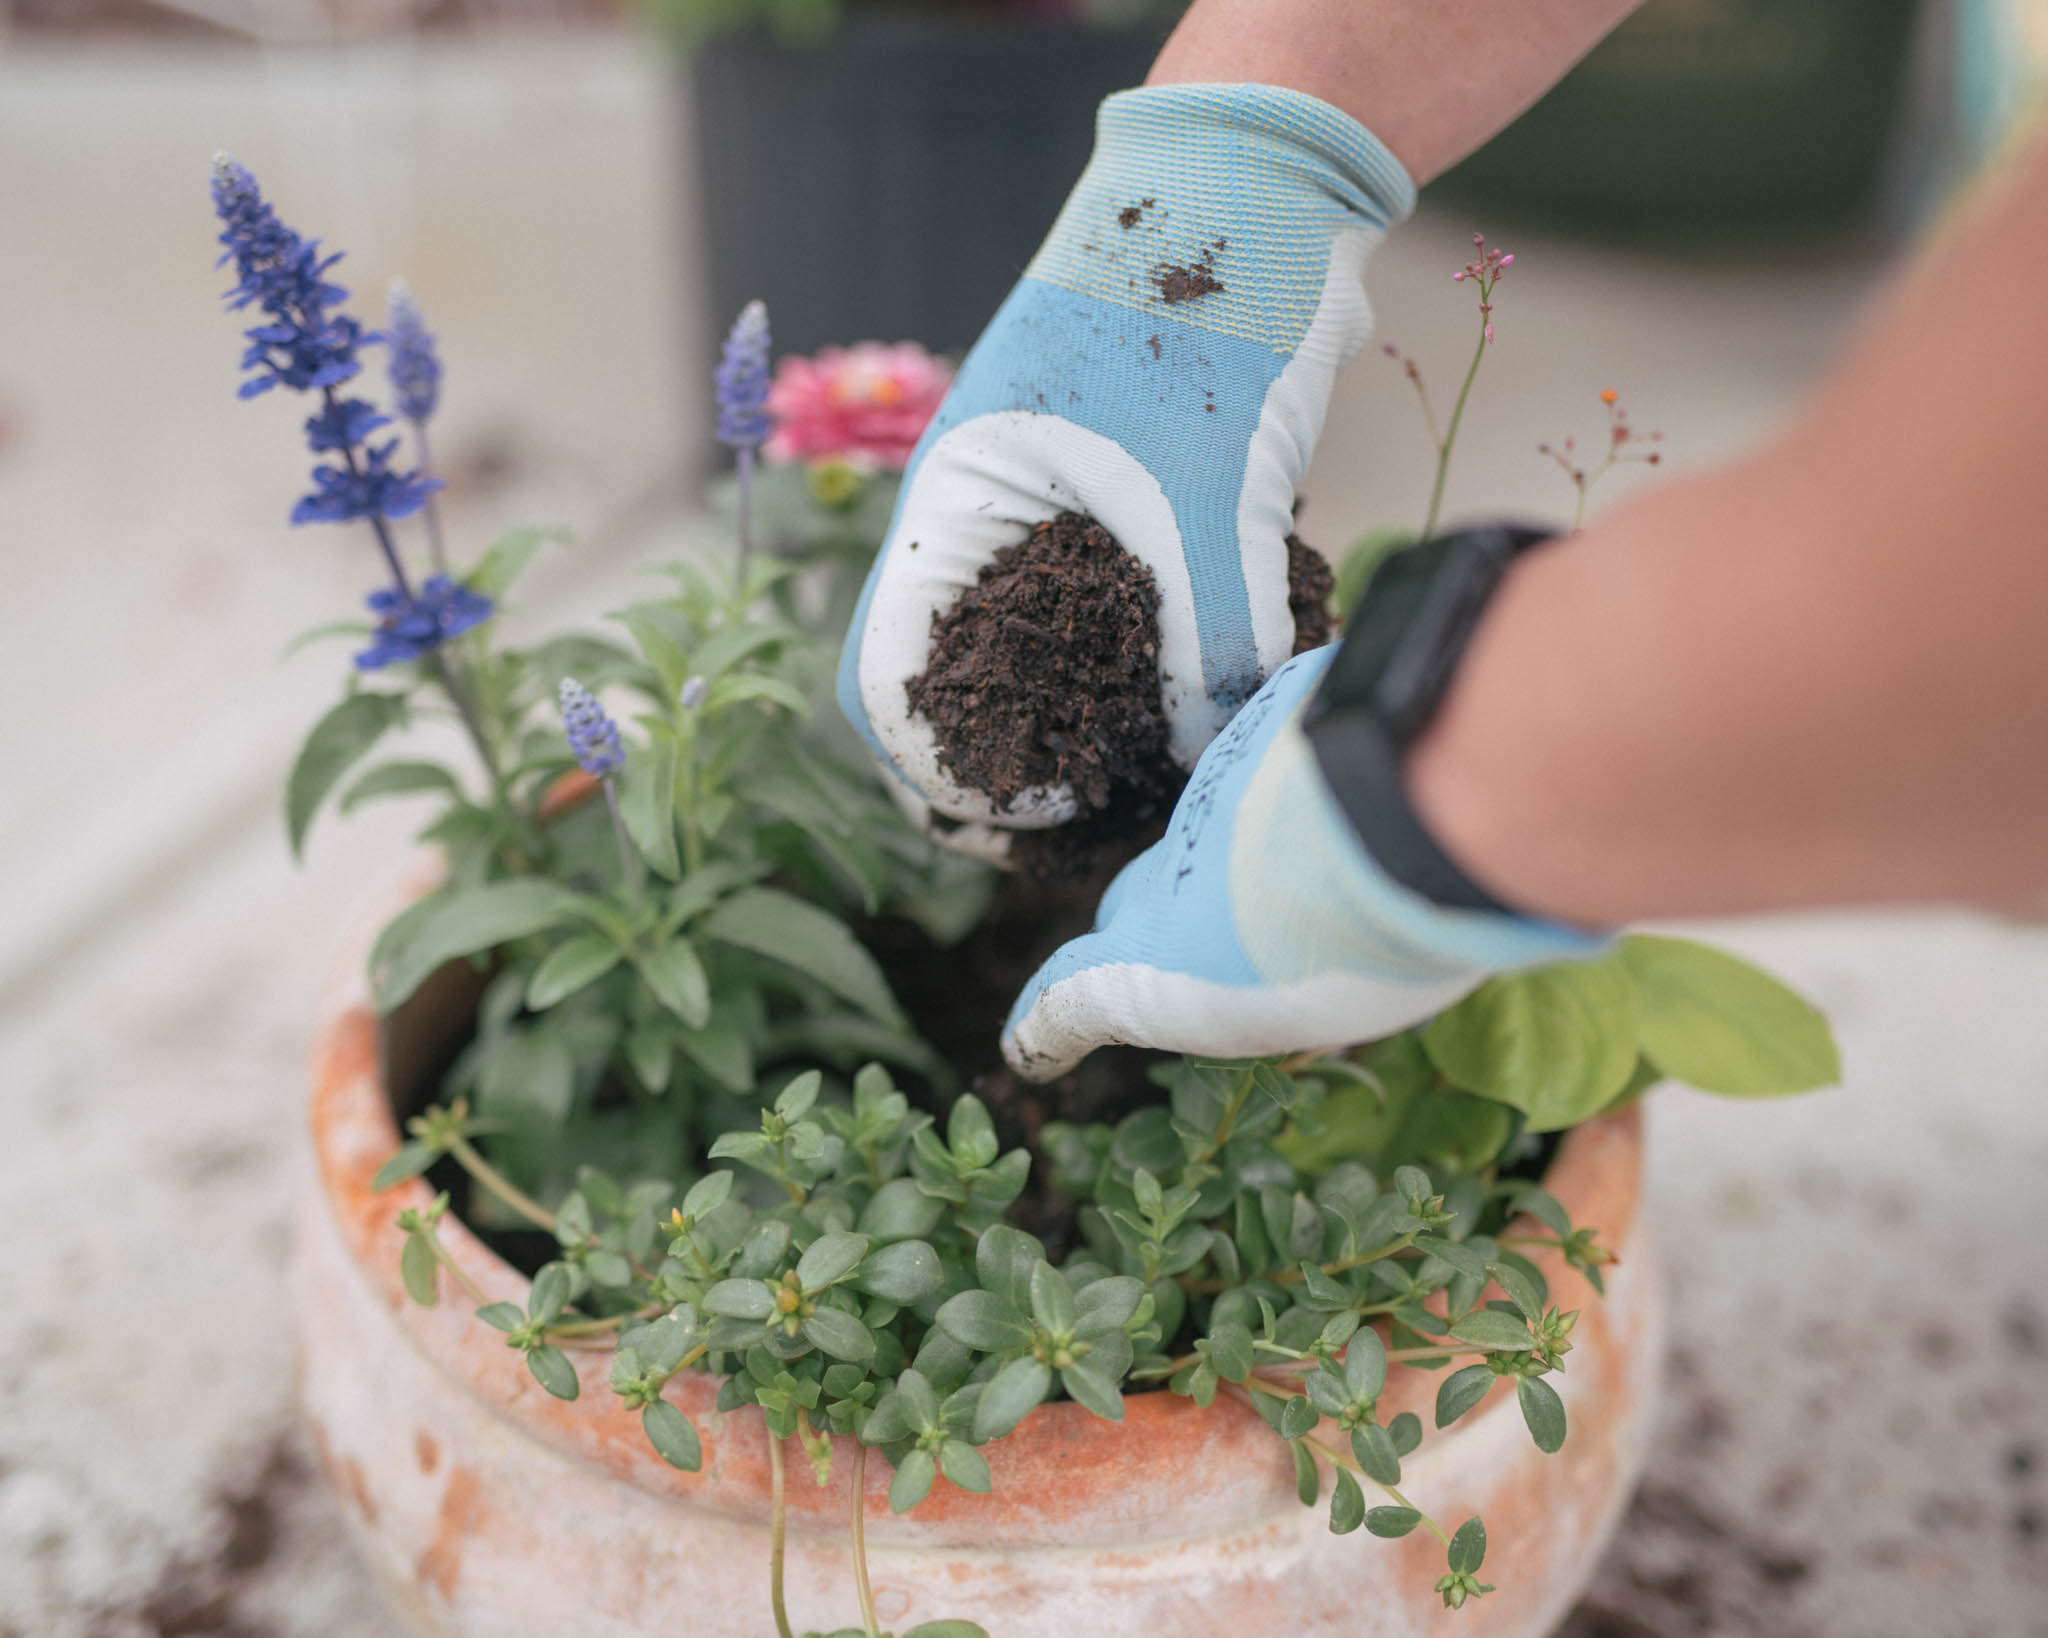
Flowers, like most plants, need good soil to grow. First, fill 3/4 of your pot with nutrient rich soil. Apply a generous layer of Sure Start (encourages root development and growth – our secret to beefier plants) to the top layer of soil and using your hands mix thoroughly. Then, pull the flowers out of the plastic containers and gently break up the root ball with your fingers. This helps the roots of the flowers extend out into the soil, rather than back into a confined lump (see the below photo).
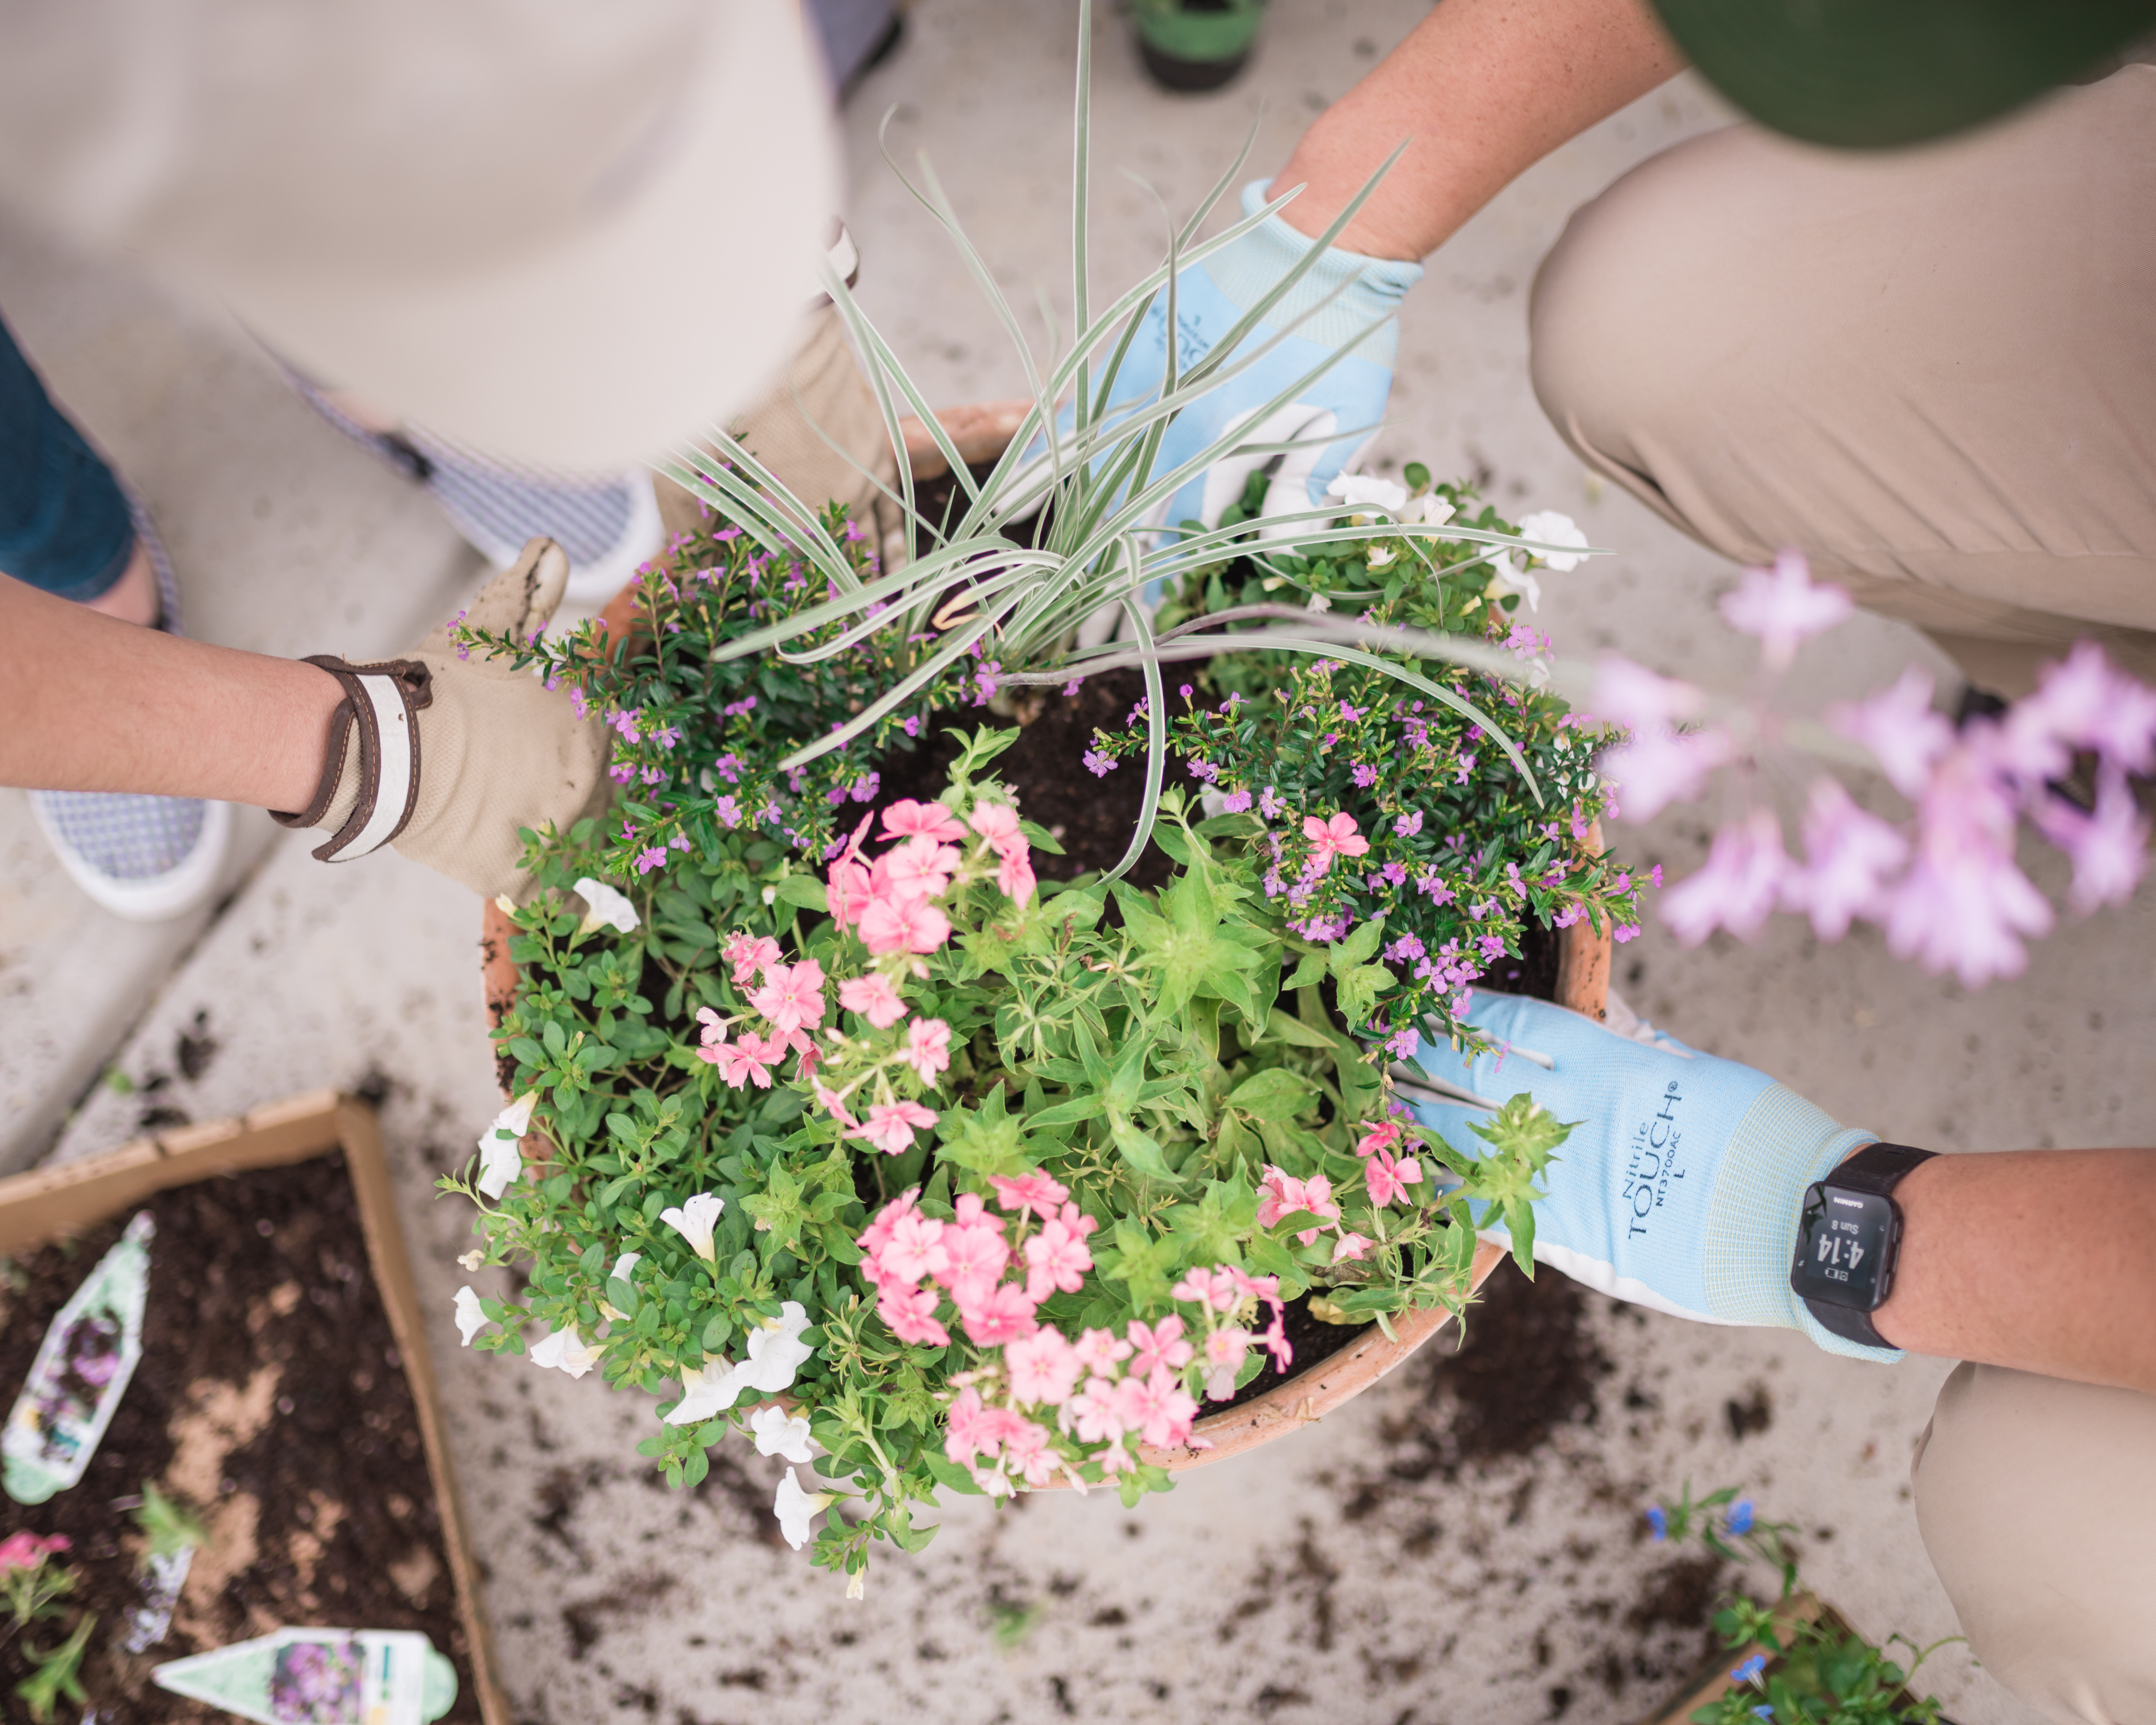
We usually start planting in the center or with the largest plant and work our way outward, filling in dirt as we go. Ideally, you want your plants to sit about 1 to 2 inches below the lip of the pot leaving the top of the rootball even with the soil surface. It’s important that the soil is firm around the plants roots. This eliminates air pockets that prevent the plant from taking in water and nutrients from the soil!
Give plants a thorough soak immediately after planting using a watering can or a soft-spray nozzle on a hose.

5. Maintenance & TLC (Water, Fertilization and Deadheading) –
Many annual flowers are continuous bloomers, and if properly cared for will produce a bounty of blooms from spring to early-mid summer. Watering and fertilization are key! Water often! A good indicator is when the soil is dry 2 to 3 inches below the surface. Also, fertilize, fertilize, fertilize! We apply a water-liquid fertilizer mixture to our plants bi-weekly, sometimes weekly!
To encourage new growth, clip (deadheading) spent blossoms. This triggers the plant to produce seeds and as a result will bear more flowers! It also keeps your planter tidy! To do the job, just pinch off dead flowers. With just this minimal maintenance, your container gardens will flourish all summer long, and – depending on what you planted – even beyond.
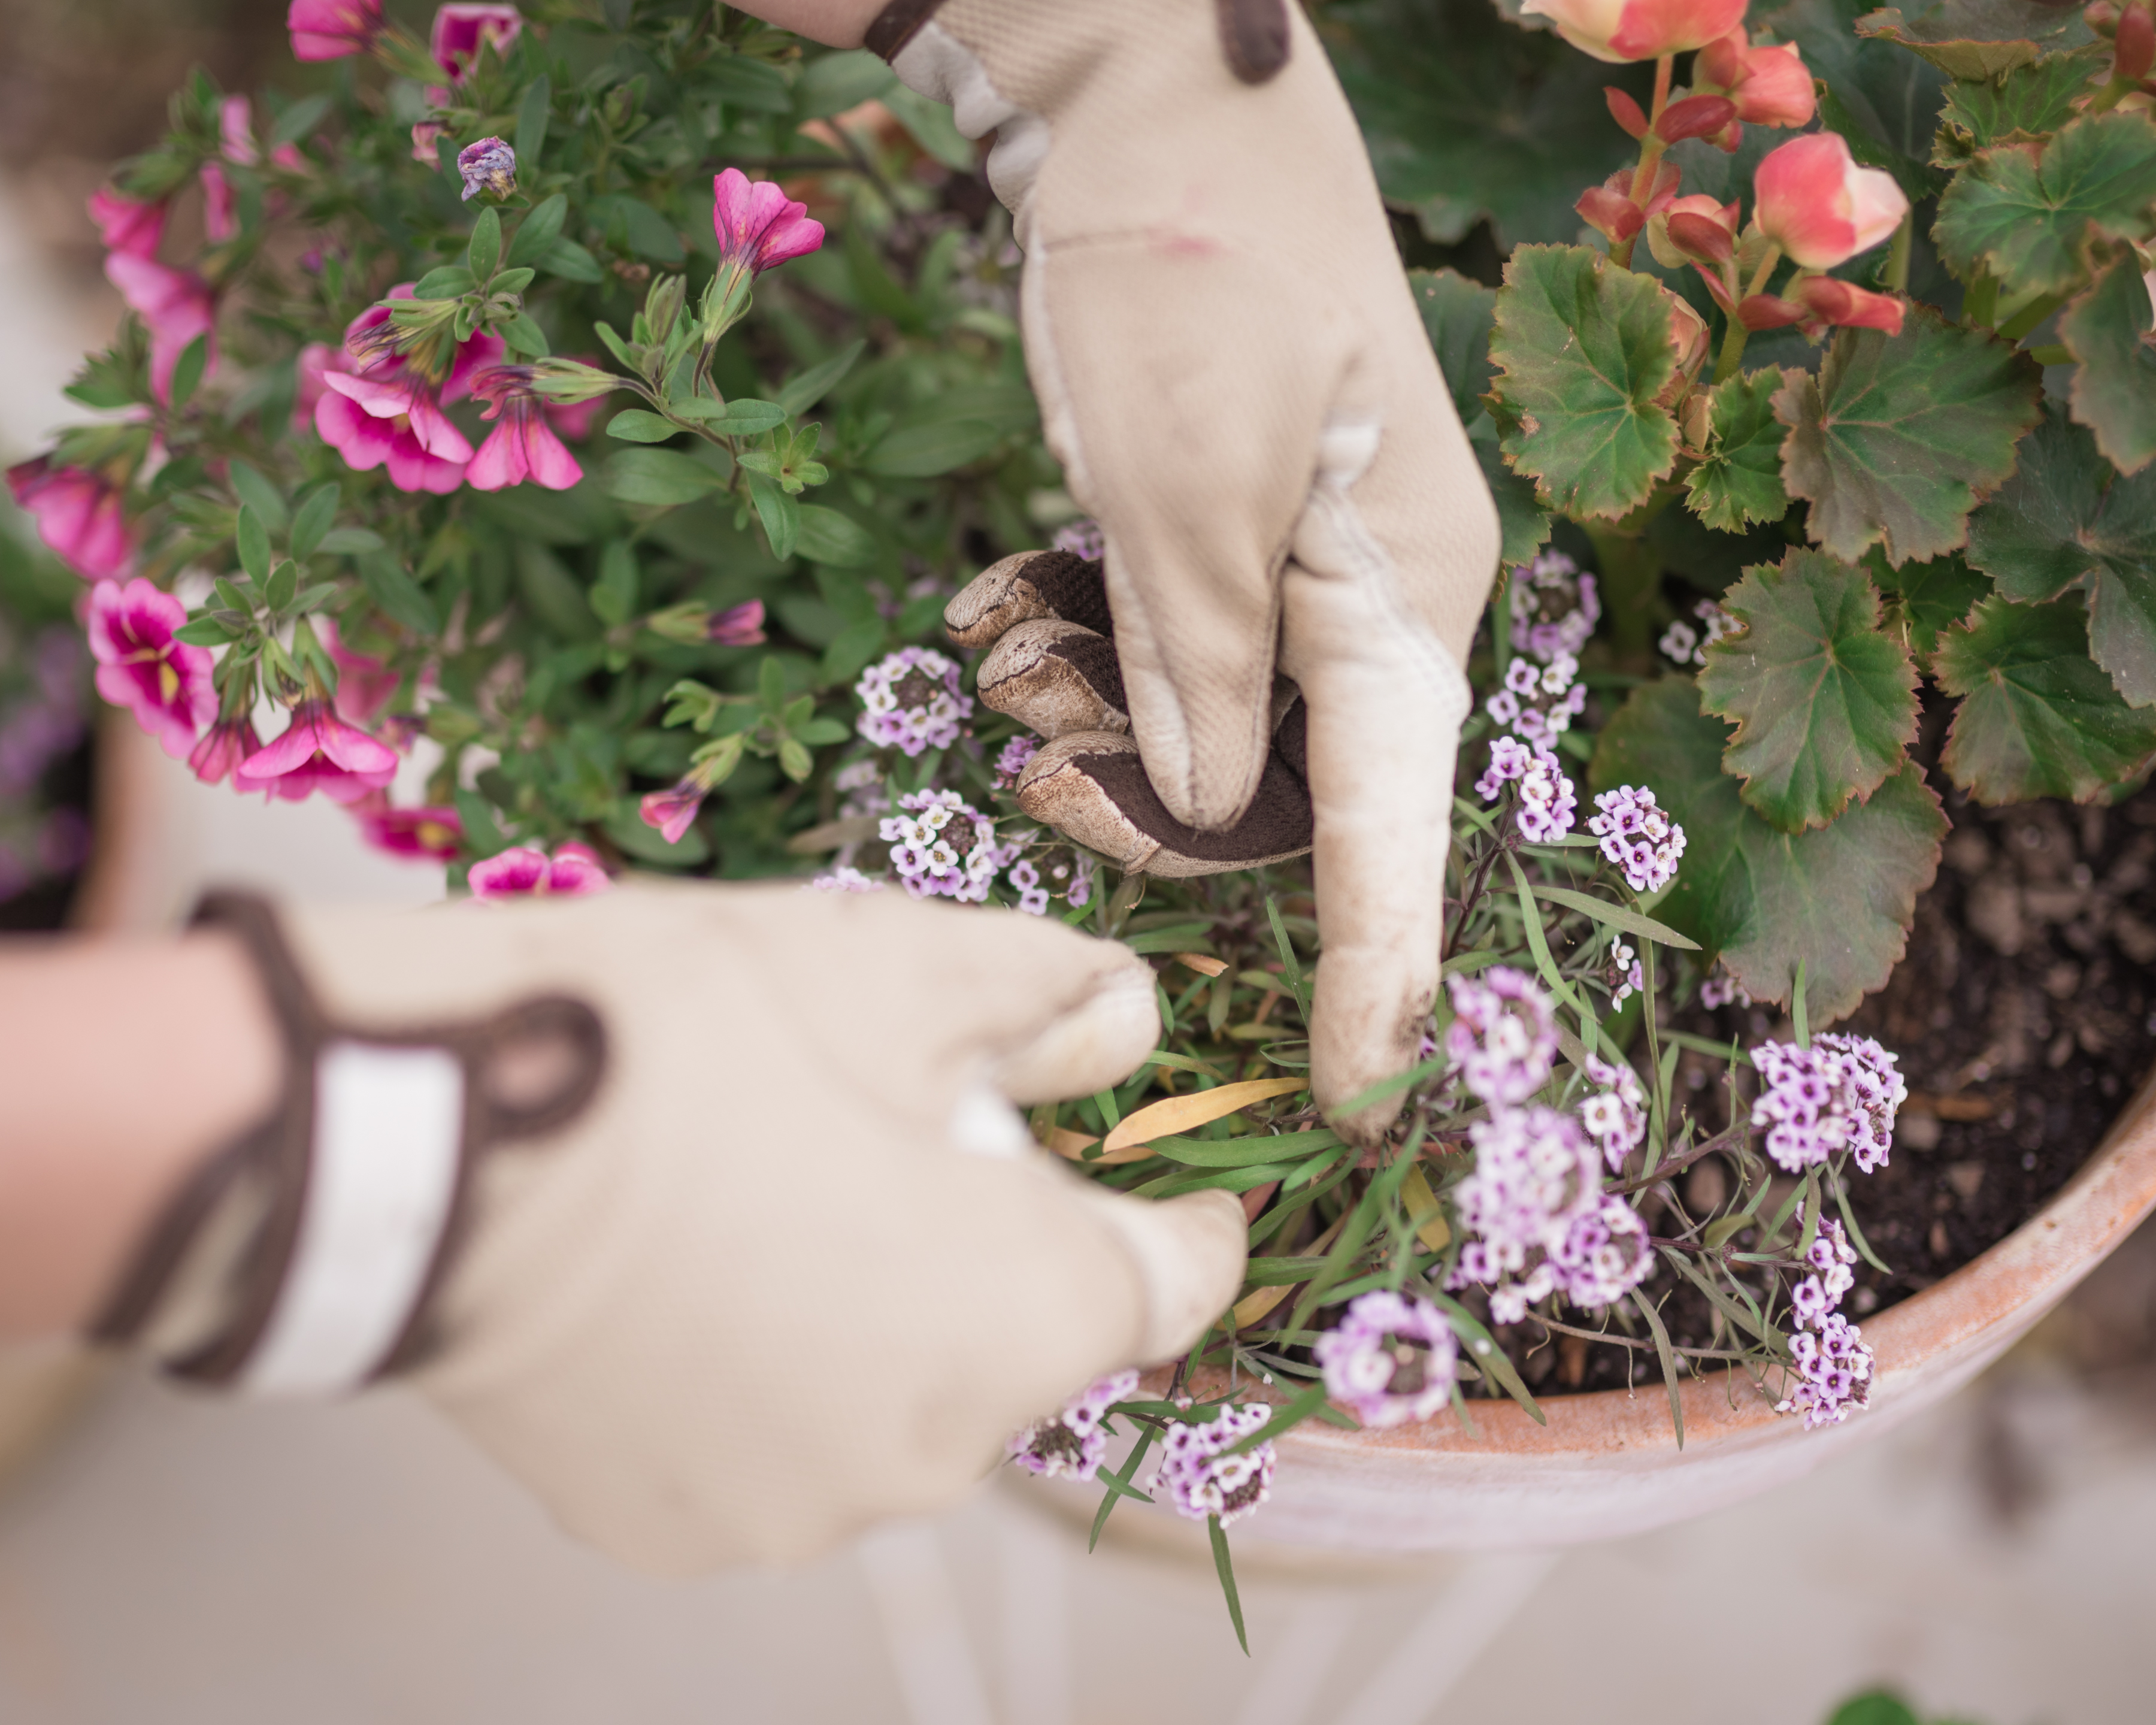
5. Sun-loving/ Heat Tolerant Annuals – While we always encourage you read the marker on each plant, here are our recommendations for plants that grow best in unobstructed sunlight all day long or almost all day long. Most plants require at least 6+ hours of sunlight, most of that being morning sun. Keep in mind they all prefer moist, well-drained soil. My top recommendations are: Calibrachoa, Cosmos, Impatiens, Lantana, Purslane, Spider Flowers, Sweet Alyssum, and Zinnia’s.
- The purple and white flowers picture aboved are Sweet Alyssum’s.
- Purslane is a flowering annual succulent that opens and closes its flowers with the rise and fall of the sun, respectively! These are very hardy and can withstand the hot summer sun.
- Calibrachoa make for great spillers. These are vigorous growers, so we recommend planting these in taller pots. This is bright pink flower pictured in planter above.
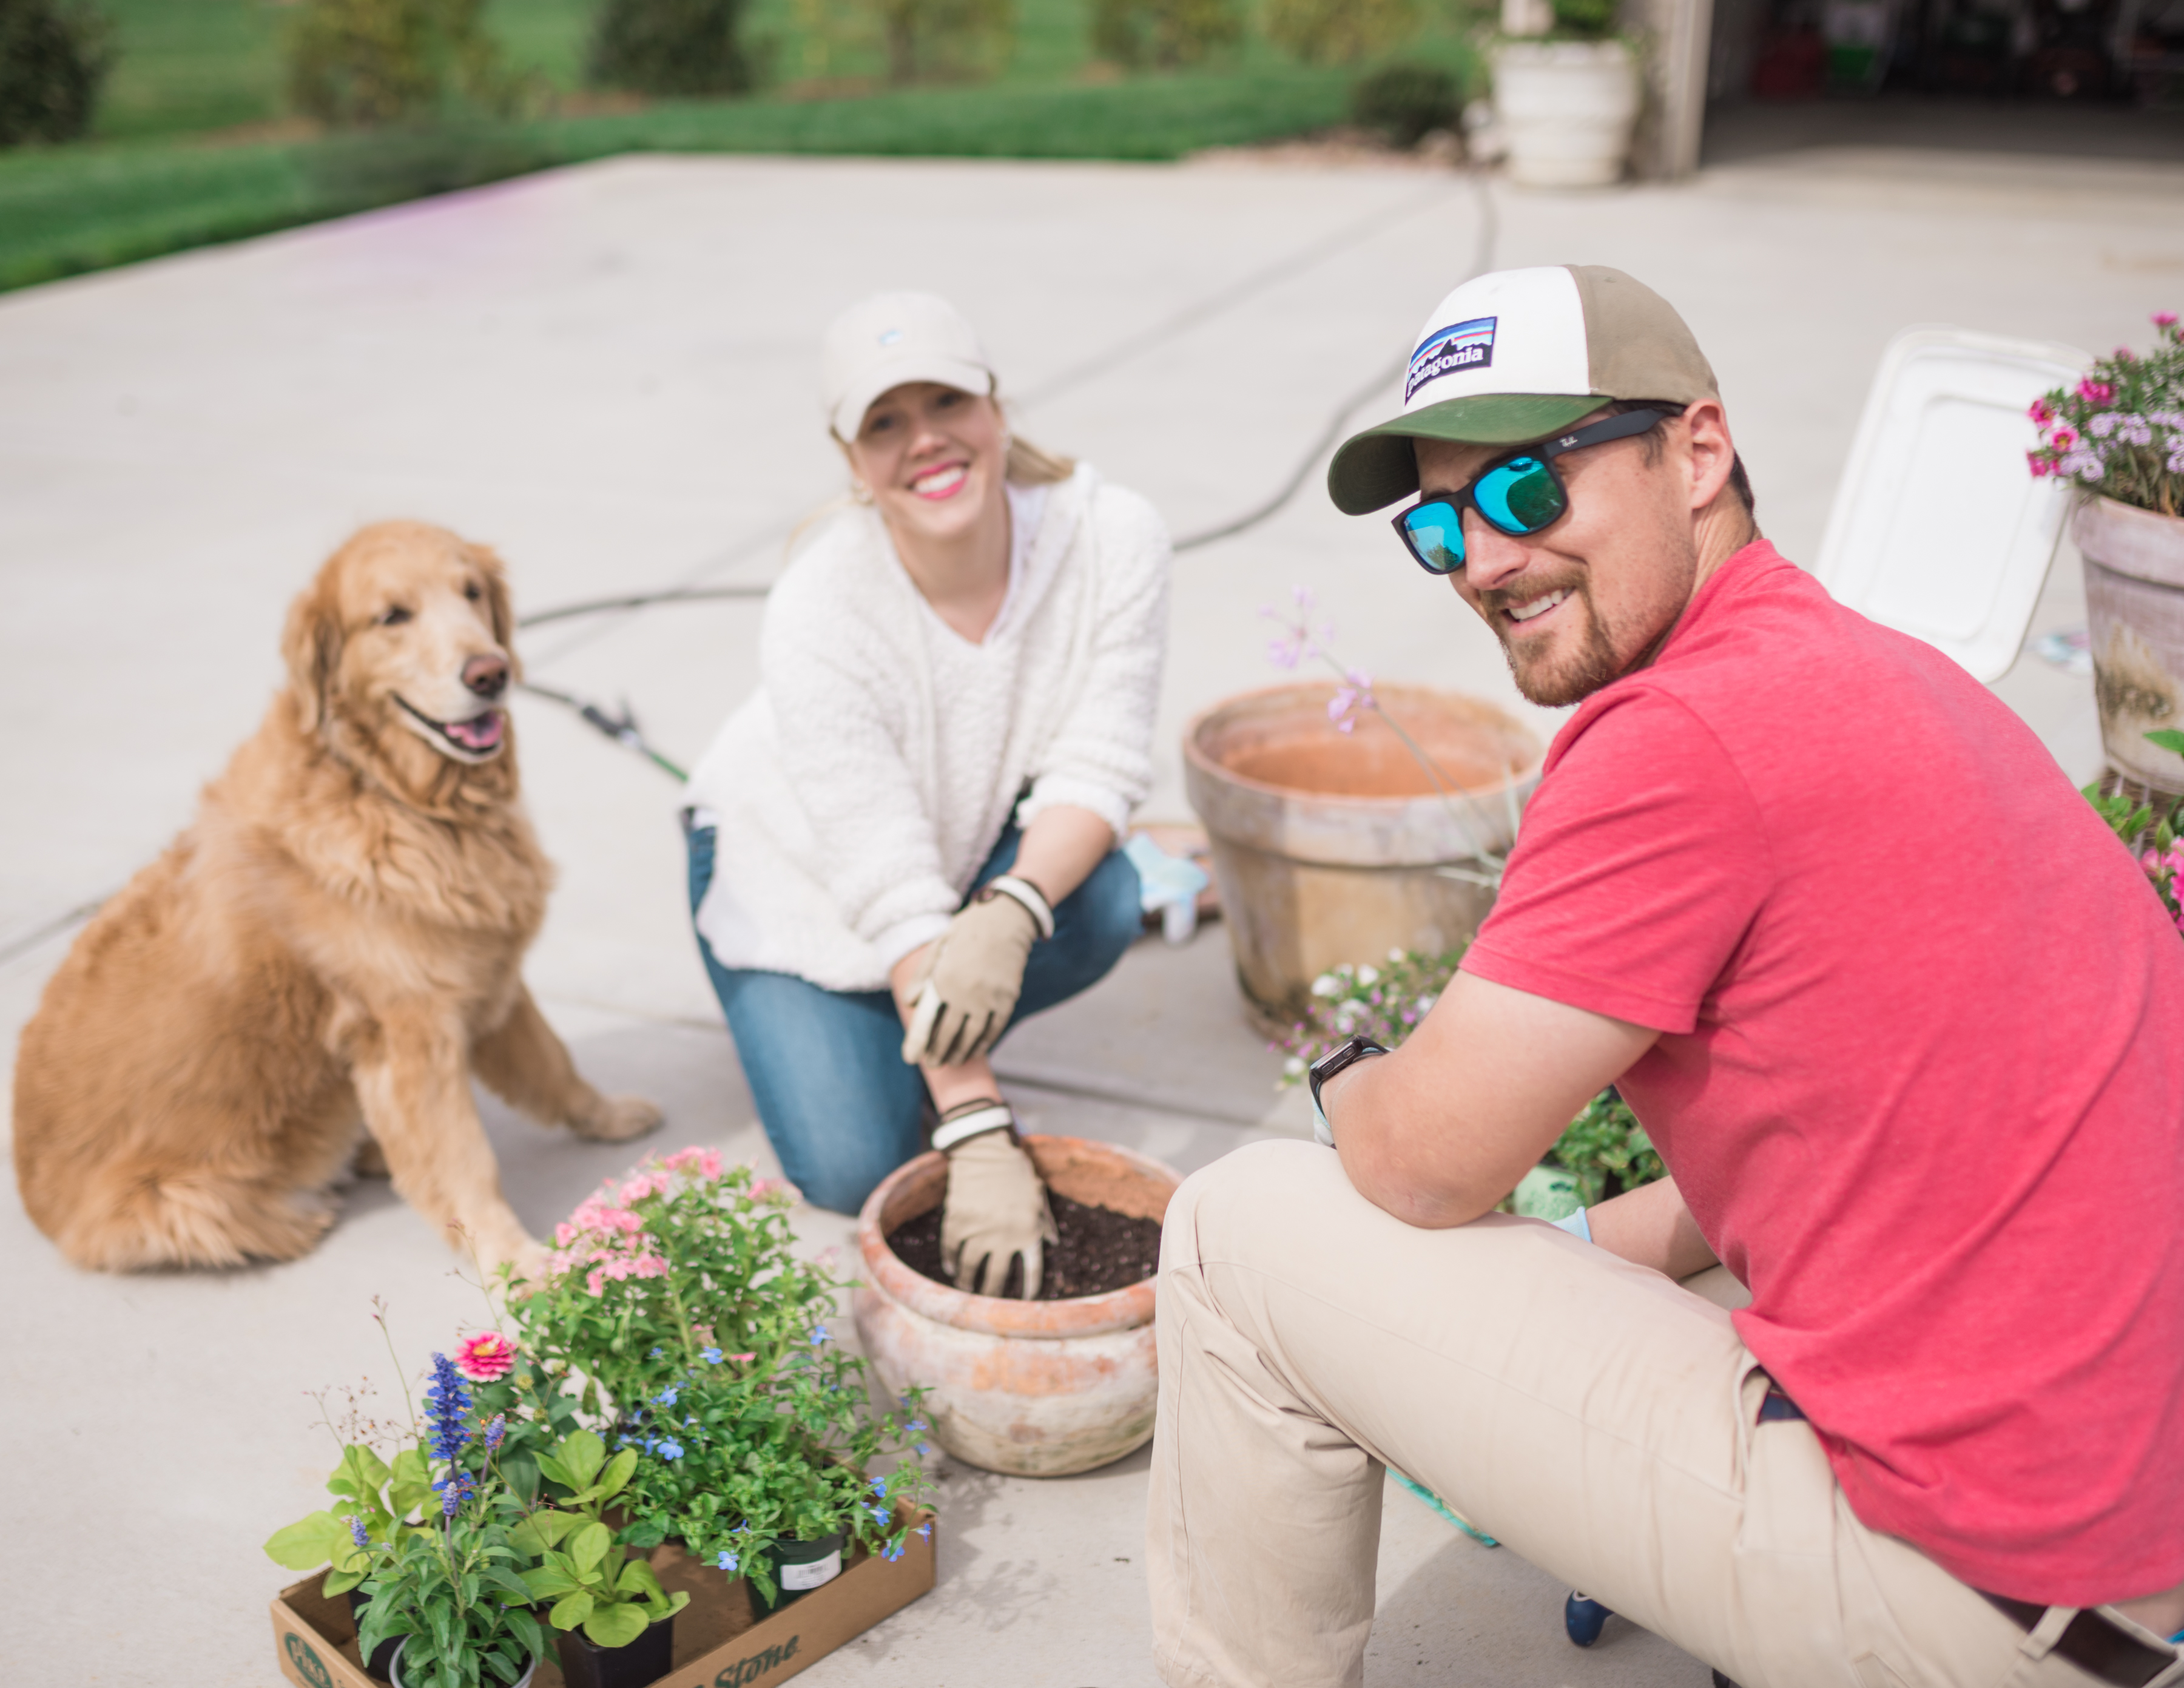
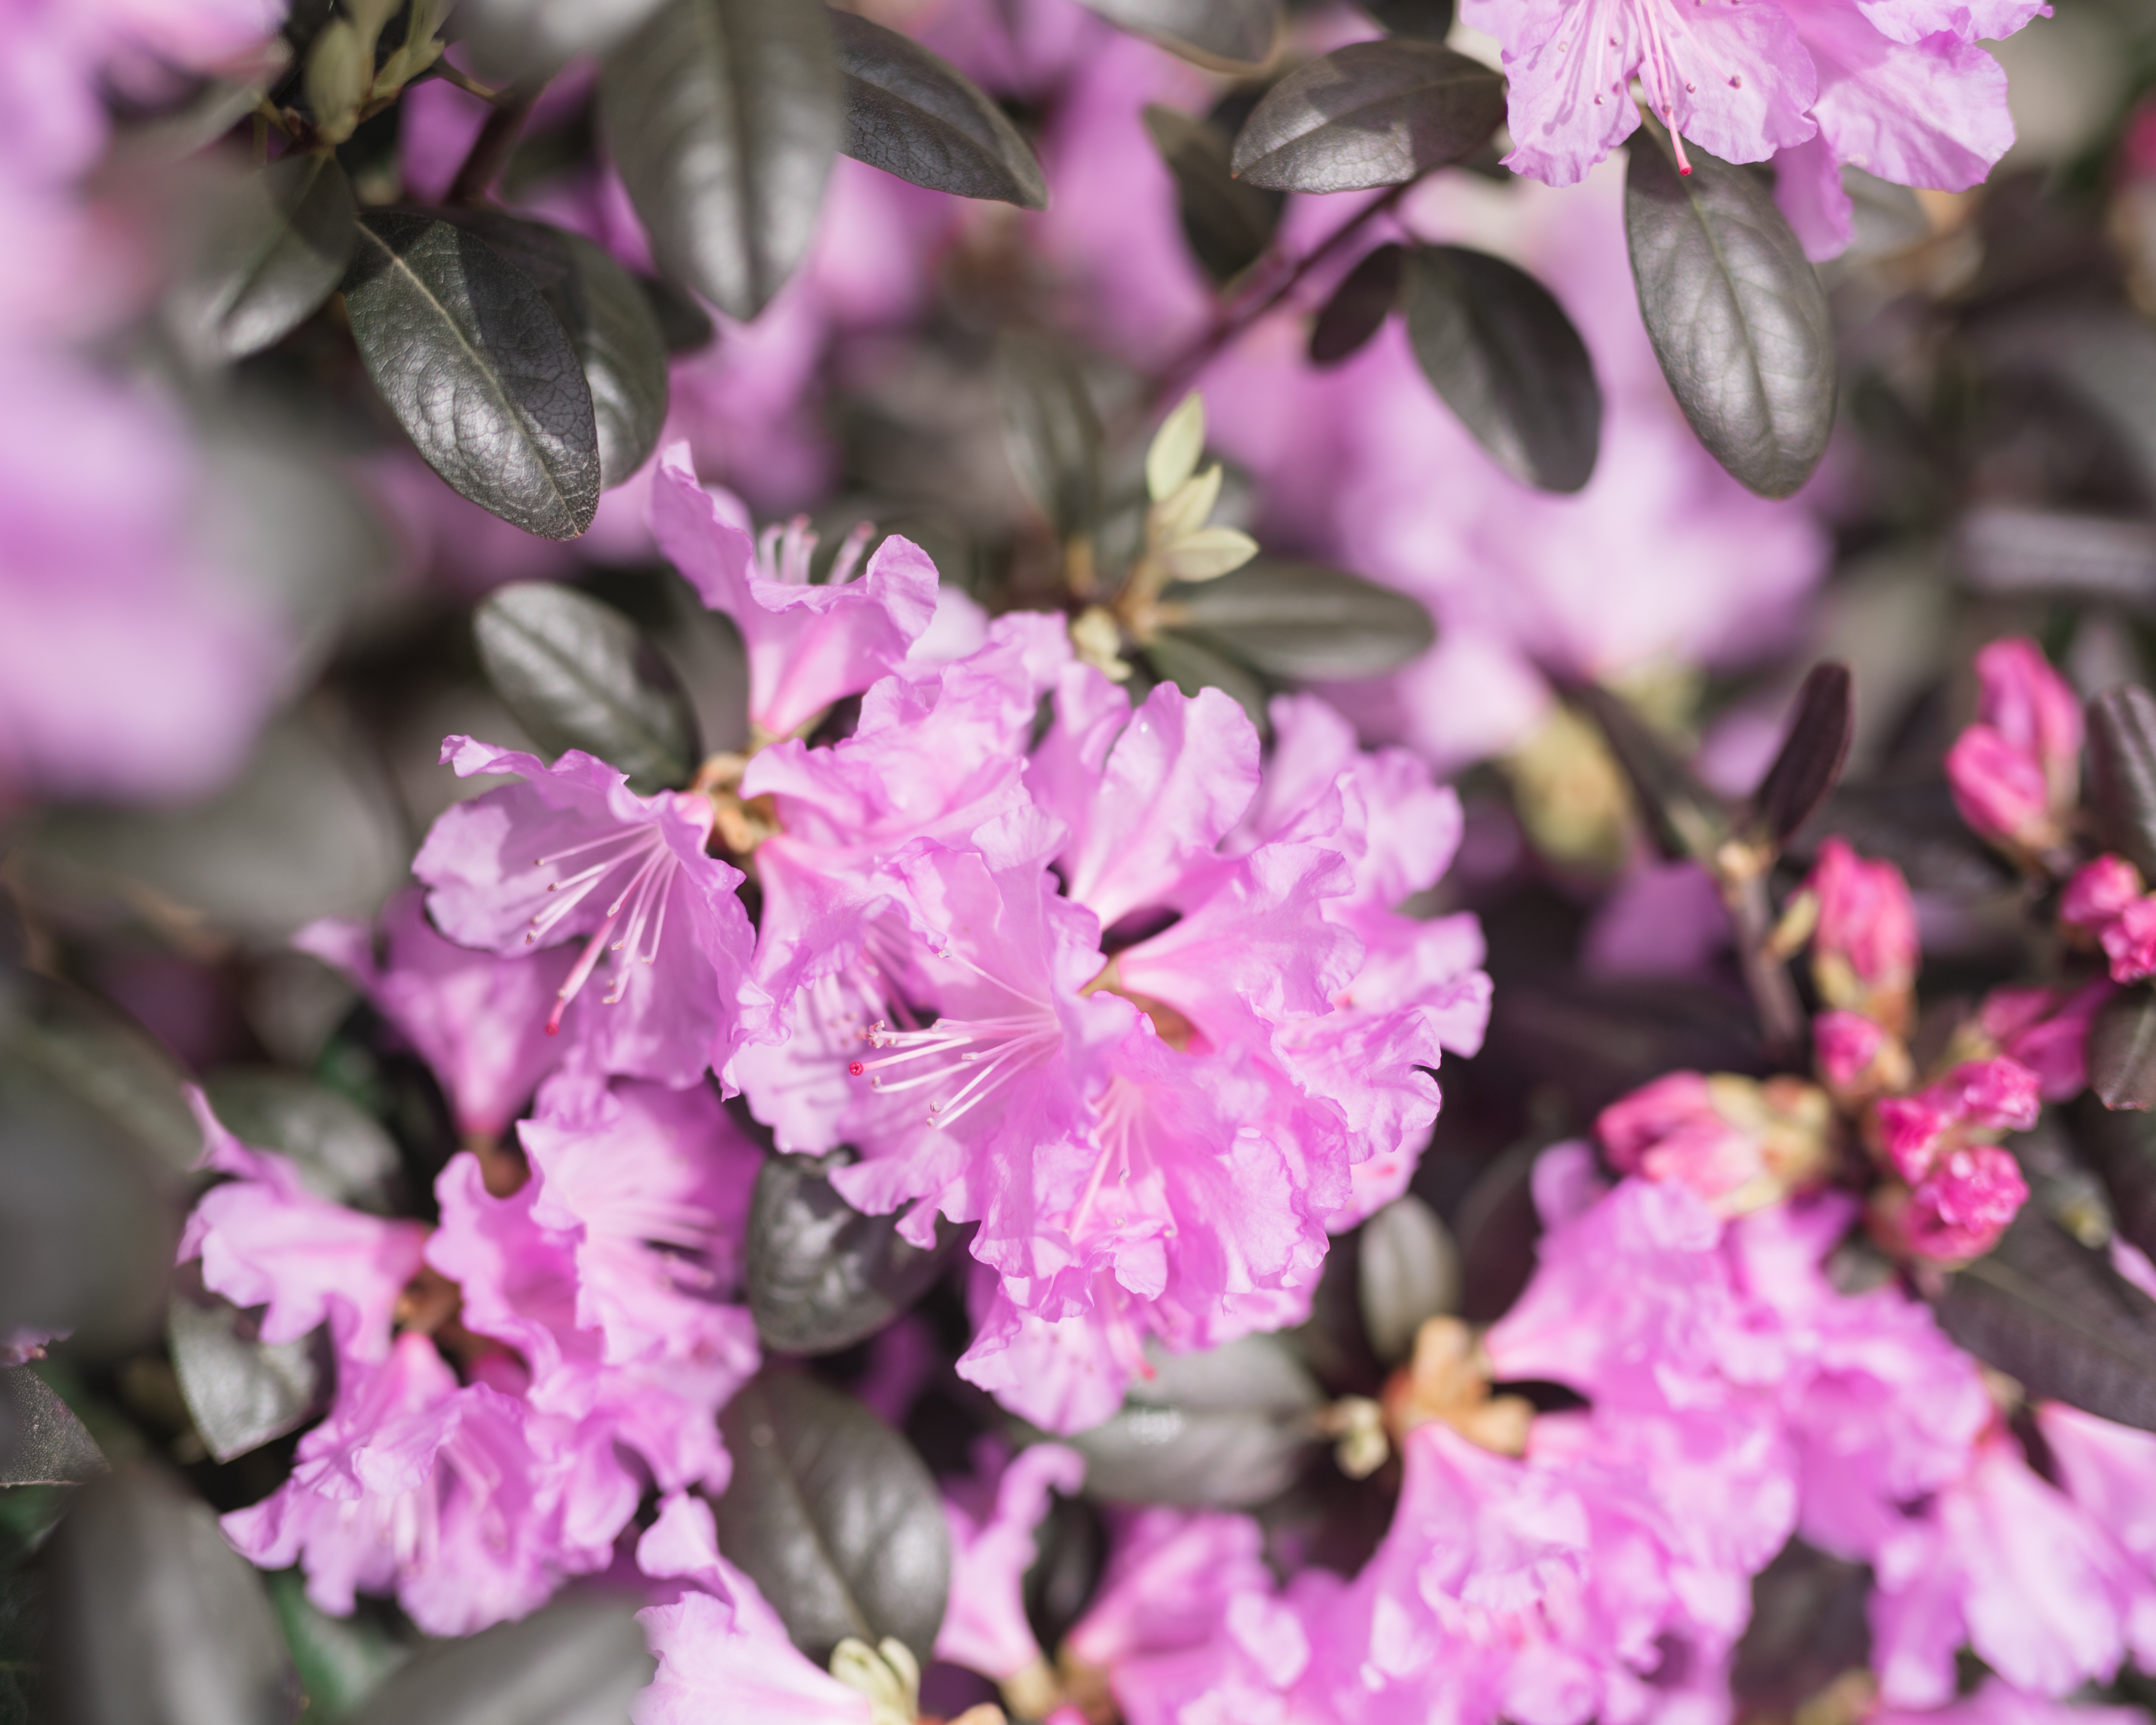
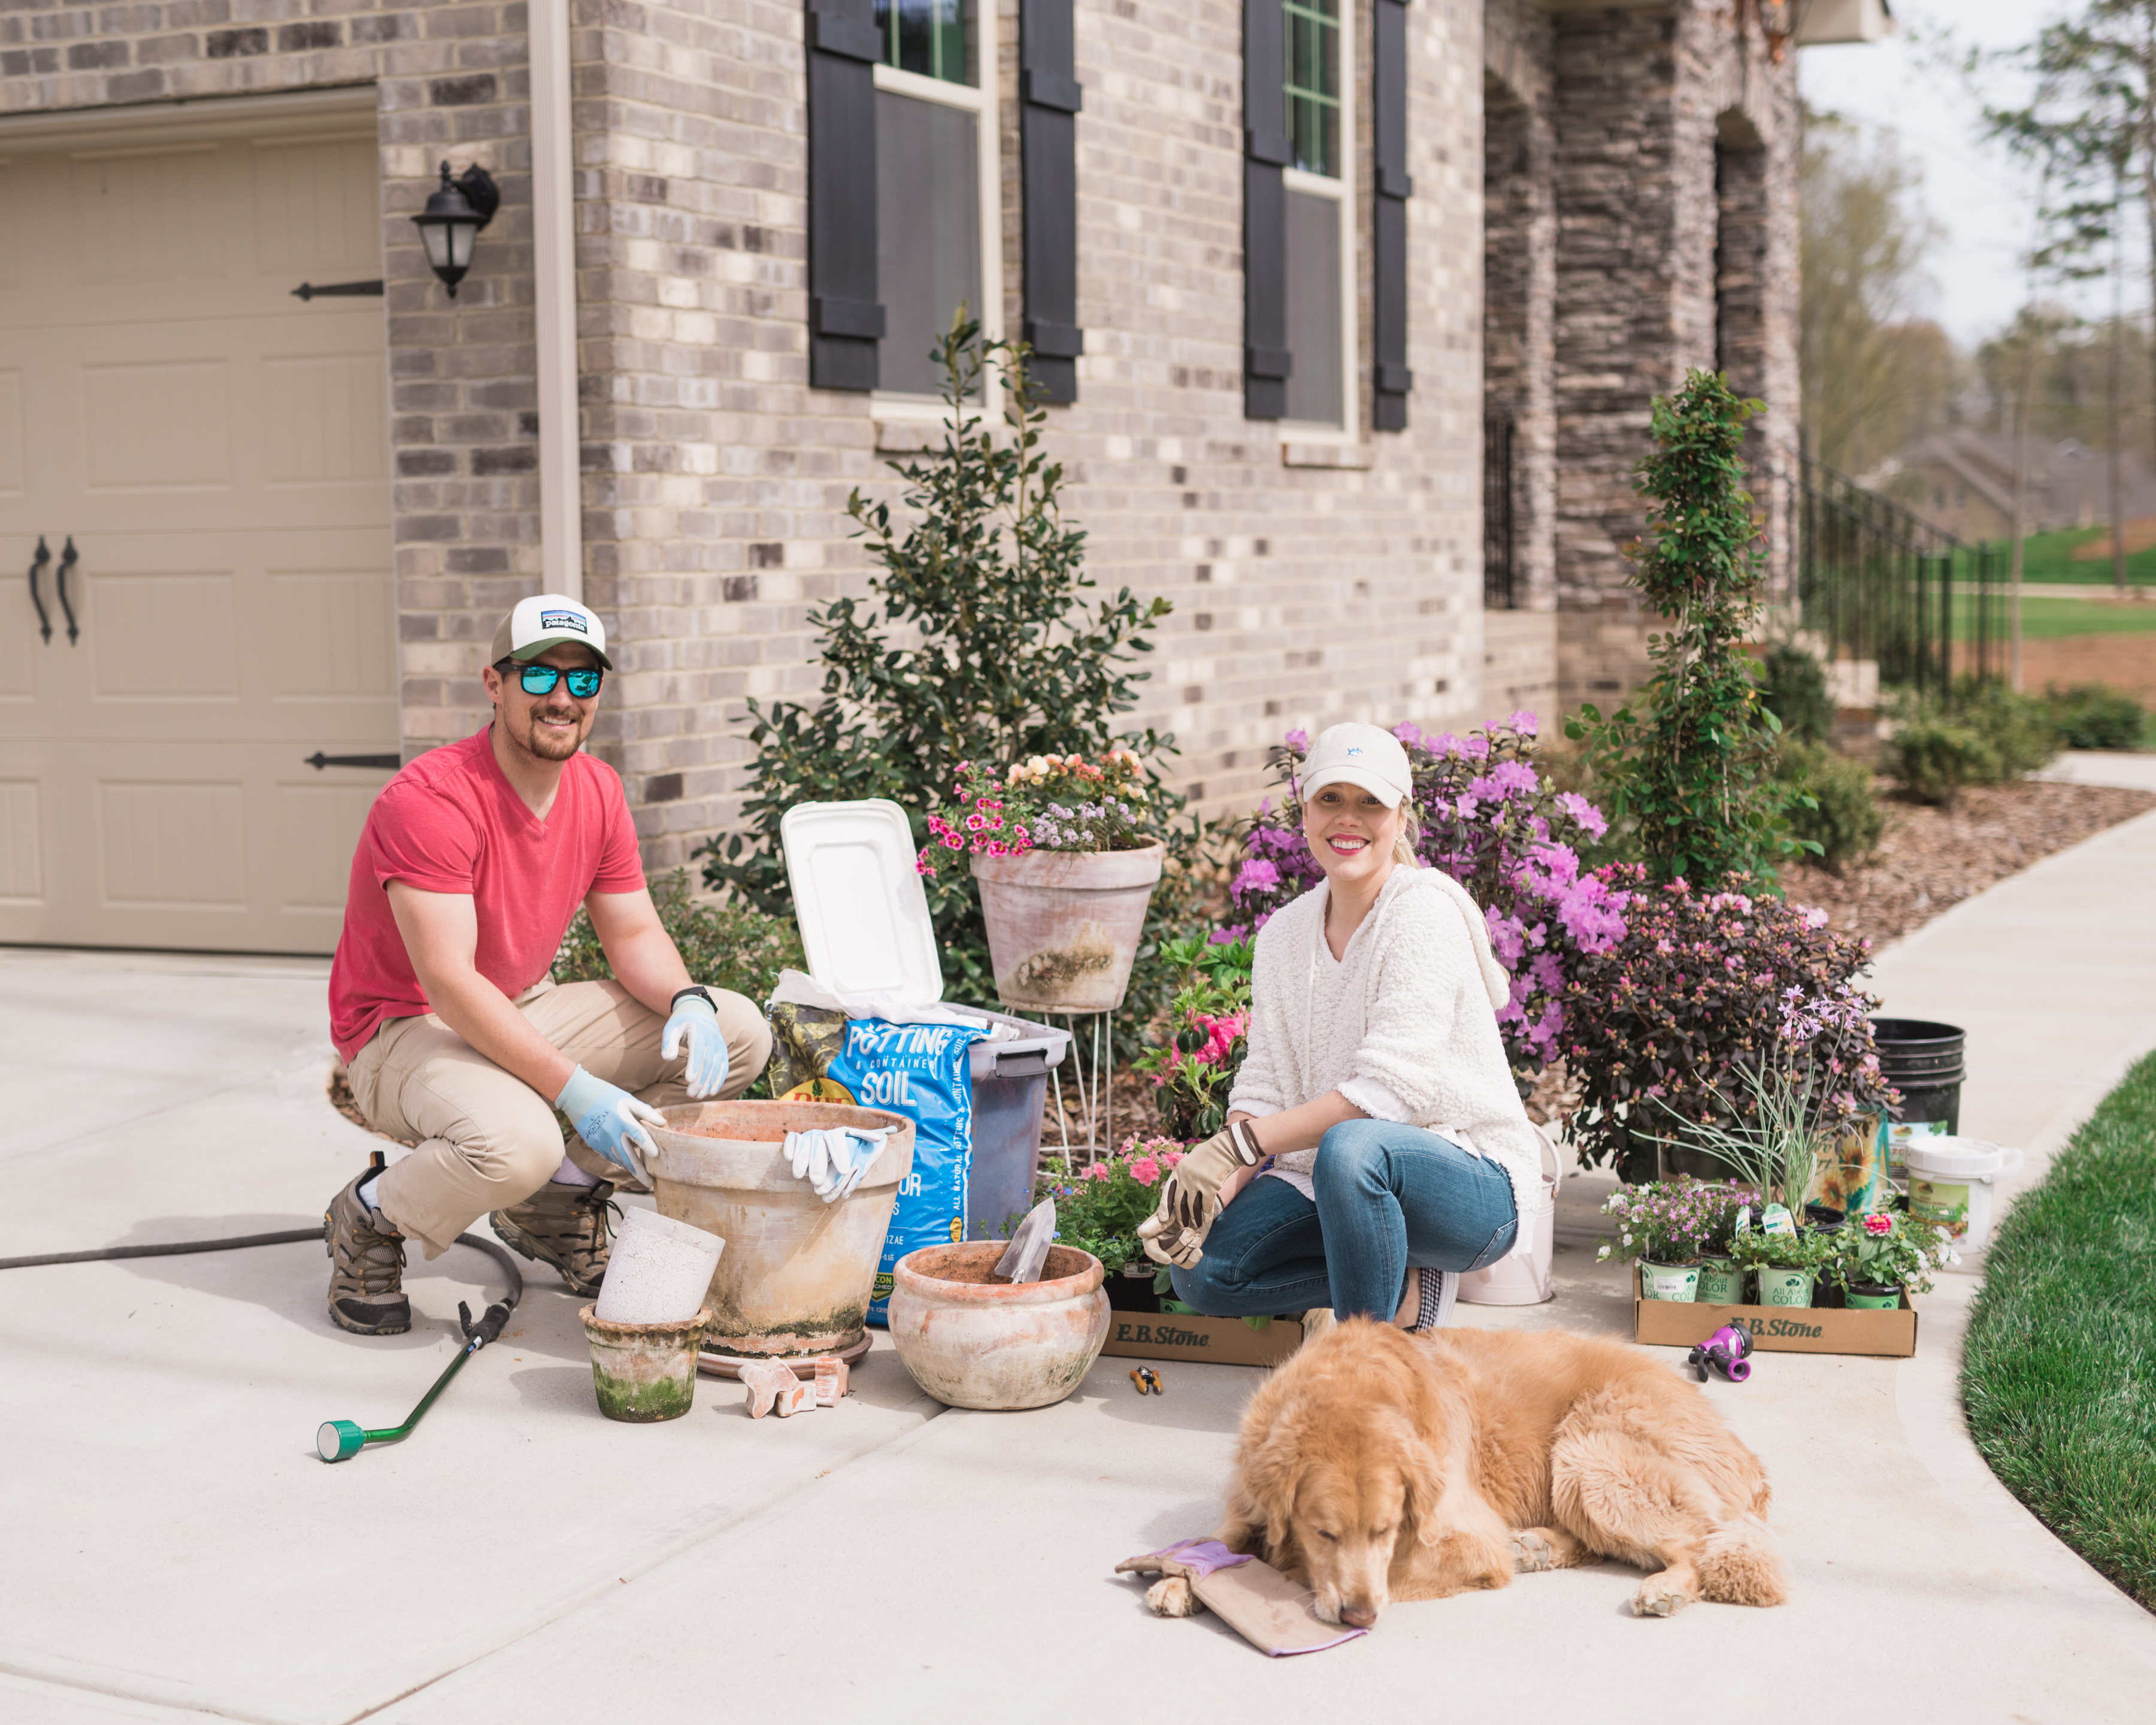
I hope today’s post inspired you to create something beautiful! You don’t have to have a yard to plant flowers – just planter (large or small) and a few beautiful blooms. Part of the joy of gardening is experimentation. Head to your local garden center, see what catches your eye and go from there! That’s how all of this started for us! PLEASE share your beautiful blooms – my email is taylorrae@stylesouffle.com or you can direct message me on Instagram – @stylesouffle. Have a wonderful week and be sure to check back for next Monday’s post!
Happy planting,
Taylor-Rae & Justin
Photography: Will Taylor


I love this post! Thank you for sharing some of your favorites for full sun. Any suggestions as to what will go well under a porch without full sun?