
One of my favorites things about our home is the outdoor spaces that Justin and I have created! Luckily, gardening, landscaping and spending as much time outdoors as possible is something we both really enjoy. We recently installed a stepping stone path, as it lends charm and practicality to our outdoor space. This particular style is one I’ve long admired and is also fairly easy to install. Here’s how:
Here’s What You’ll Need:
- Gloves
- Wooden Steaks
- Masonry Line
- Leveler
- Edger
- Sand
- Wheelbarrow
- Flagstone (or concrete paver)
- Shovel
- Hammer
Directions:
Step 1: Consider Your Path
Examine your lawn and note where the grass has been regularly traversed and worn down by foot traffic. This is the ideal place for your stepping stone walkway.

Step 2: Establish the Grade
Prior to beginning, it’s important to map out your walking path. Start by using a connecting surface – patio steps and a mulched bed, in our case. This will be a reference point for measurements moving forward, as consistent measurements are key to achieving this paver style.
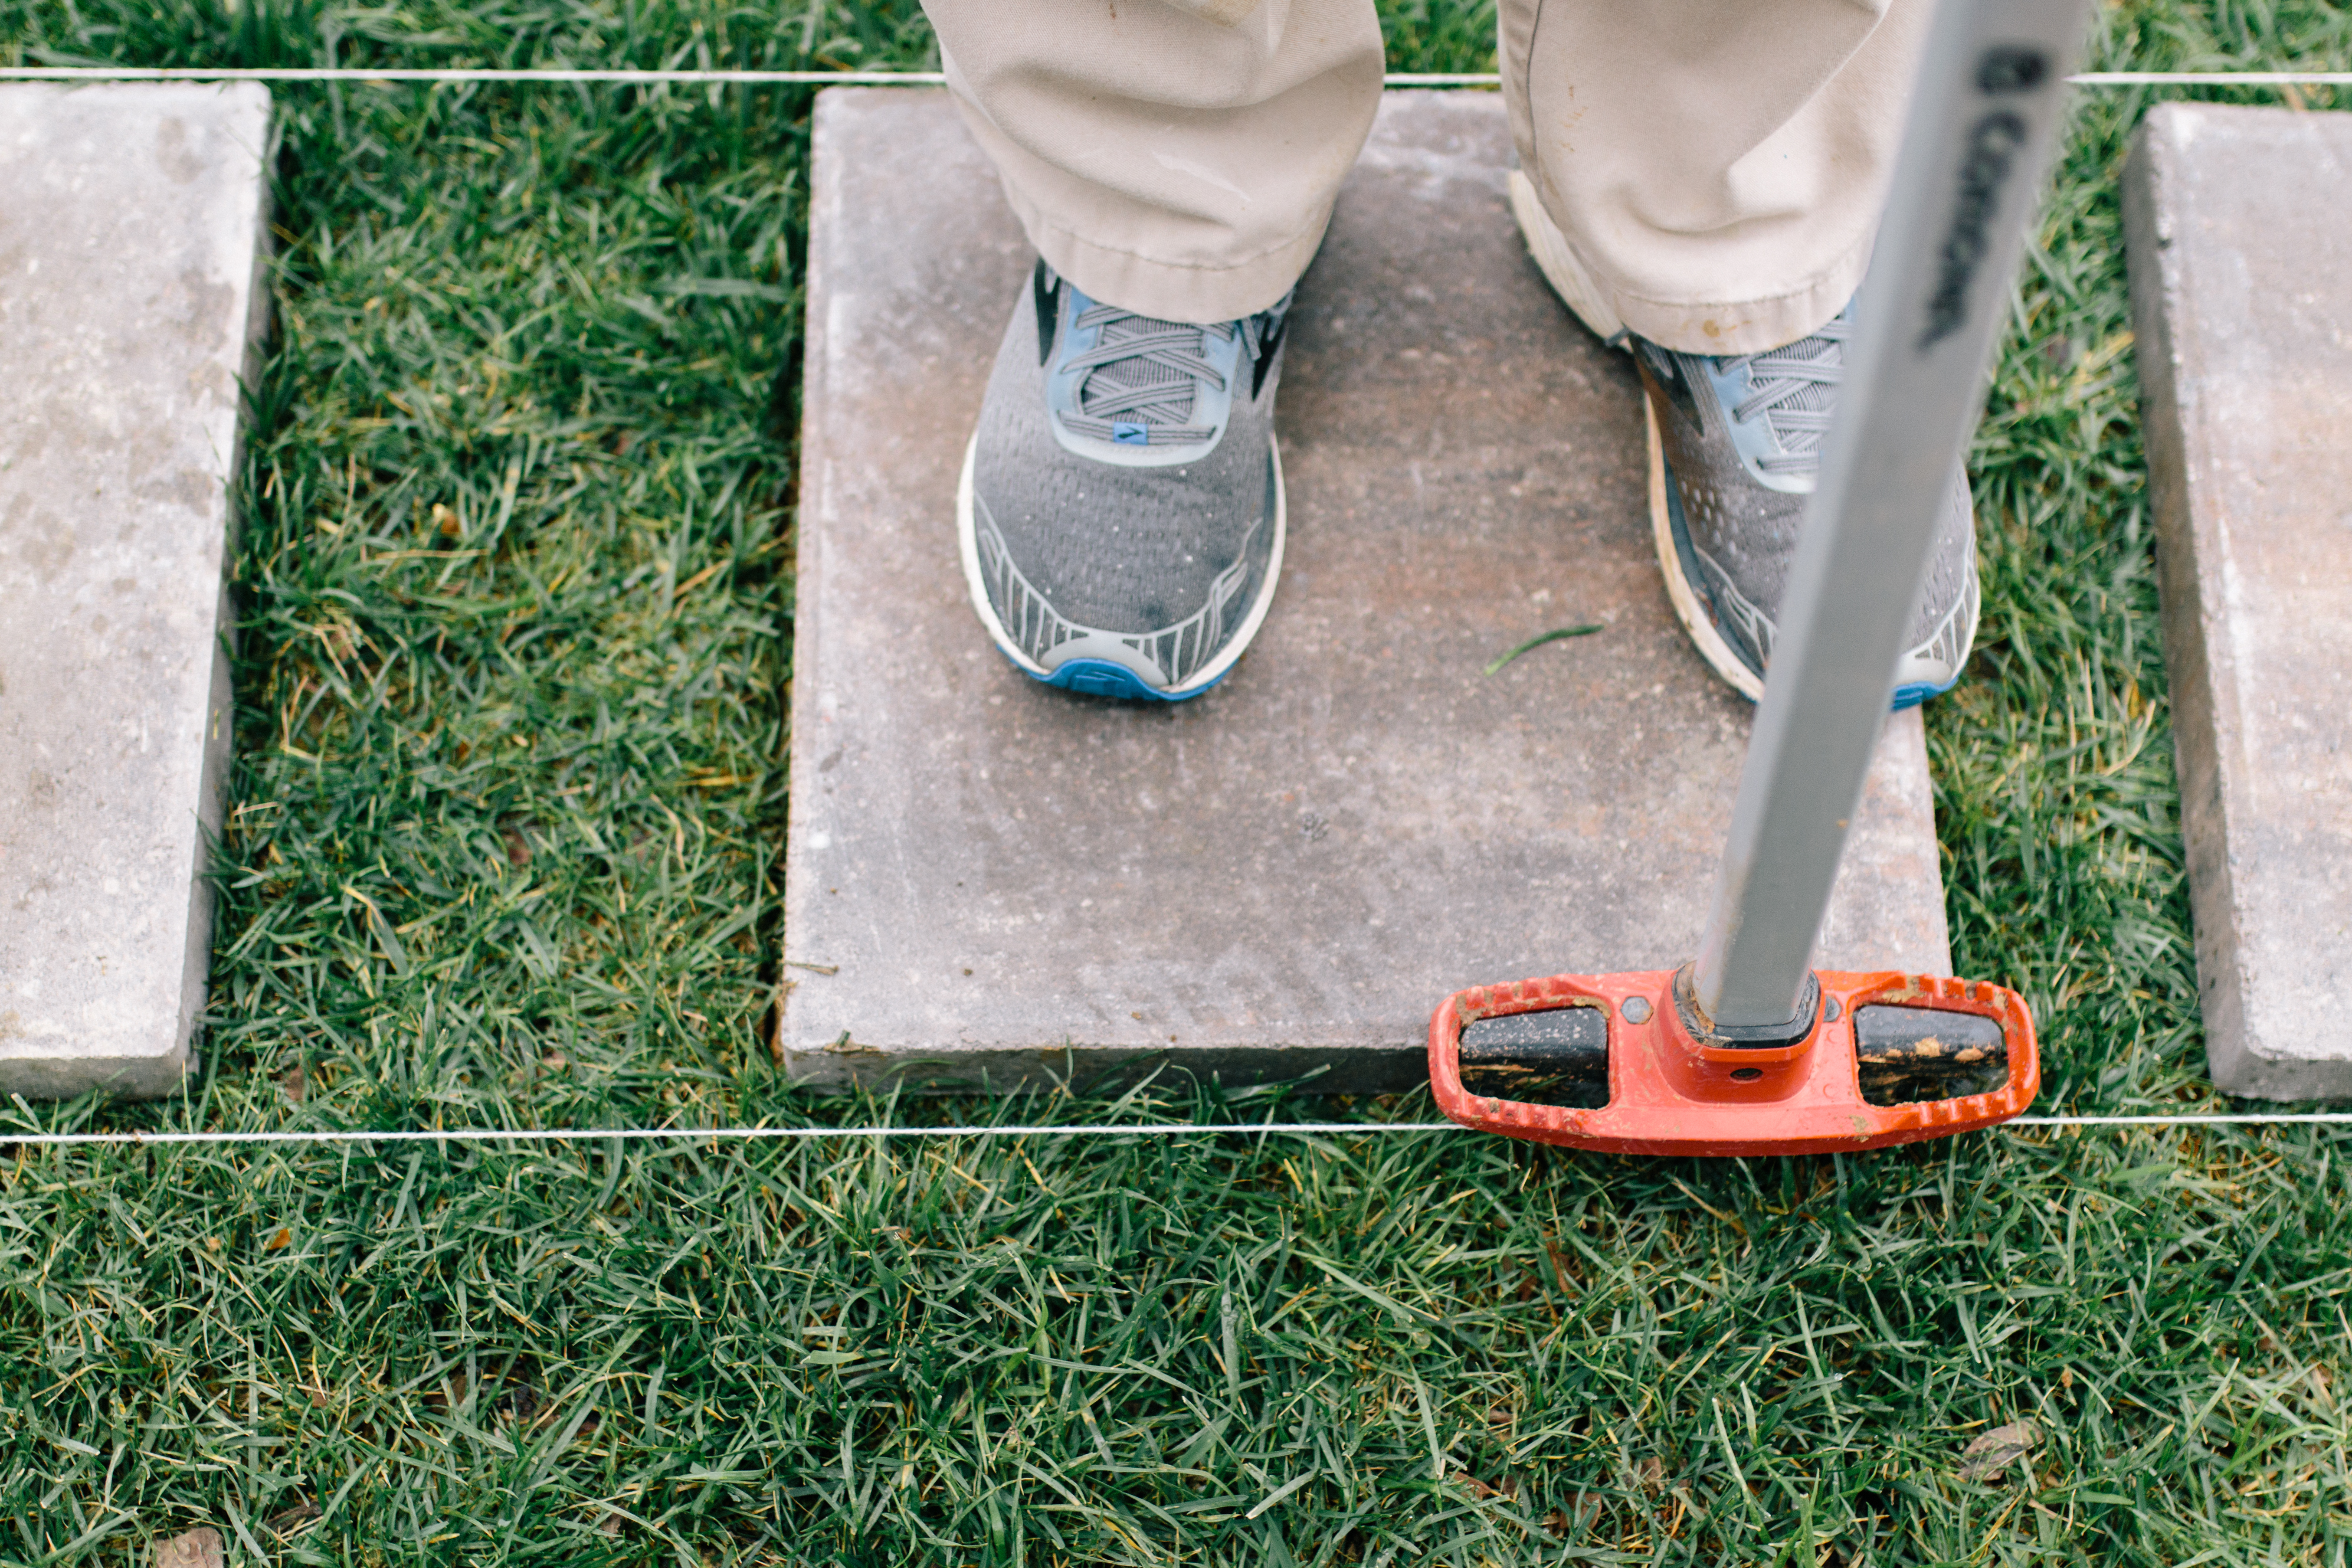
To template, loosely lay one paver where your planned pathway will begin. For example, our pavers fall center to our patio steps and come 14-inches off the landscape bordering our house. Using a hammer, drive wooden stakes into the ground on each side of the paver. Continue placing stakes several feet apart extending the entire length of your future path; these should all fall in-line with the first stake creating a straight line. String off the area using masonry line; this line should rest on the top edge of your cut grass.
Step 2: Position the Pavers
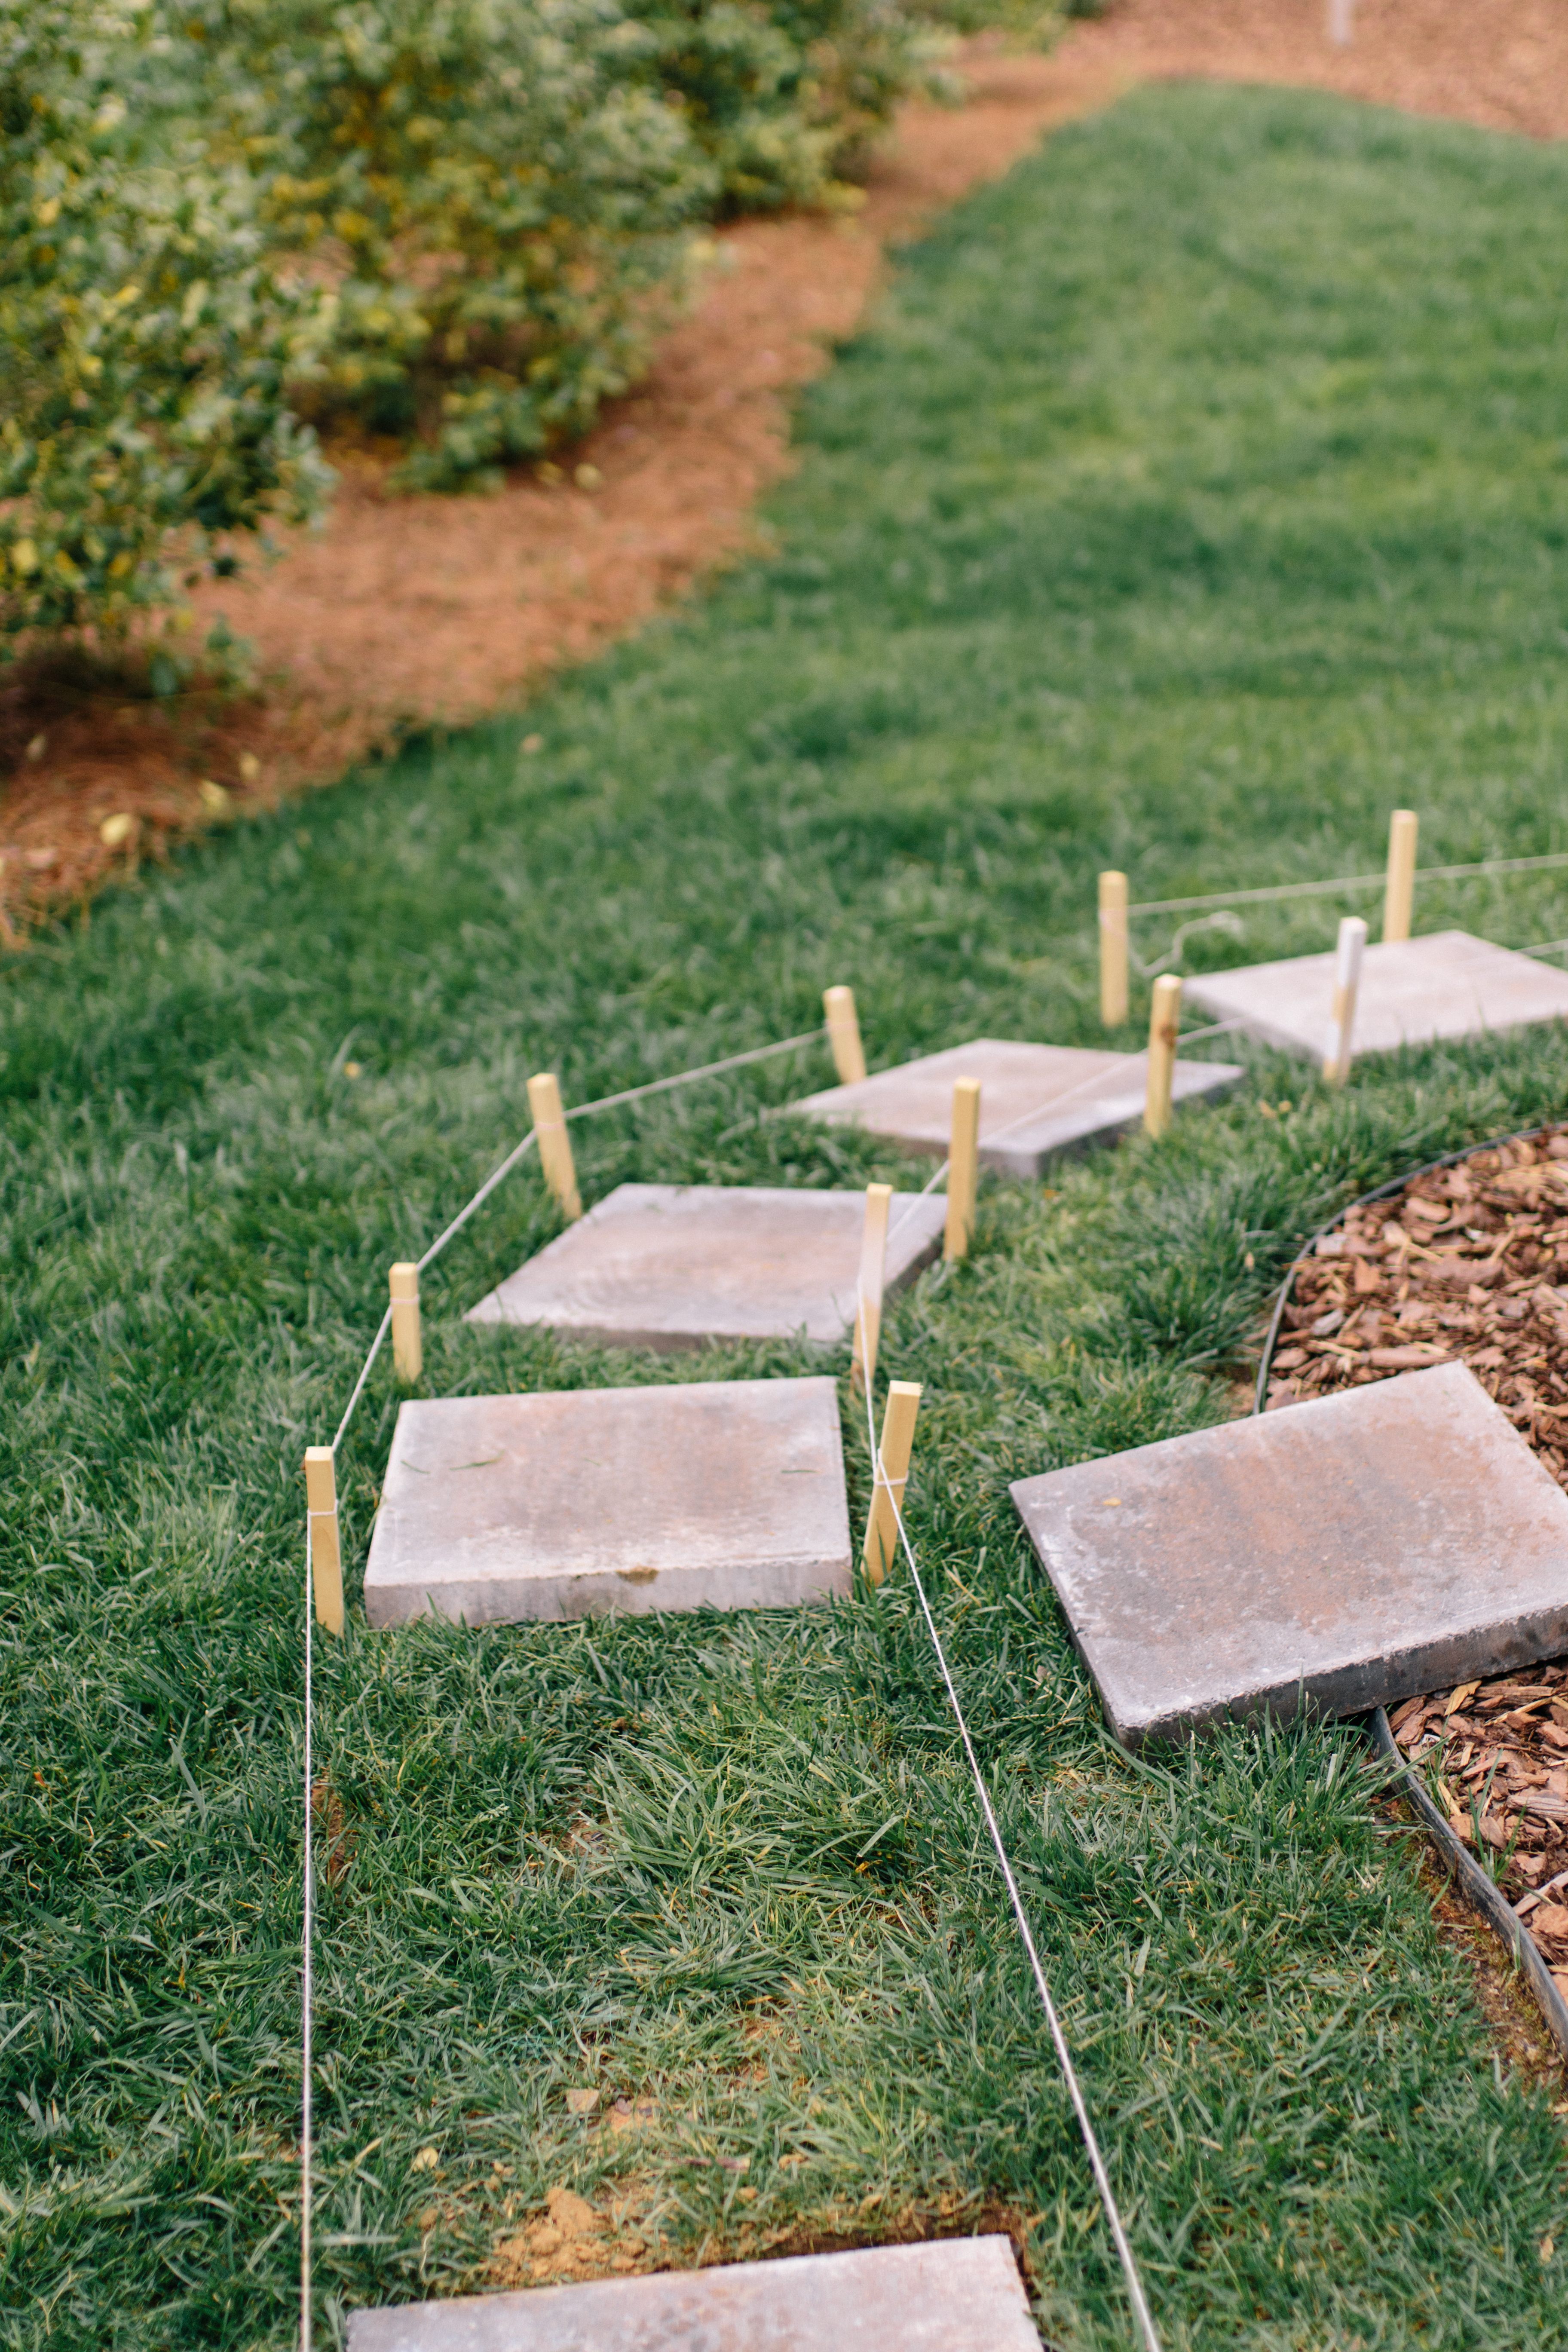
Measure the stride of the shortest person. Loosely lay the pavers that same distance apart so there is a stone underfoot for each step. This is the perfect time to test drive your path. Make any tweaks you feel necessary (i.e. shorten/ lengthen the space between the stones if needed). Ultimately, make adjustments to avoid cutting the last paver. To create a curve, tighten the space between inside corners and open it up on outside corners.


*Moving forward, we continued with the following steps installing one paver at a time. This will help ensure that each stone falls even with its neighbor.*
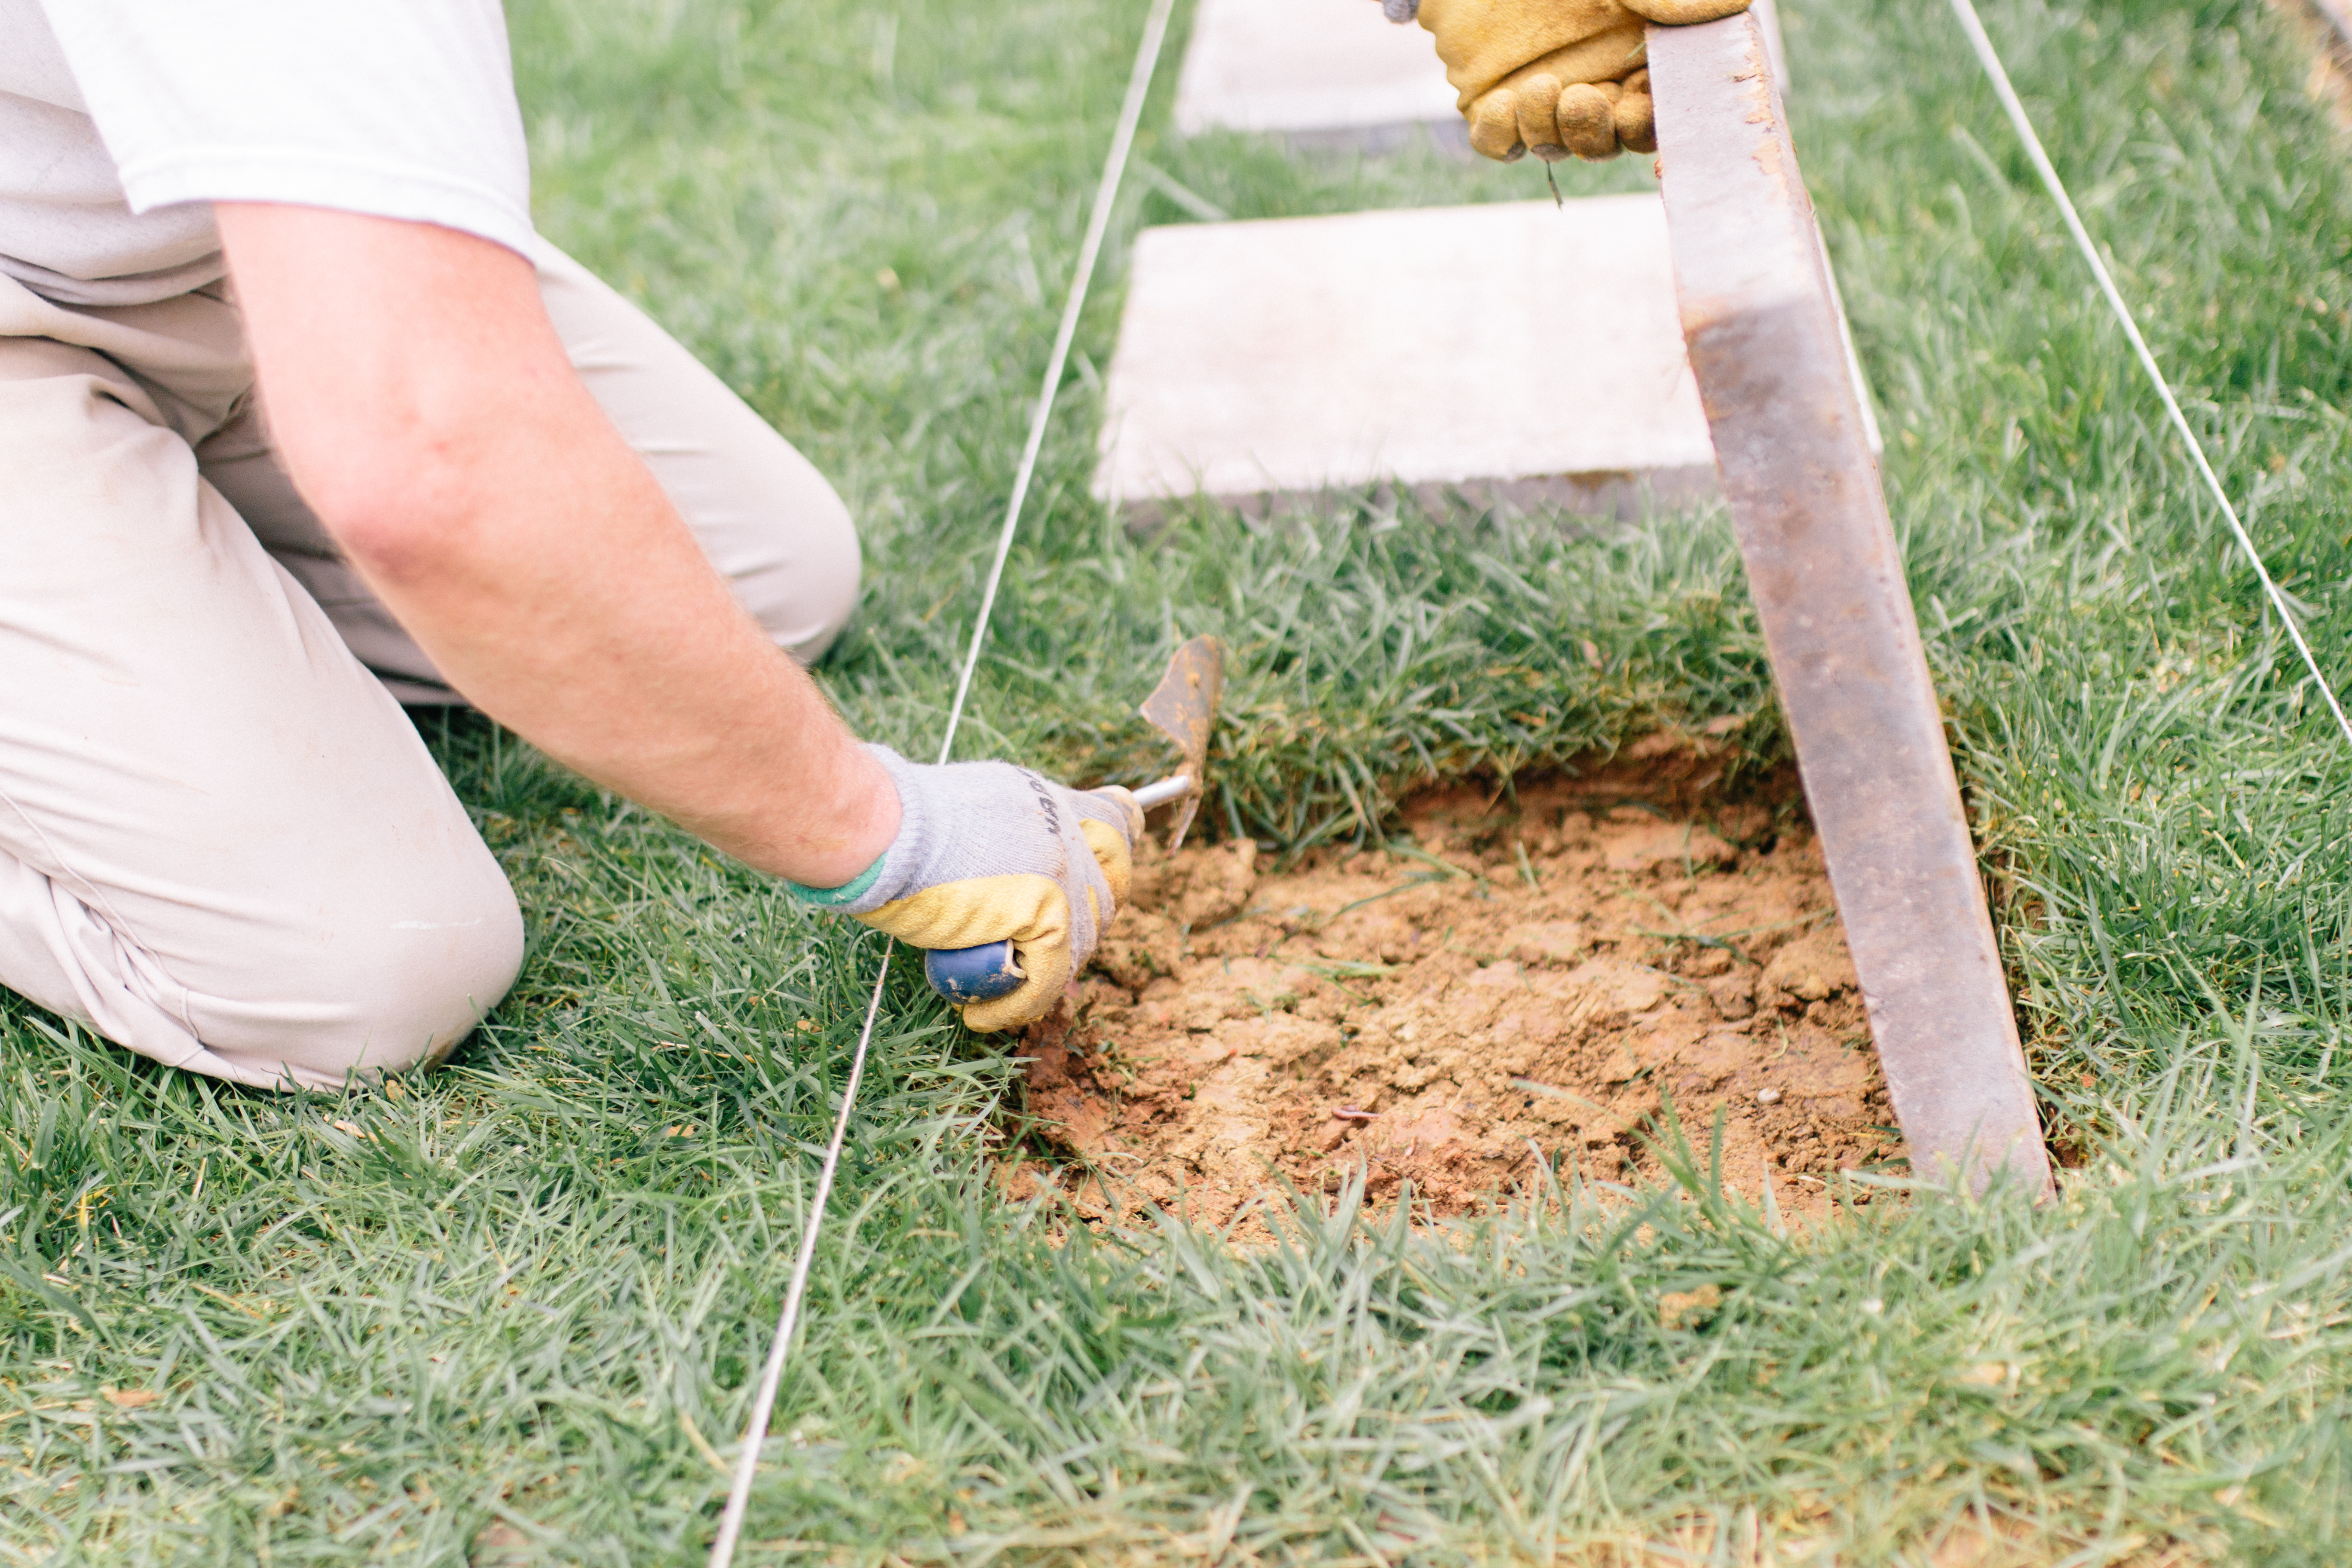
Step 3: Cut the Sod
Set a half-moon edger alongside the paver, then step down on it to cut completely through the turf’s roots. Repeat along the perimeter of each pavers edge. Place the removed sod in a nearby wheelbarrow.
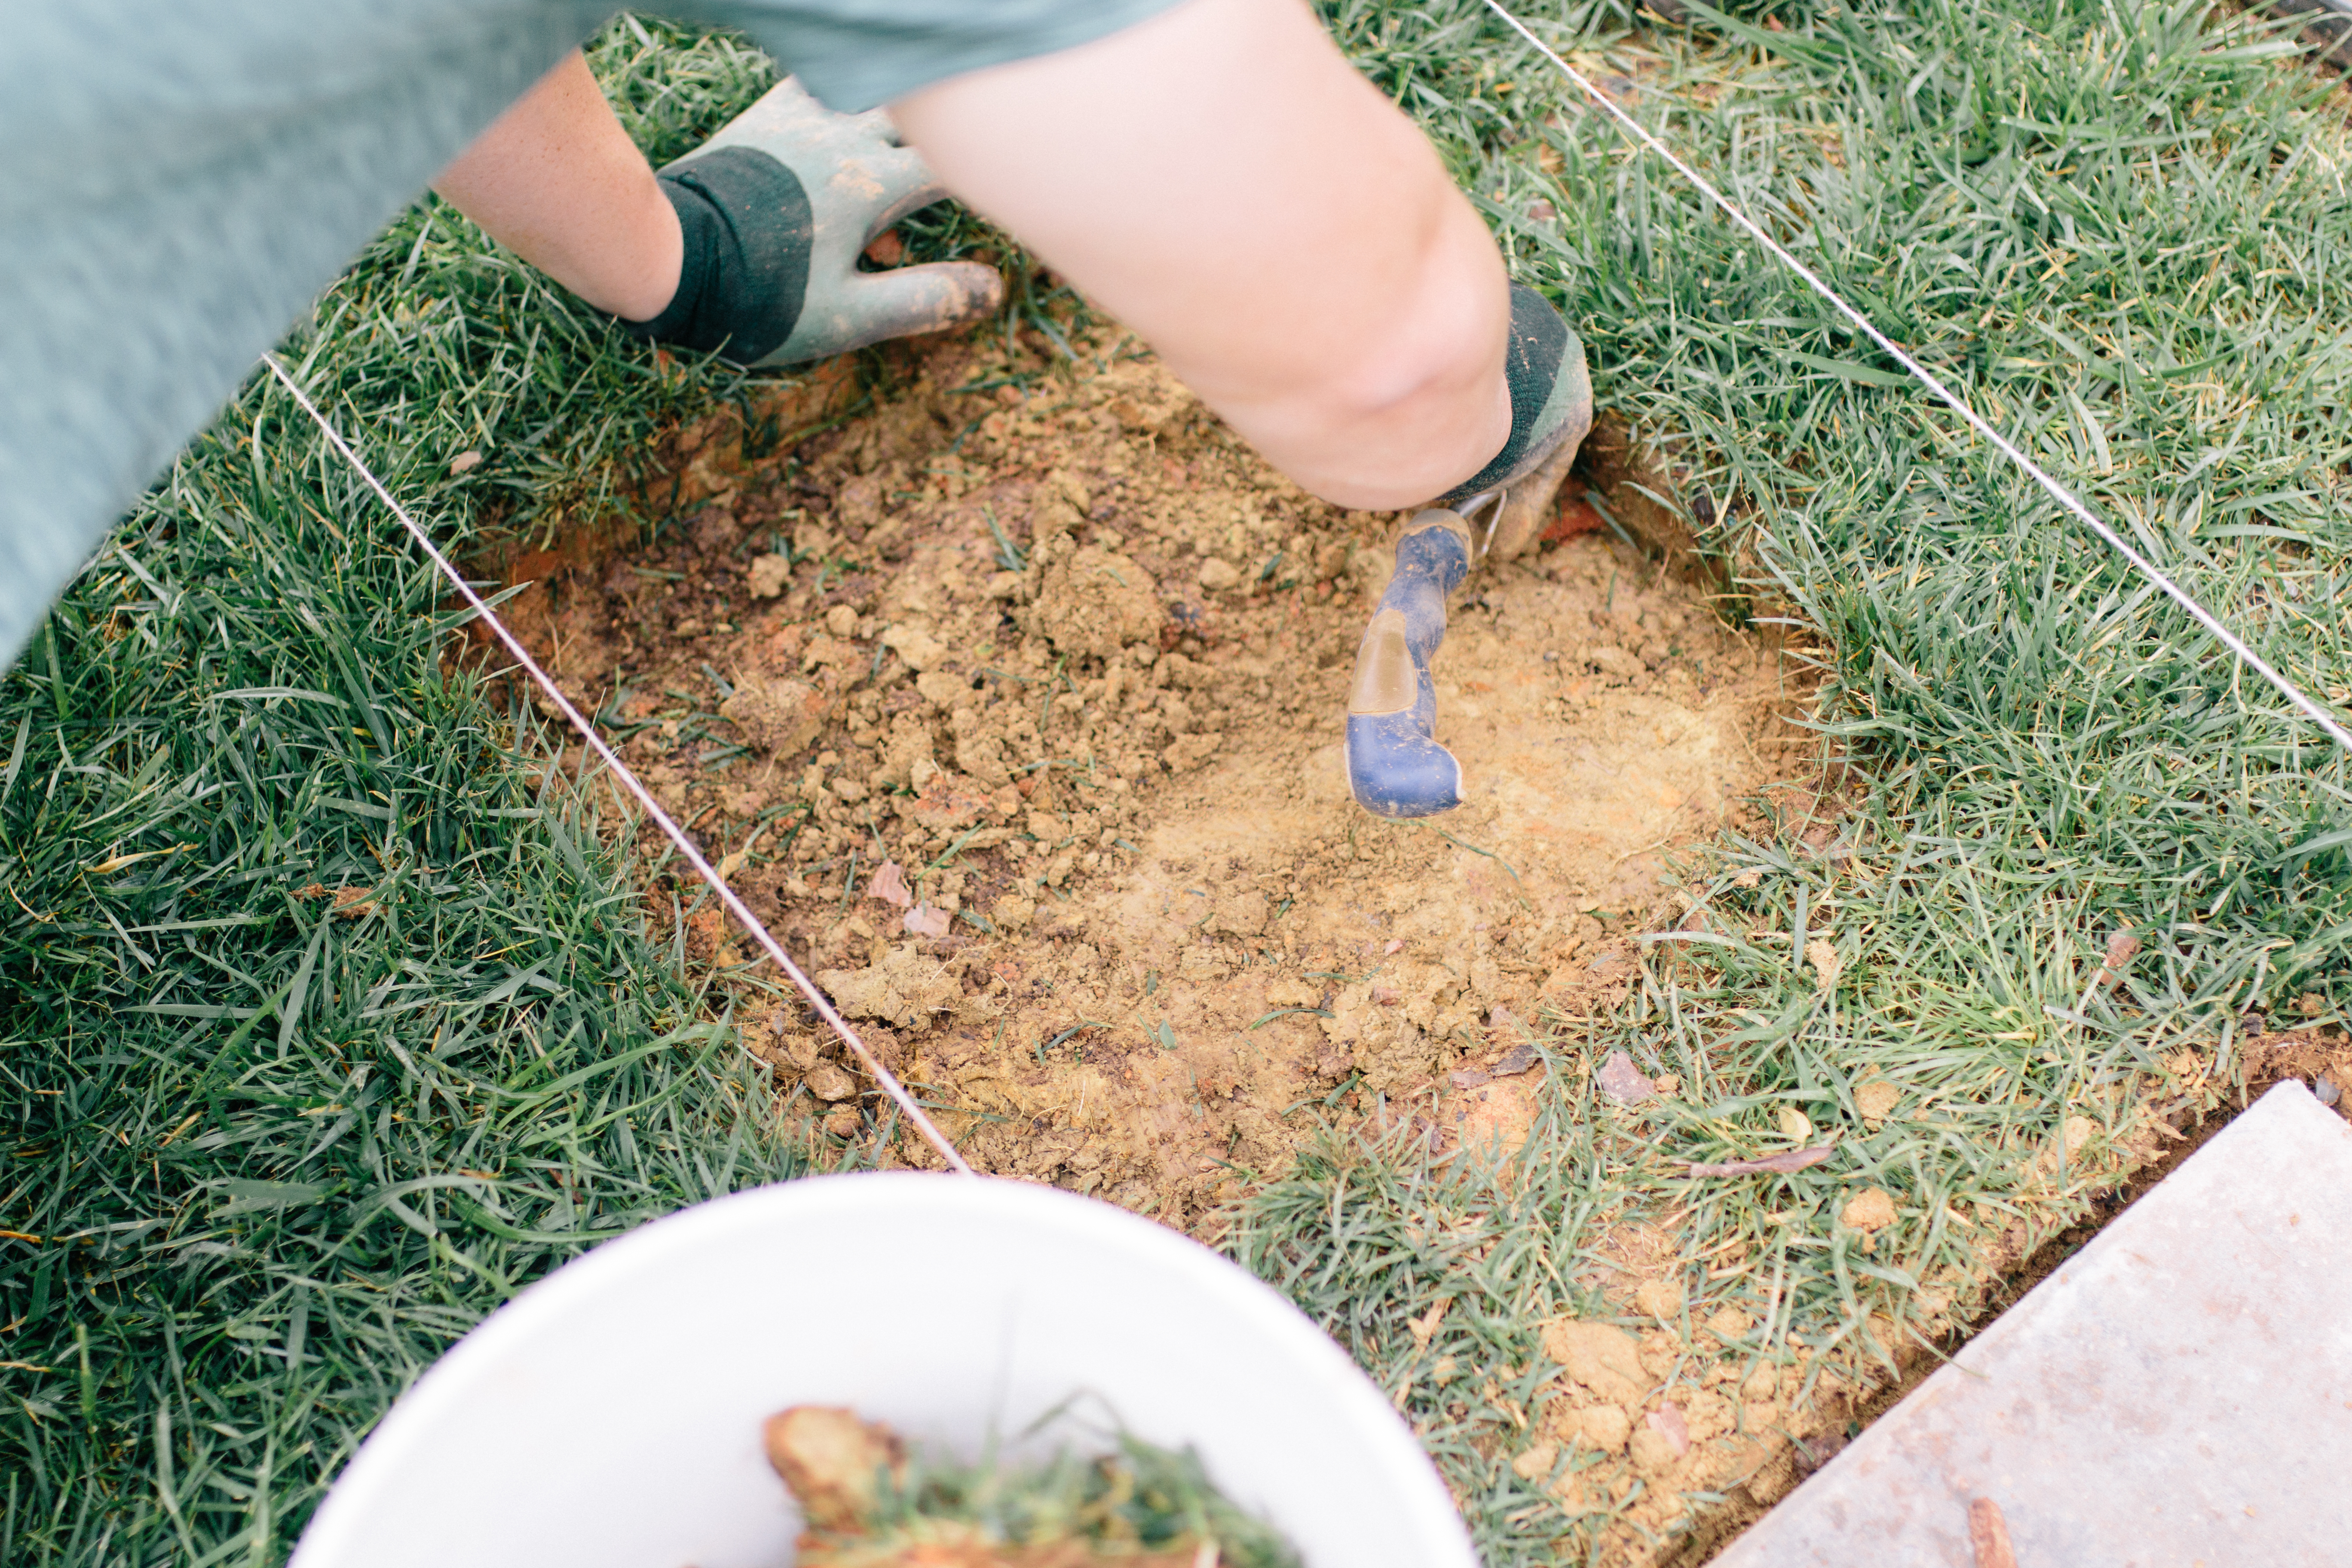
Step 4: Excavate for the Base
Flip each paver to the side of its outline, then strip out the sod. Dig down along the edge to a depth equal to the stone’s thickness minus 2 inches. The two inches will accommodate for the height of the grass so that the paver falls flush with the top of the grass.
Step 5: Add the Setting Bed
Sand provides a stable base that won’t shift or sink. Add a thin layer of sand to each hole, enough to bring the paver up to the mason line.


Step 6: Set the Pavers
Wiggle the stone into the setting bed and pound it with a rubber mallet to secure it in place. Use a level to set each stone even with its neighbor. Also, make sure each paver measures the same distance from a connecting surface. For us this is a parallel landscaped bed bordering the brick of our home.
Thanks for reading and following along as we continue to make our house our home! As always, please let me know if you have any questions.
If you love landscape design and gardening as much as we do, be sure to read our garden series, In Full Bloom – here, here, here and here. Also, be sure to check out how we built our jasmine trellis, a step-by-step guide, that wont stop growing!
Best,
Taylor-Rae
Thank you. I plan to do this.